Toolkit 2 Pipeline 1: Facial Rigging Part 3
Part 3 of facial rigging focused on the eyes, nose and eyebrows. I worked on creating upper-face movement to support the mouth movement previously implemented:
 |
Using the same weighting process as the mouth, I bound the head geometry to the set of joints and used the paint weights tool to distribute weight around the nose, nostrils and cheek bones. This could be previewed by applying animation to the joints to see how the geometry responded.
Next, I created a series of controls for these new weighted face joints, using their vertices to manipulate their shapes.
I then moved the controls down to the main head and, making them functional by creating a new blend shape containing the weighted nose, cheek and chin information. I used the connection editor to finalise this stage.
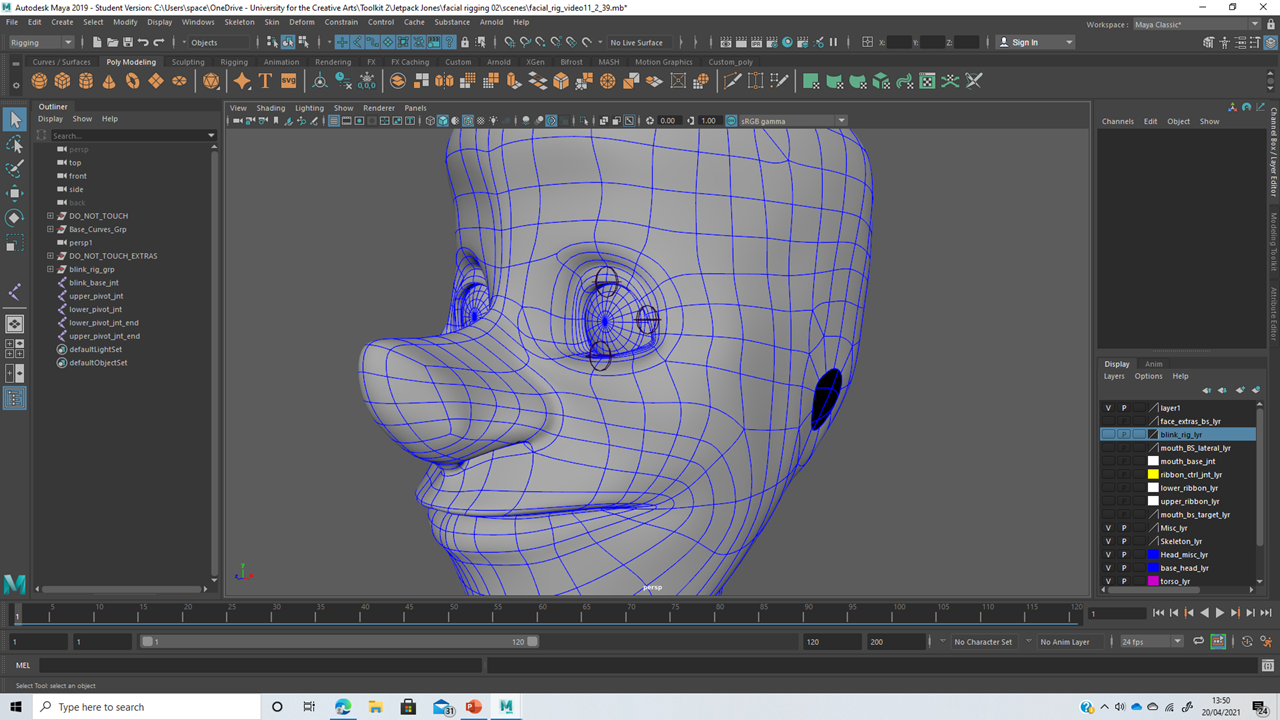
To create a blink, I duplicated the head once again and created a series of joints snapped to the centre of the left eye and the eye lids.
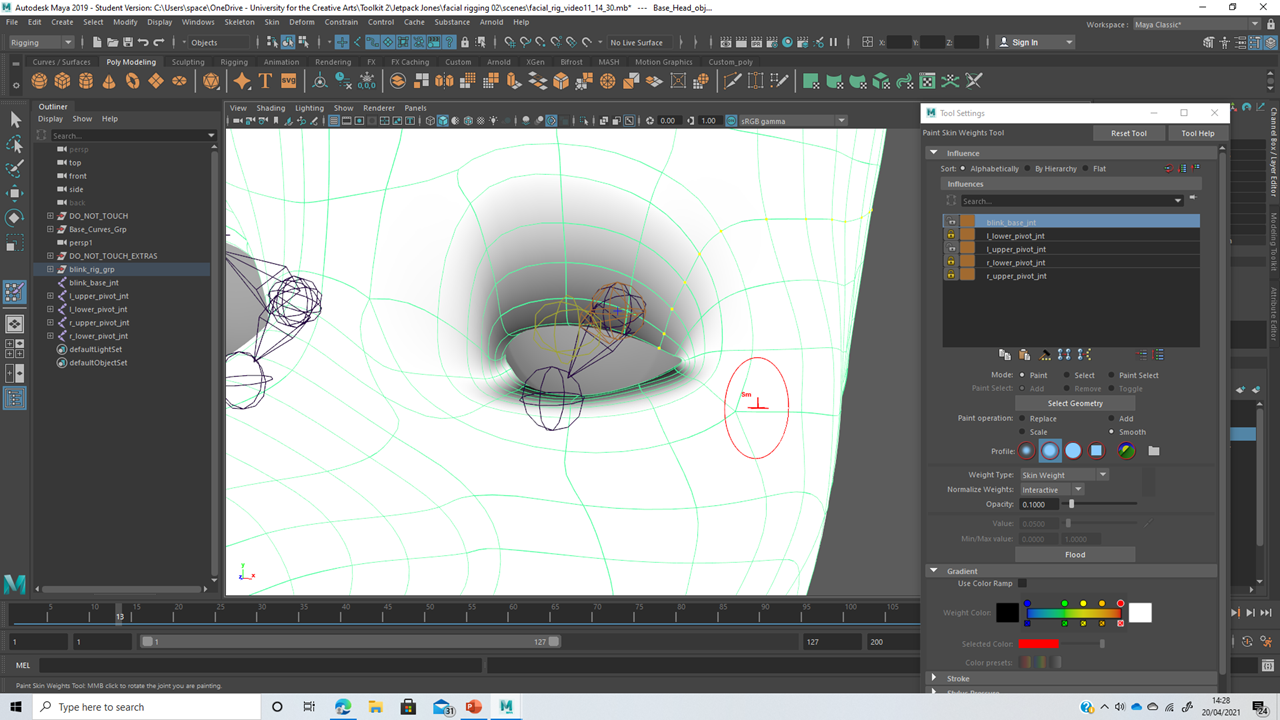
Using the new eye joints, I worked with the paint weights tool to distribute weight across each eyelid and begin to form a realistic blink.
Finer detailing was created using pose space deformers, helping create a straight line when both closed eyelids meet.
I created a control for character blinking, using the set driven key menu to link the controllers attributes to eyelid movement.
I then moved onto the eyebrows, creating a series of blend shapes to represent different eyebrow movement.
Deform > Wrap: enables multiple pieces of geometry to move as a single component.
I created two joints to use for weighting the eyebrow rig. Once adding animation to these joints, I used the paint weights tool to make adjustments and remove anything too distorted.
Next, I created a series of blend shapes to represent different eyebrow positions.
I duplicated the blend shapes and used the shape editor to flip the targets, creating eyebrow movement for the left and right side of the head.
Using the set driven key menu alongside the shape editor, I linked-up the eyebrow blend shapes to a single control.
The characters face is now fully functional. I tested the entire rig to ensure all controls still worked properly, I can now progress into texturing the character.


Comments