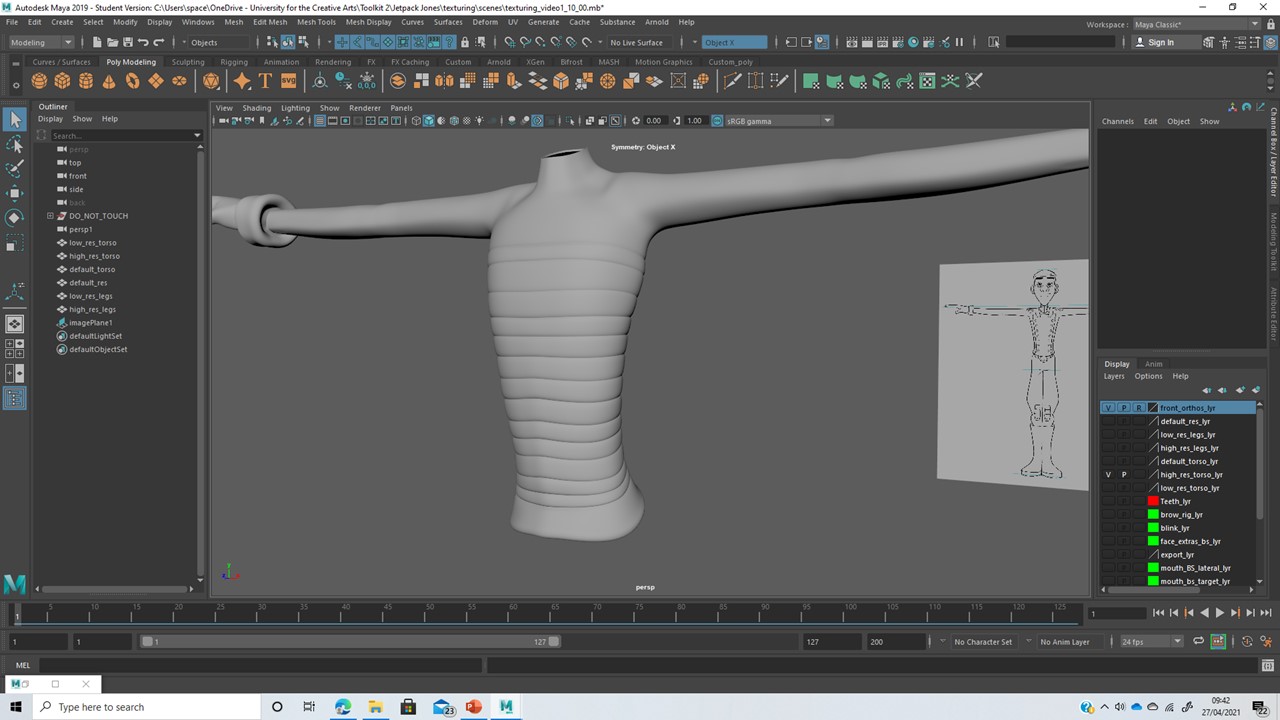
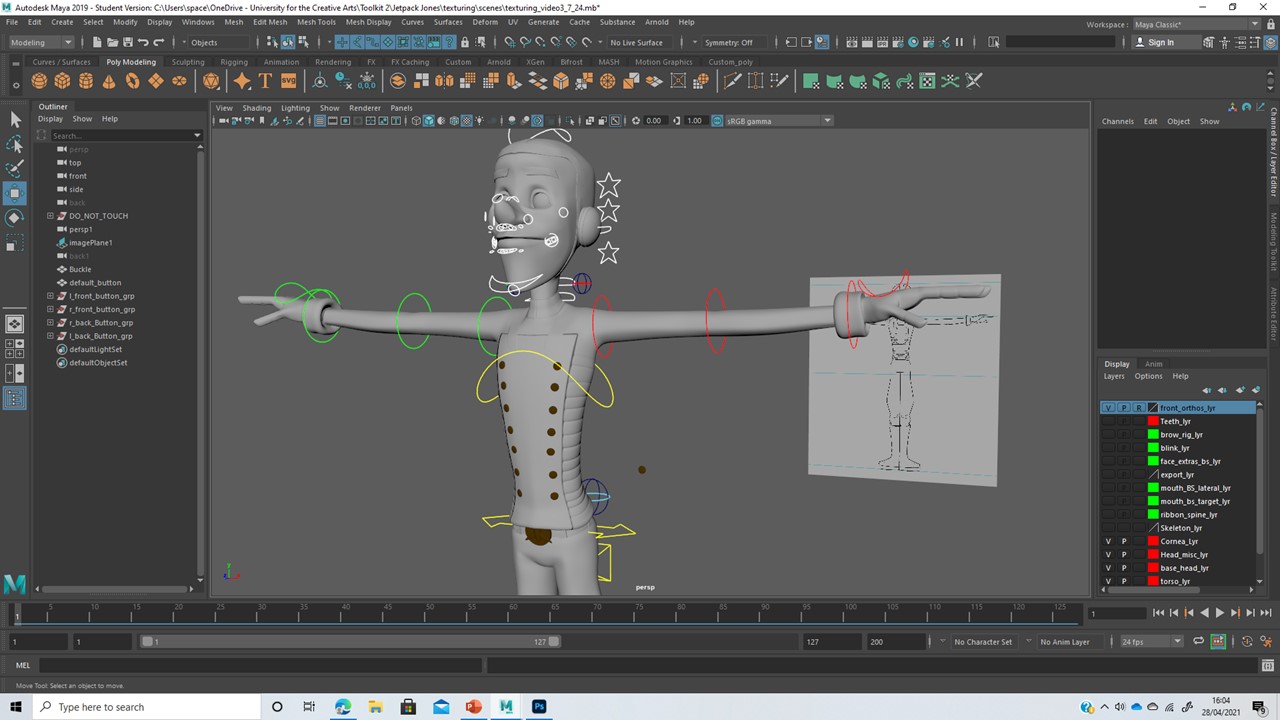
The texturing area of Toolkit 2 focuses on cosmetic character aspects, mostly involving the creation of texture maps.
Low resolution models, such as those found in games, use normal maps to create the illusion of texture and detail. Normal maps correlate with RGB and the XYZ axis, so the angle in which we see an object determines how the viewport displays the illusion of texture.
 |
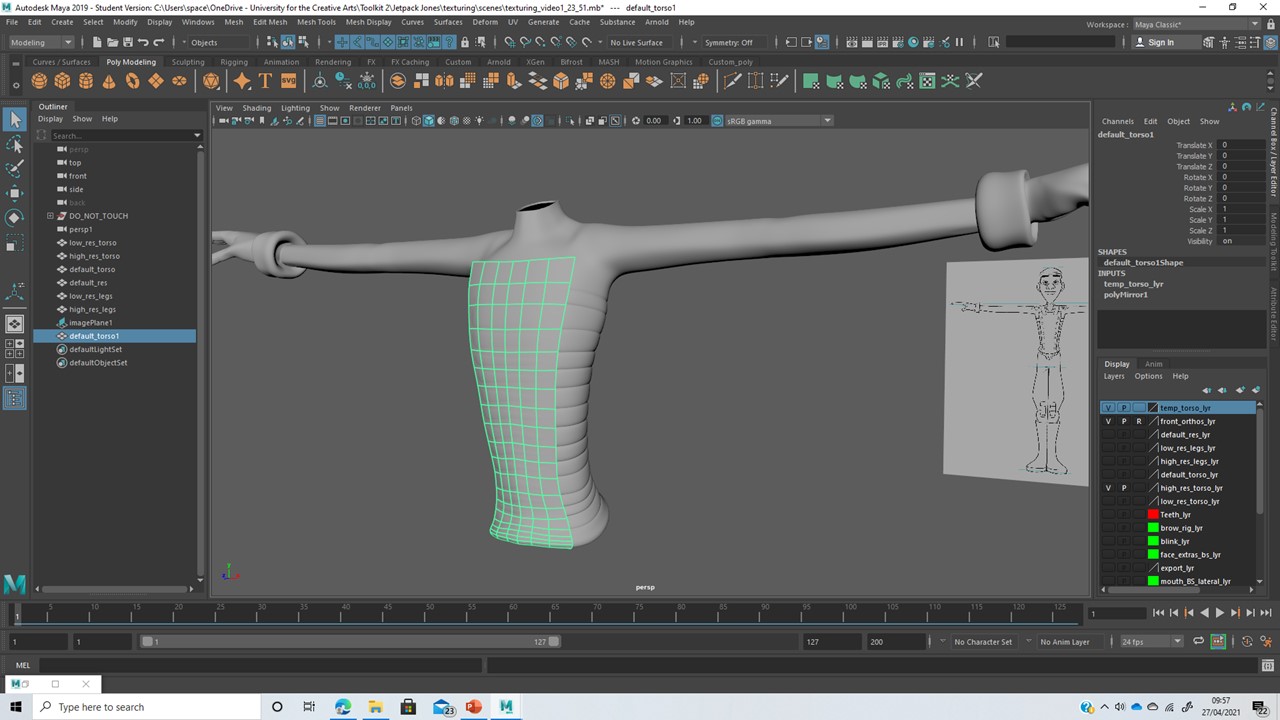
I started the texturing process by creating a high res version of my characters torso. Any raised textures on the character, such as buttons, should be implemented into a normal texture map, this is the purpose of this process. I created a ribbon texture down the torso by bevelling a series of edges and scaling them inwards.
|
 |
| I duplicated he default torso and created a chest plate to replicate the smooth texture through the centre of the characters' torso. |
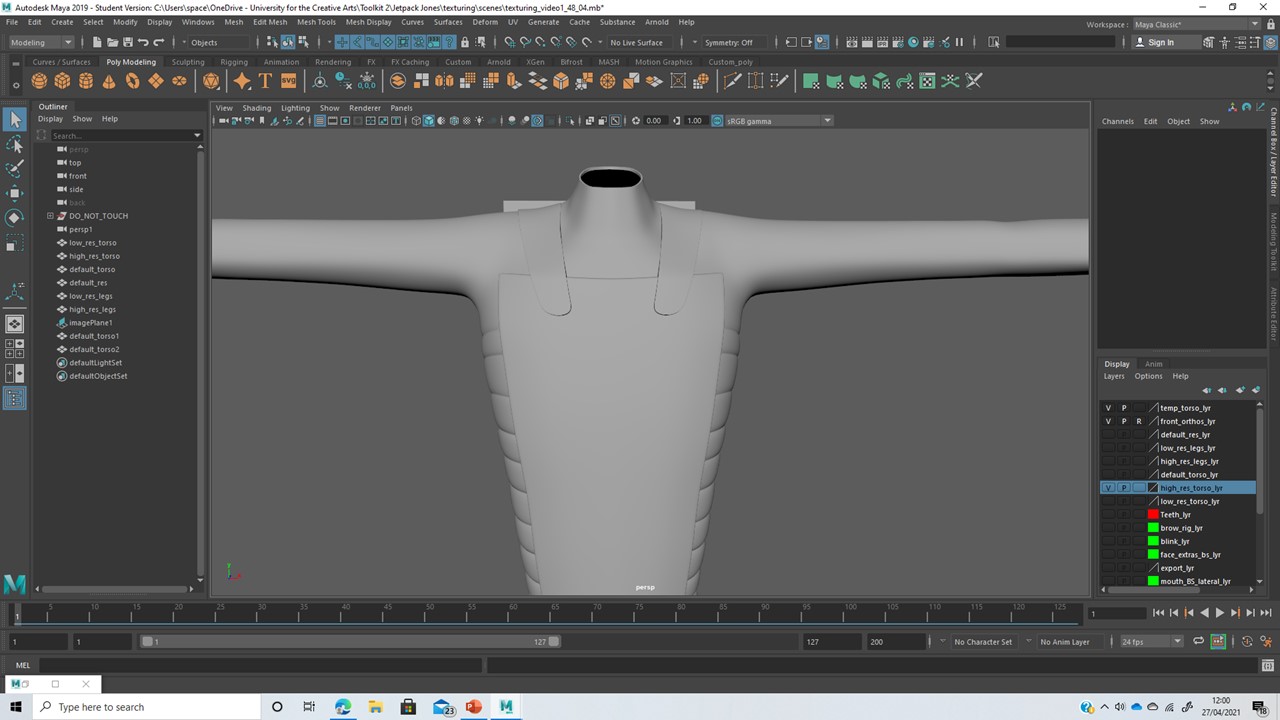 |
| I then created a similar plate for the back of the torso, connecting each side with shoulder straps. I extruded the plates and straps into the torso to give to create volume in the clothing. |
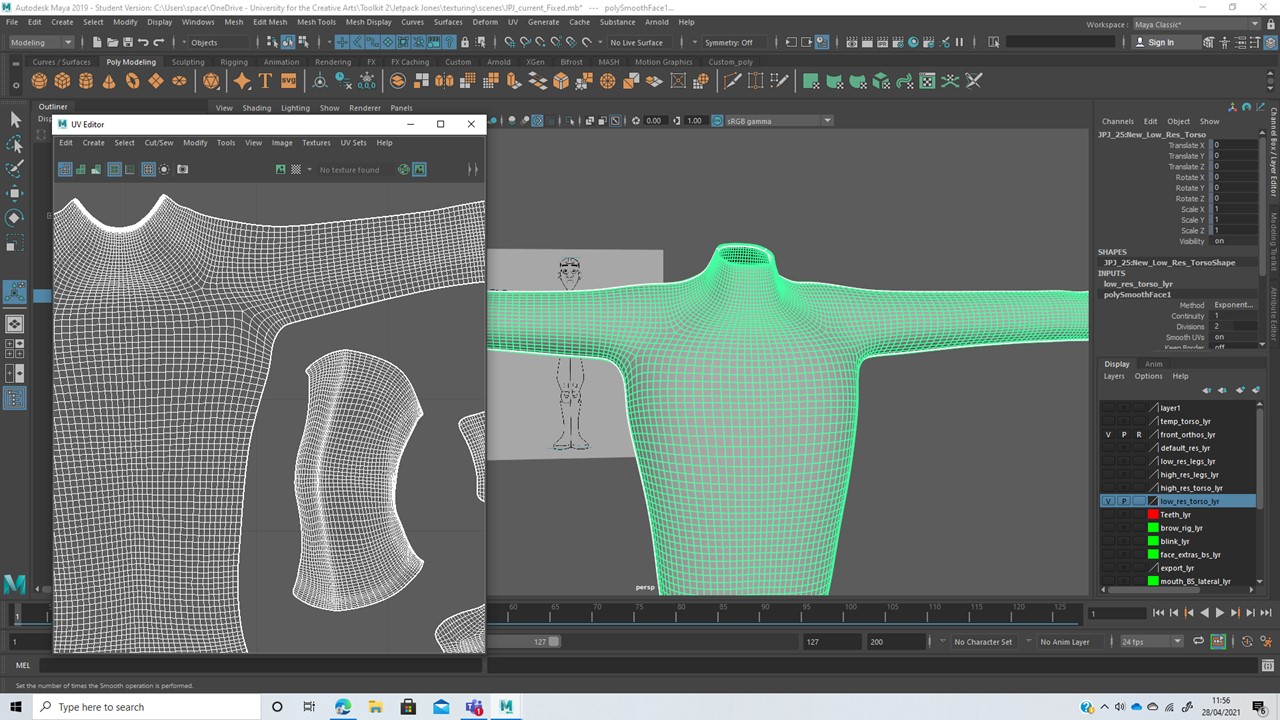 |
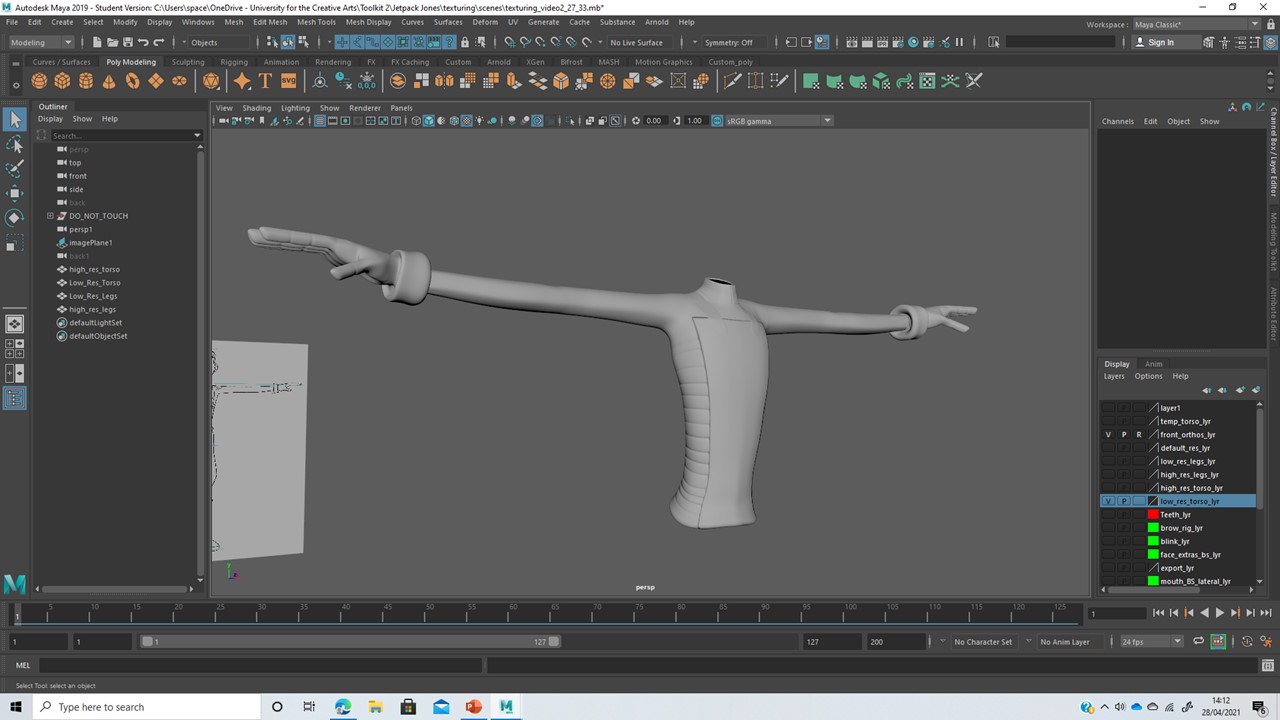
| I smoothed the low res torso (the original without any detail), ensuring the UV's were also smoothed and not preserved. I also smoothed the high res geometry, which will be used to generate the torso normal maps. |
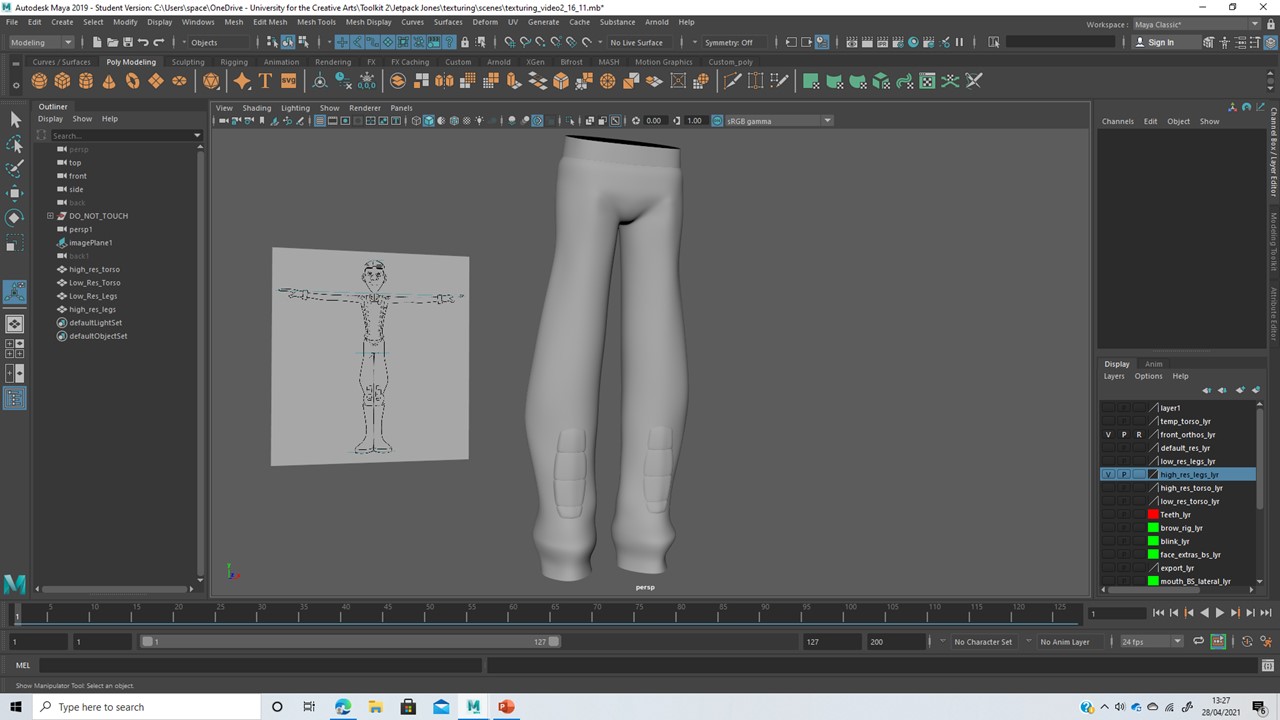 |
| Using the same method as the characters' torso, I created a high res version of the legs by adding knee pads, combining the geometry and smoothing. |
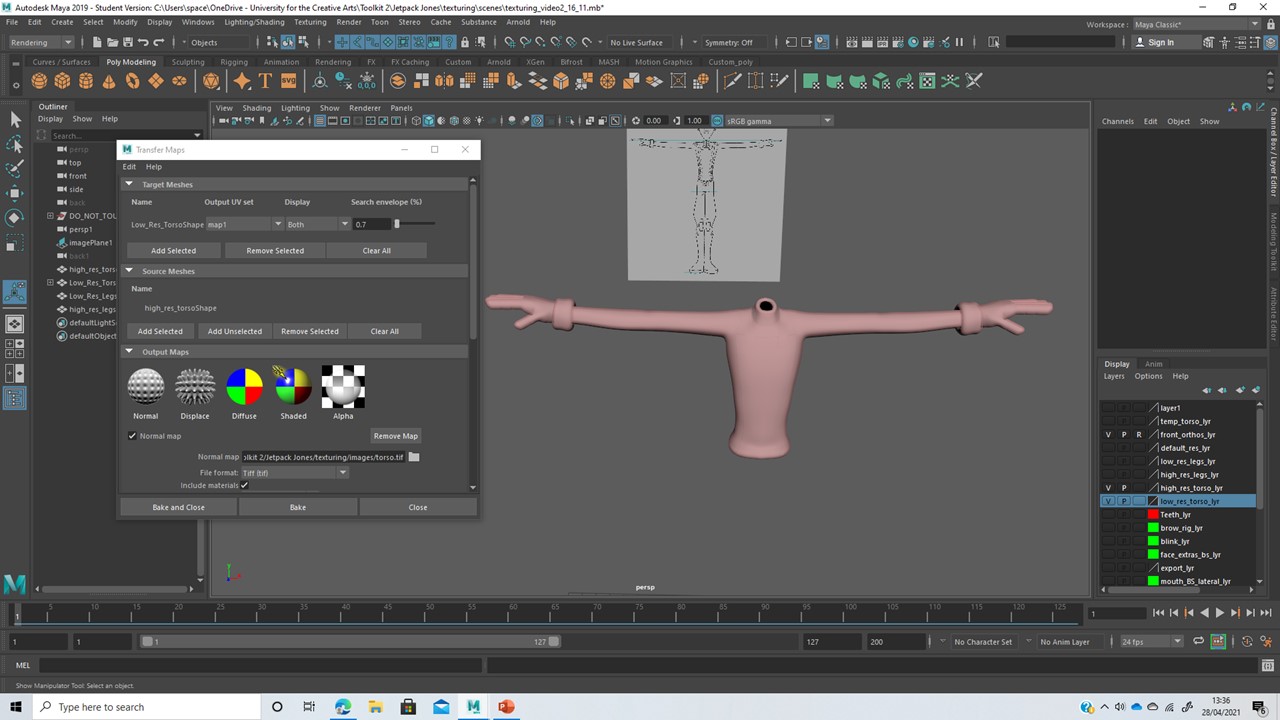 |
| Using the Transfer Maps tool, I generated a normal map, ensuring the 'radius' covers the whole torso so no geometry is missed out of the baking process. |
 |
| I cleaned up the normal map in Photoshop before assigning it to the characters' torso back in Maya. The low res geometry now includes the illusion of detail, taken from the high resolution geometry. |
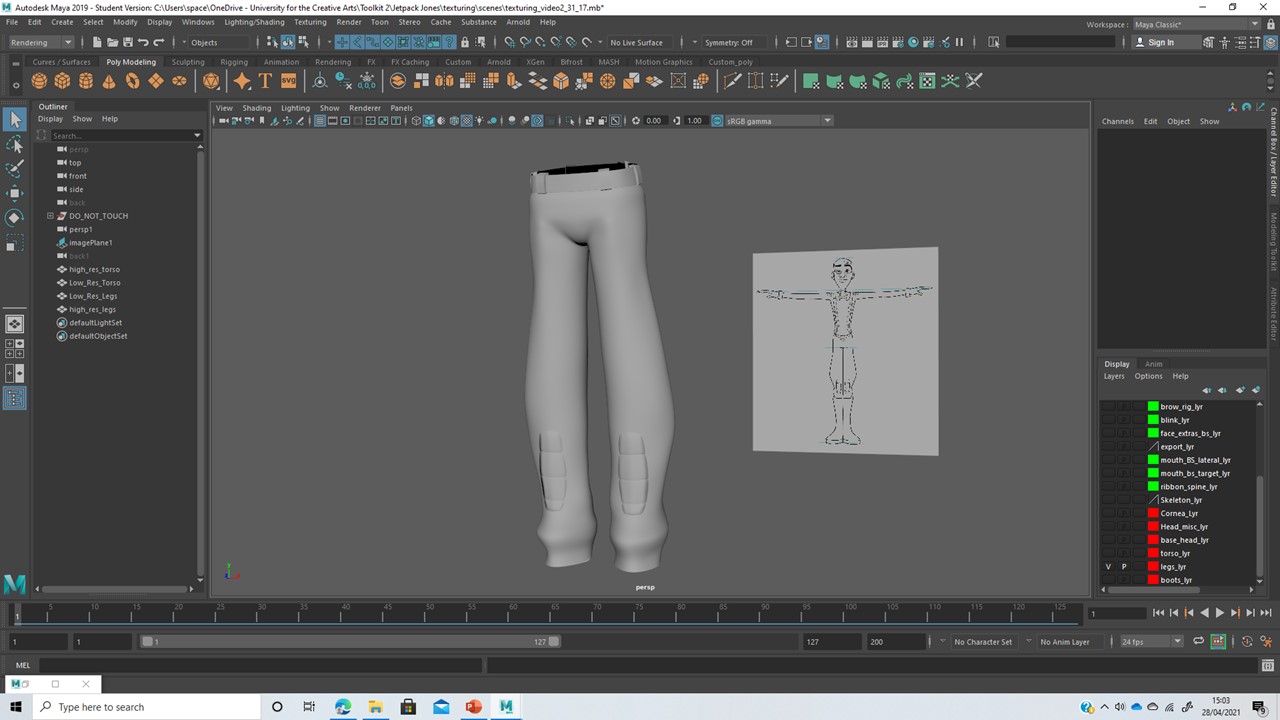 |
| I repeated the normal map baking process for the legs, using the Transfer Maps tool to bake the high res textures onto a normal map, then cleaning up in photoshop and applying it to the characters' original legs as a blinn material in Maya. |
 |
| I then placed the buttons and the characters' belt buckle according to the original orthographs. |
 |
| To include the buttons into the characters’ rig, I duplicated the torso to make a piece of mesh geometry. Once the duplicate was re-attached into the rig, I deleted away torso geometry until I was left with small areas around the buttons. |
|
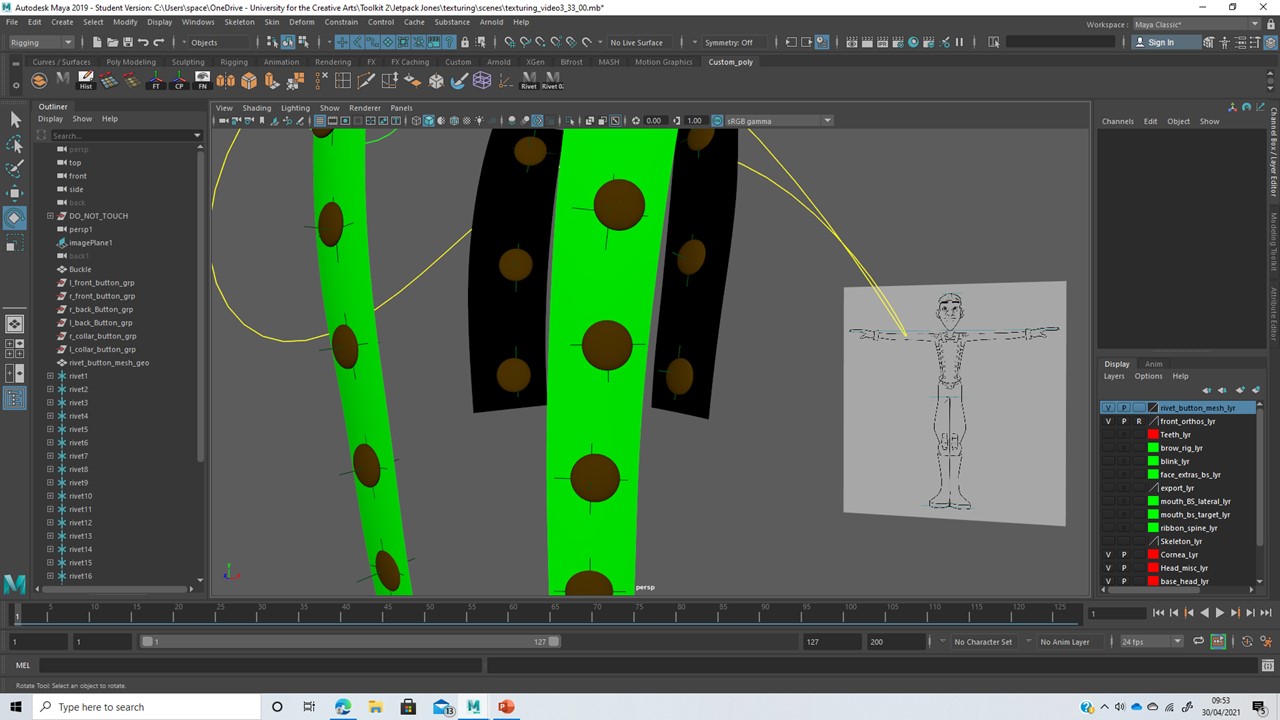 |
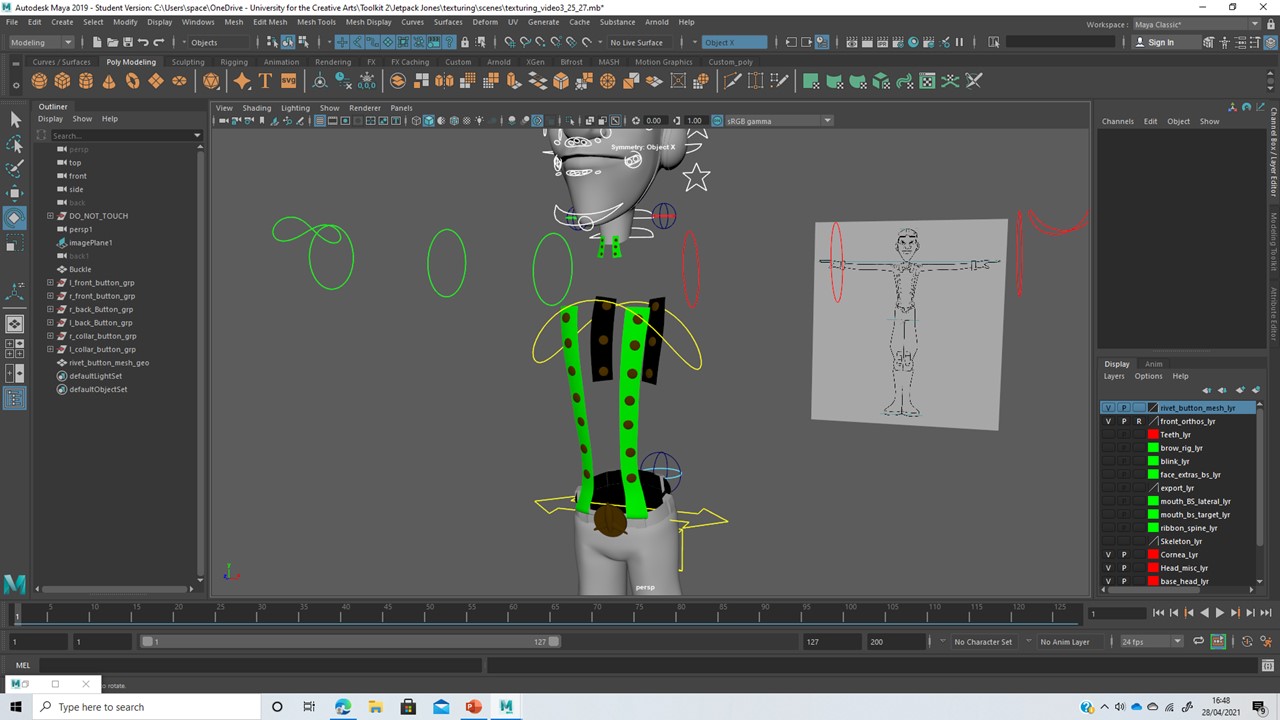
| I then Imported a rivet script into the scene, creating a shortcut button. I went around the rivet mesh and attached the buttons by creating locators using the rivet script, parenting each button to its locator, and then scale constraining the locator to the master control. Each button now moves with the green rivet mesh appropriately. |
|
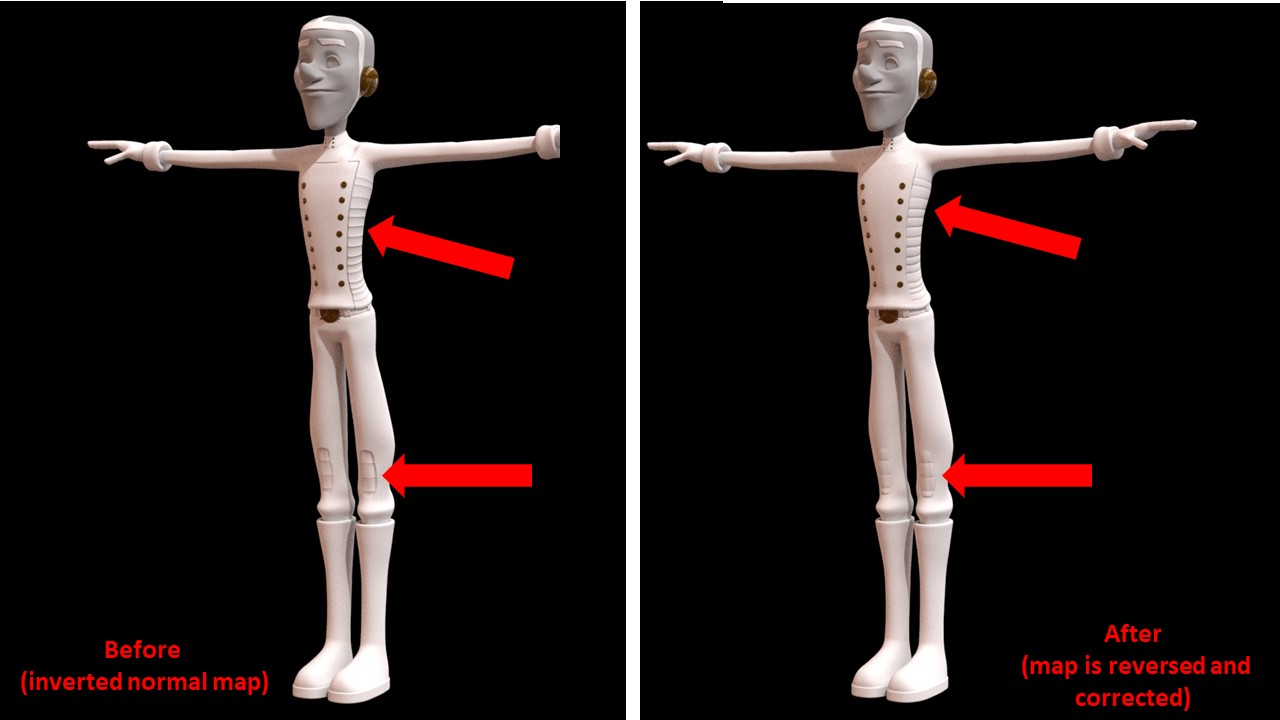 |
| Next, I assigned different standard surface materials to the character and created a test render with a skydome and directional light. The render shows an inverted normal map, identifiable by the knee pads, which look inward facing. |
|
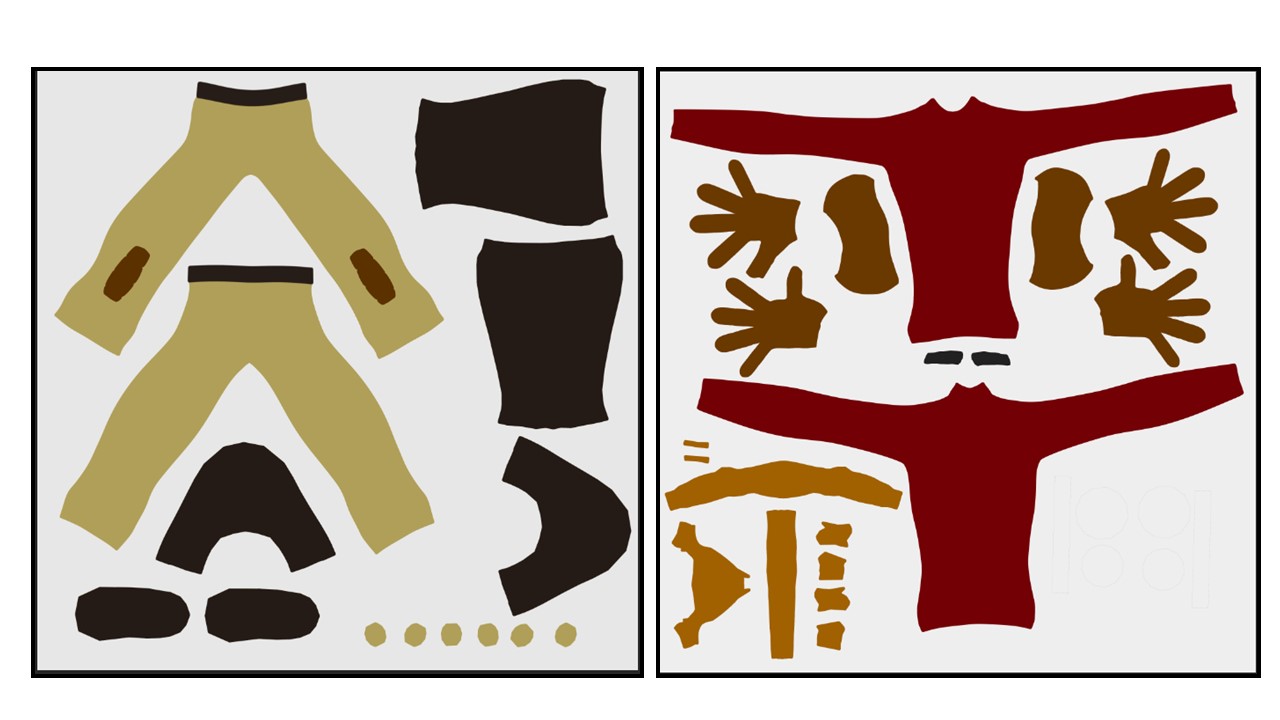 |
| Working within photoshop, I created some clean base colour maps for my character, sampling from a coloured character drawing for accuracy. The colours sampled must be darkened to work with Maya’s ambient occlusion. |
|
 |
| I applied the basic colour maps to the character, adjusting material attributes and rendering out a test. |
|
 |
I then created separate materials for the skin and tongue, working with their attributes to create the effect of real skin.
|
|
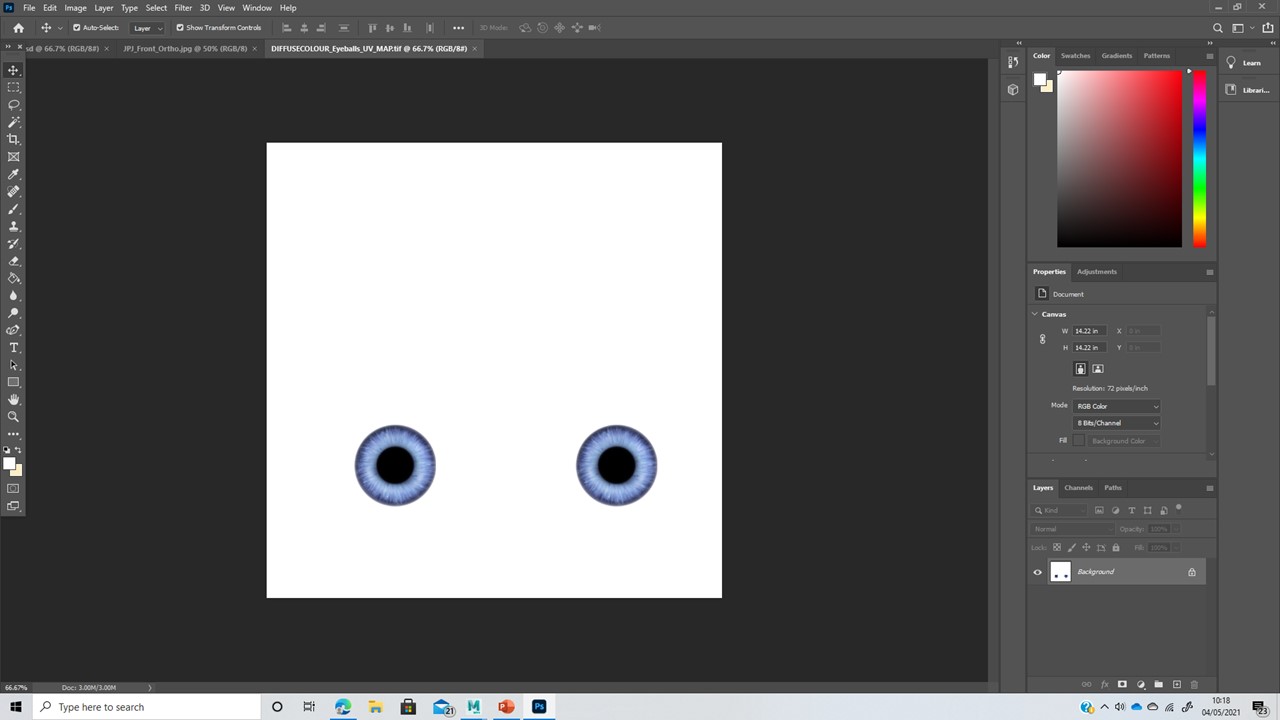 |
| Added an iris texture over the eyeball UV map in Photoshop, and plugged this into the colour and subsurface channels of the eyeball geometry in Maya. I also made sure to give the eyeballs a slight offset angle, as real eyeballs aren’t perfectly straight; they look inwards slightly.
|
|
I imported the characters' head and body mesh into Mudbox as two separate projects, working with layers to build subtle shadow detailing on the skin and clothing.
Once completed, I adjusted the textures in photoshop, adjusting shadow tones and lip colour. I tested my outcomes in Maya by refreshing the files linked to my materials. 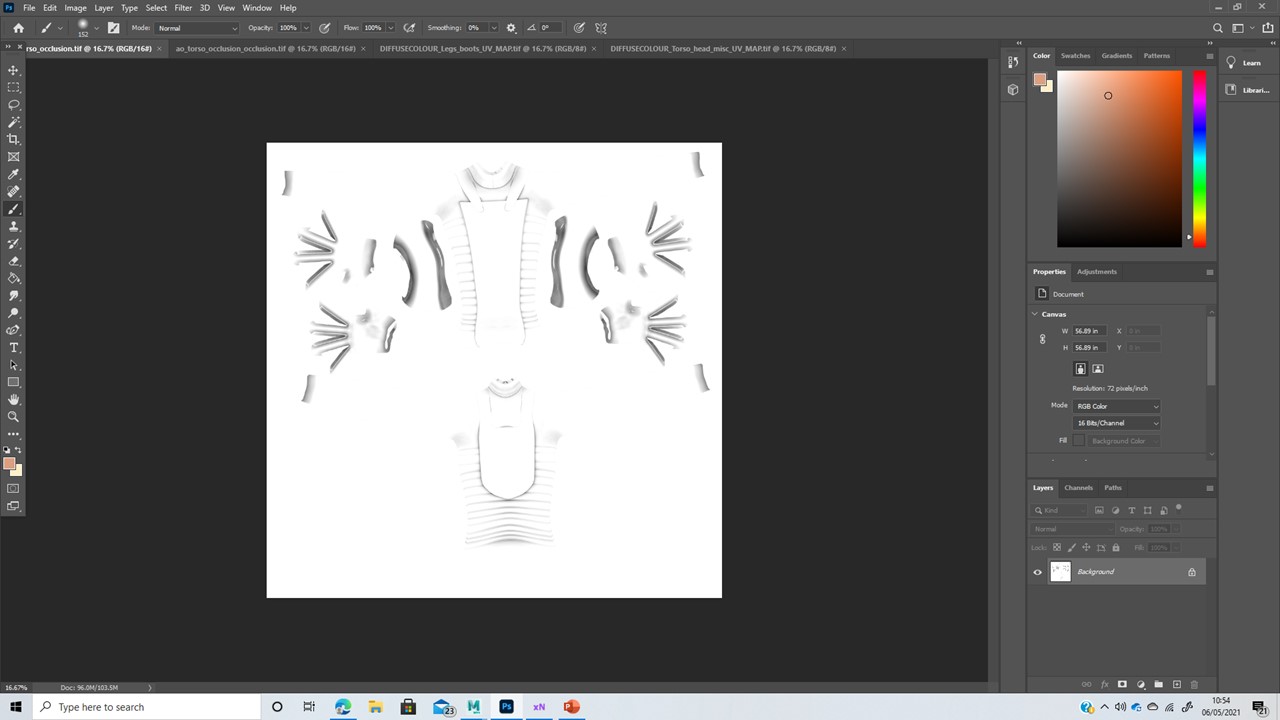 |
| Finally, I created an ambient occlusion pass using the program Xnormal, I cleaned the map in Photoshop and added it to the diffuse colour map for my character. |
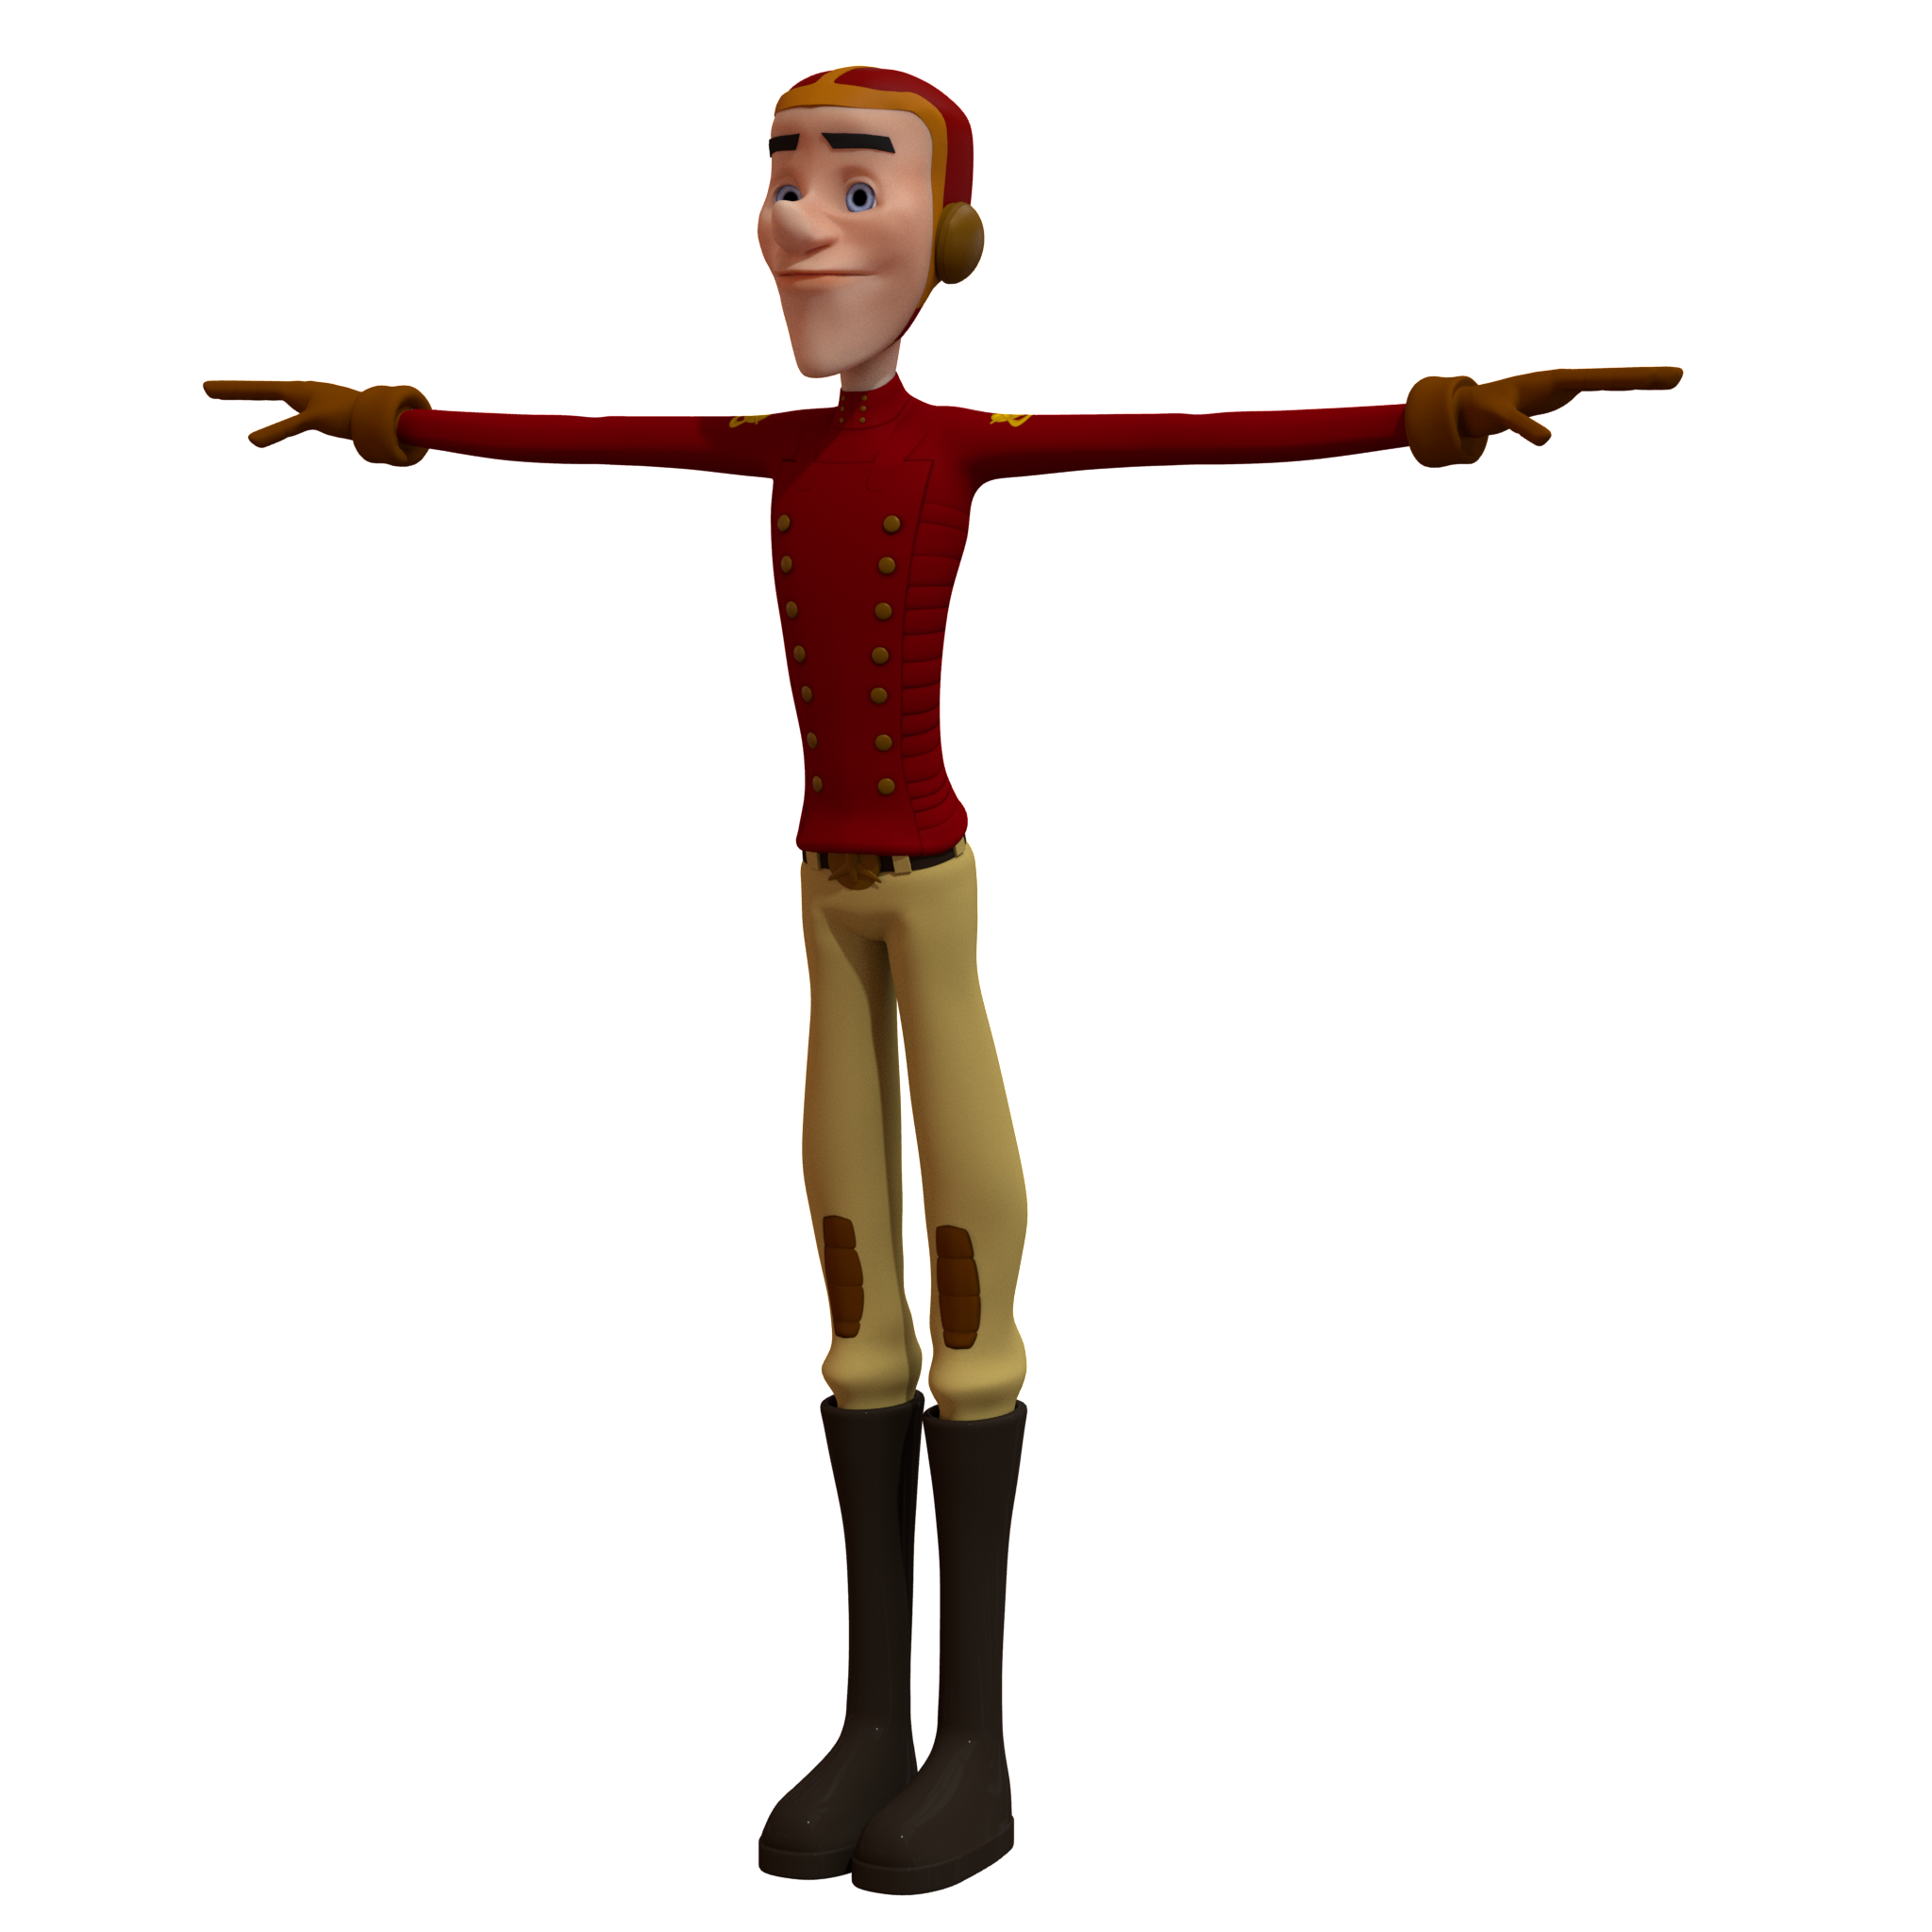 |
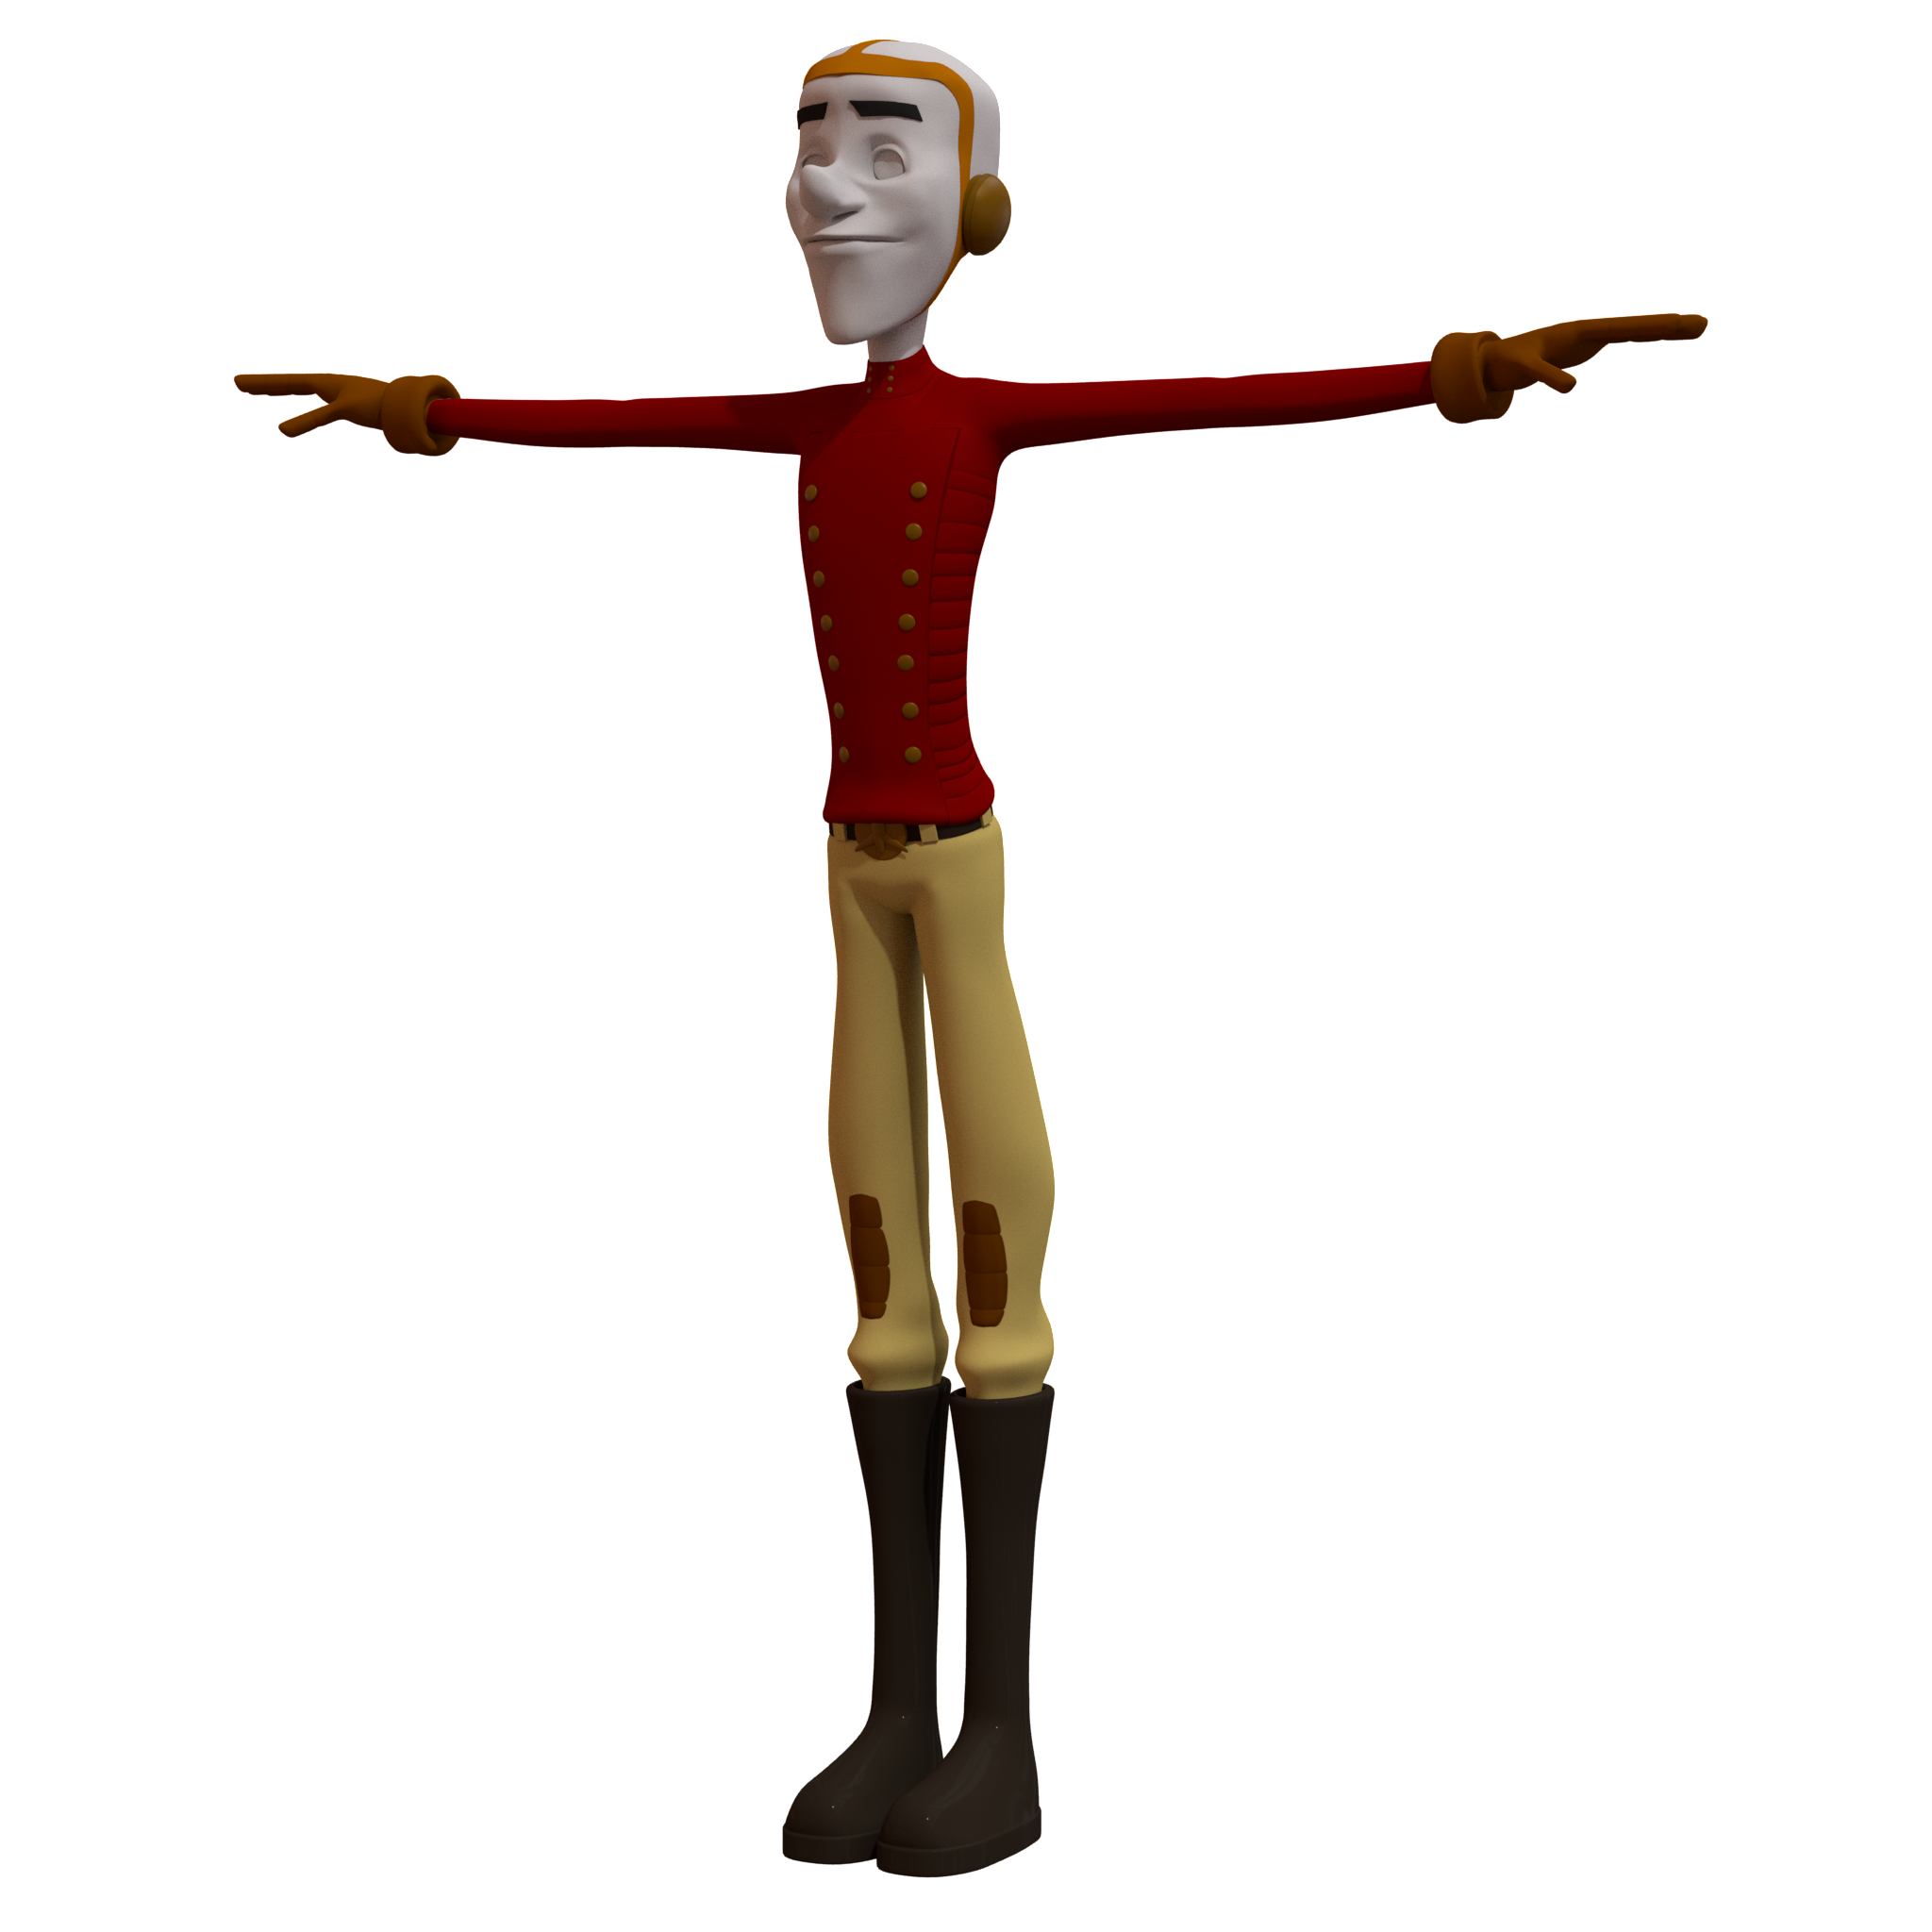
| Jetpack Jones Body Render |
 |
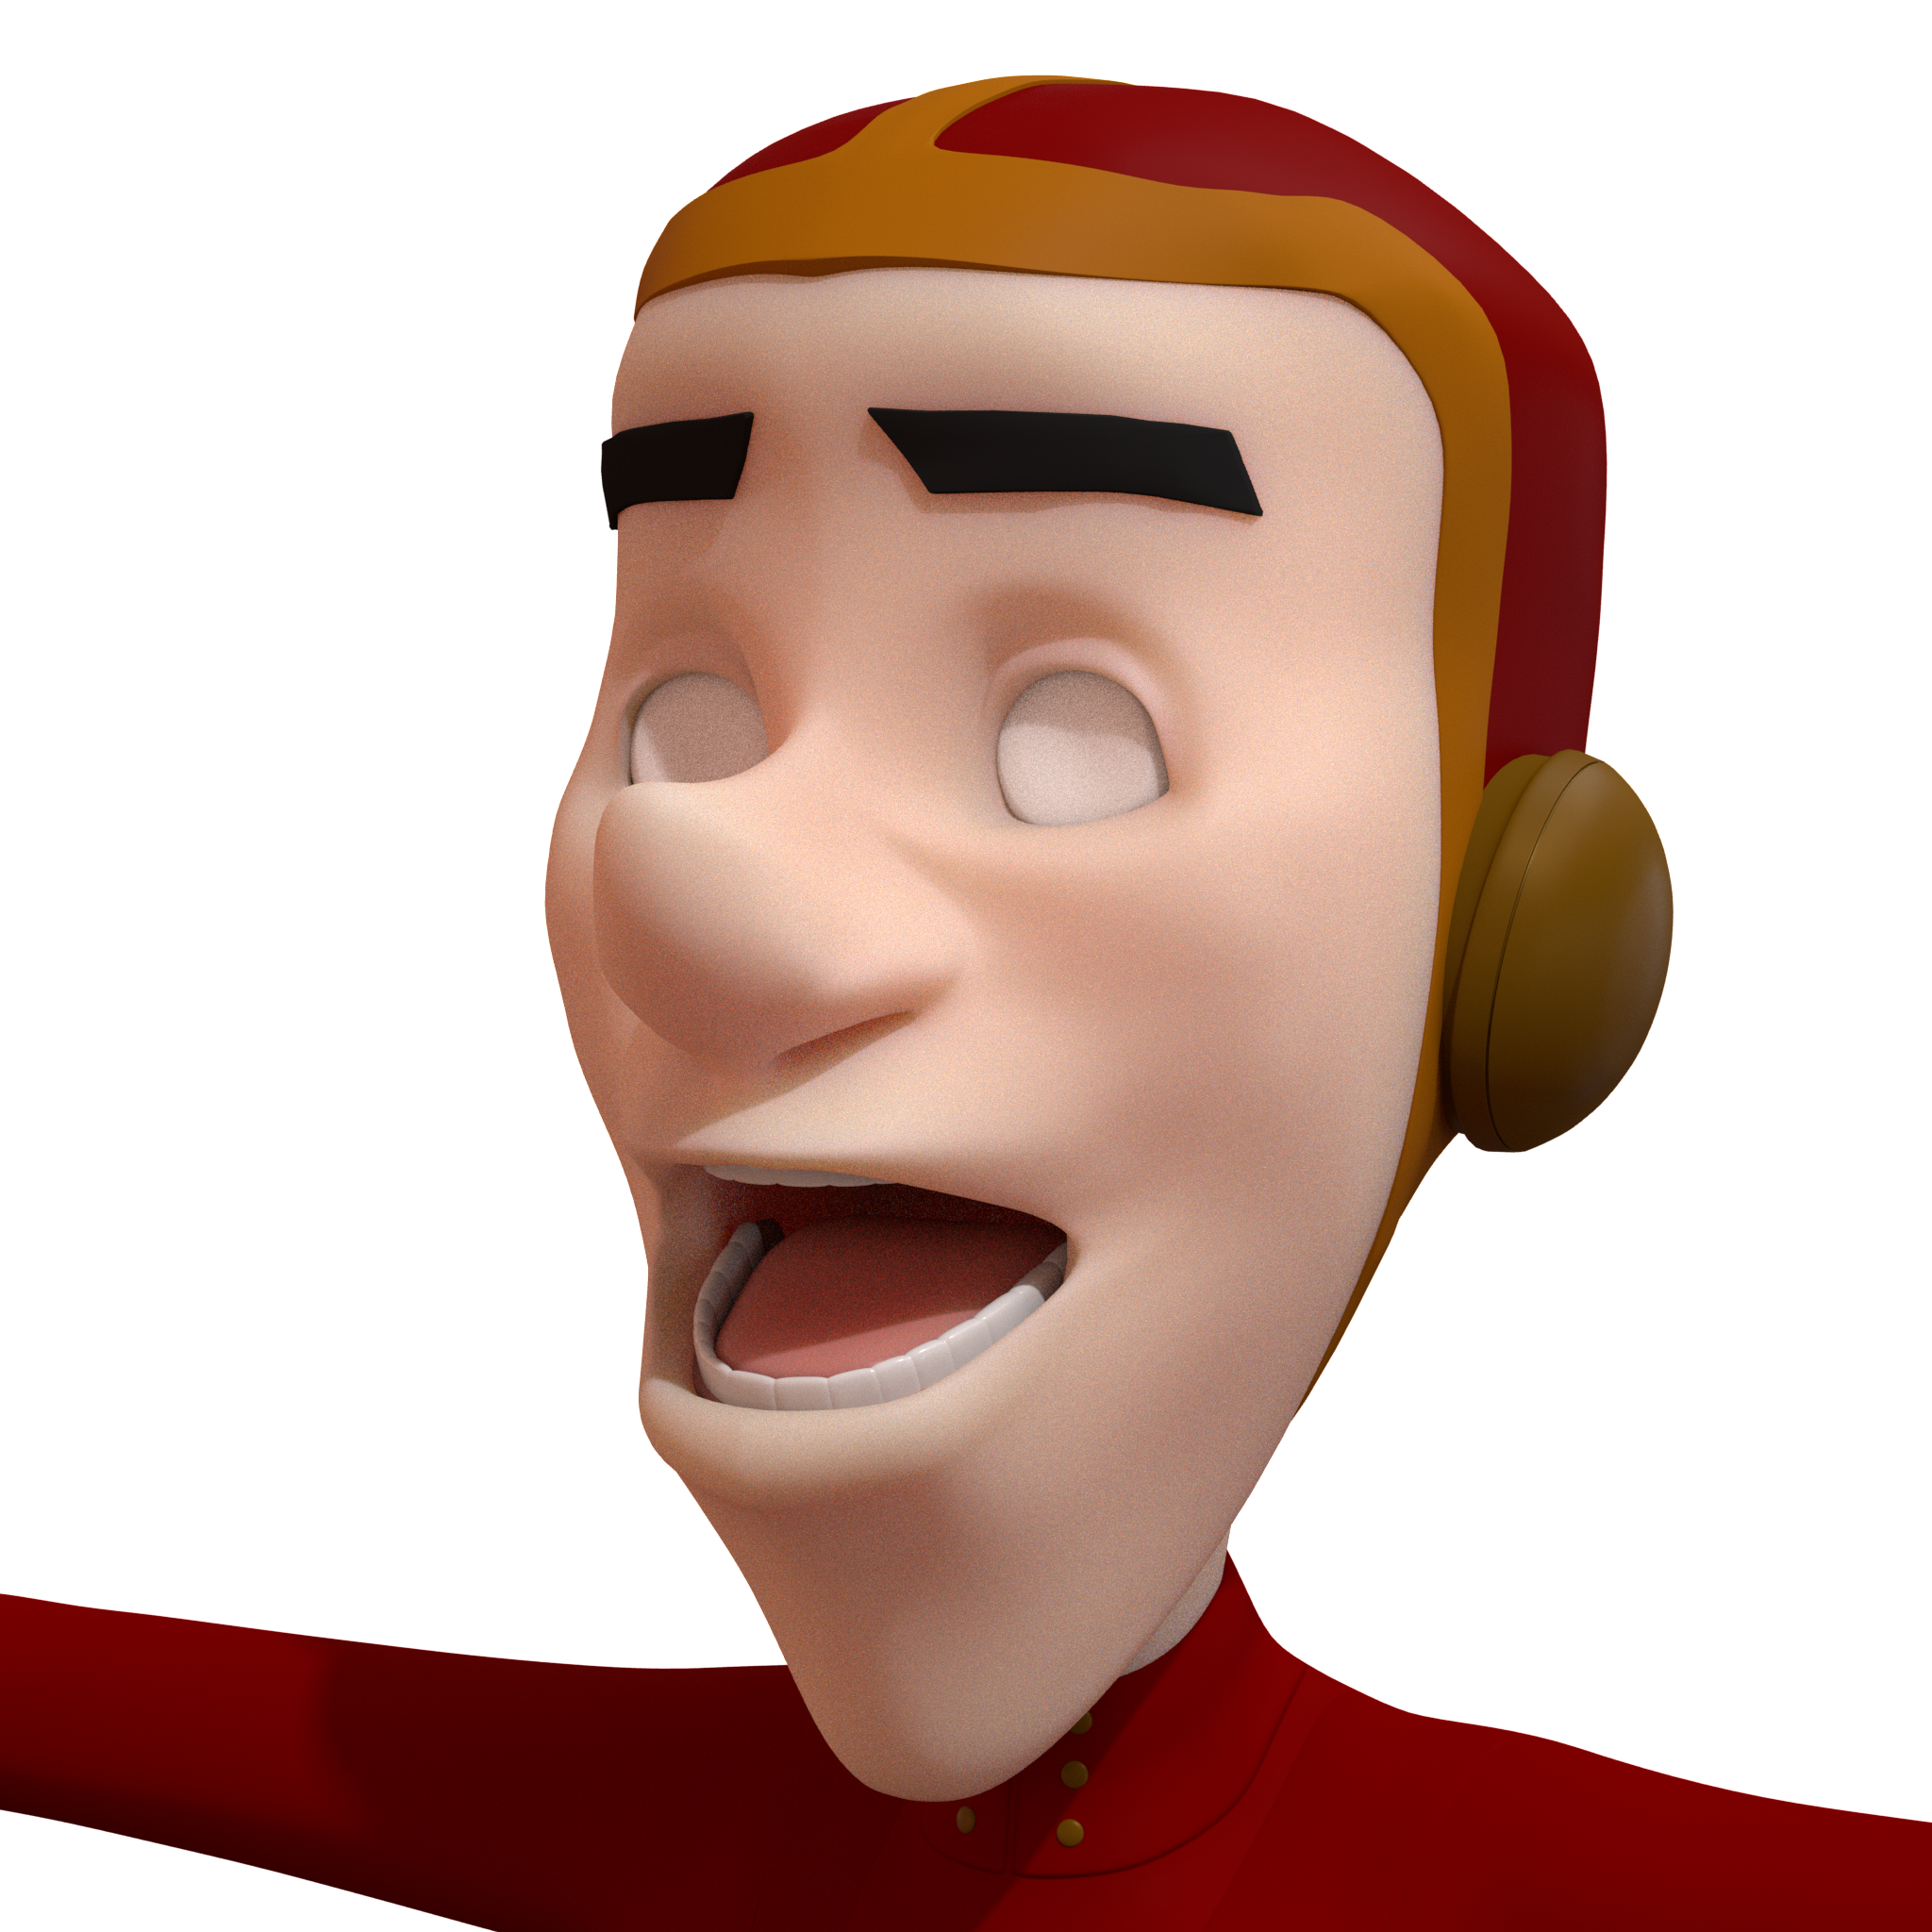
| Jetpack Jones Face Render |
The rendered outcomes required additional subsurface scattering in Arnolds render settings to produce a crisp render of the characters skin. I'm happy with the detailing on the clothing, and the pink airbrushed finish to the skin. The face looks a little strained, but this can be fixed by lowering the eyelids and eyebrows using the rig's controls. The model is now ready for turnarounds.


Comments