Skinning a 3D model involves constructing a functional internal skeleton that manipulates a model's exterior. Joints are used to create a skeleton, which can pivot and move like real bone connections. I found skinning to be more challenging than modelling, because the process is meticulous and easy to damage. For example, parenting joints in the wrong order will affect the entire skeleton hagiarchy. If a mistake is made and discovered later, the only course of action is often to restart. Over time, skinning can become very frustrating. However, I'm relatively pleased with the skeleton, binding, blending and deforming I was able to achieve for my Jetpack Jones character.
Building a Ribbon Spine:
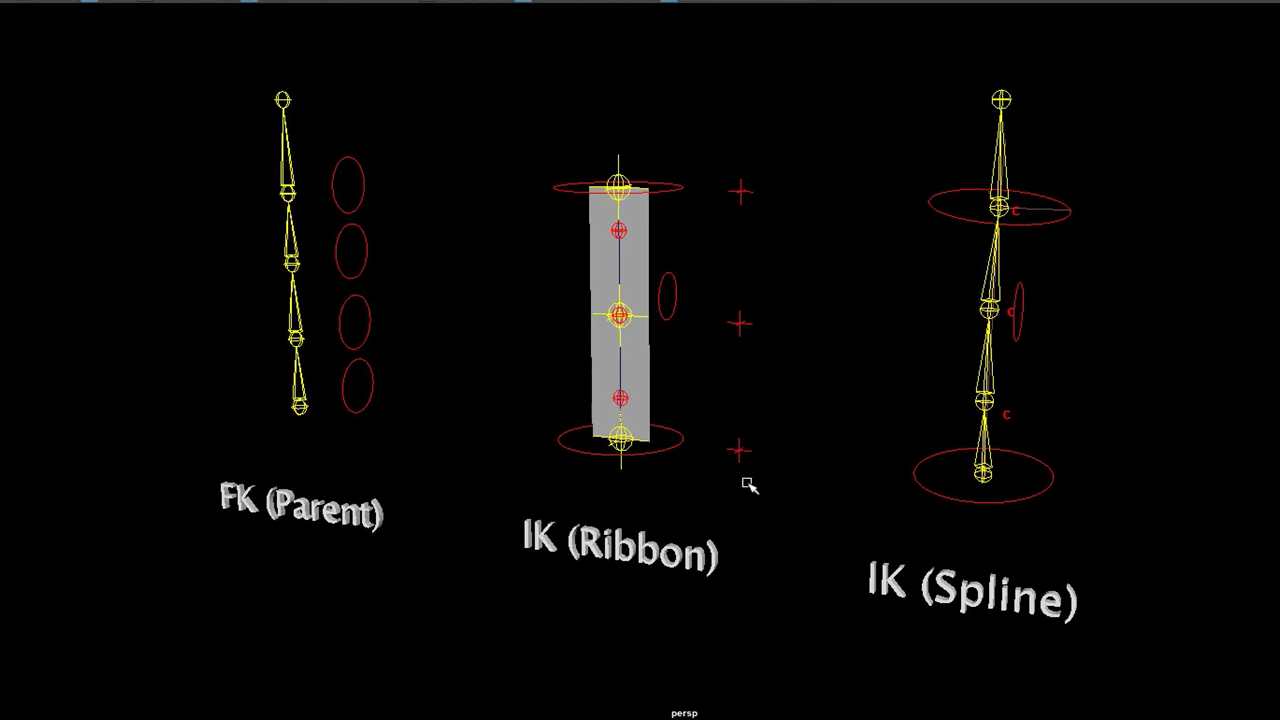 |
The first step to building a skeleton was deciding on a spine. I learnt there's three main types; an FK Spine, which mimics stop motion puppet movement. This type of spine is bent from the base and sculpted upwards. An IK Ribbon Spine involves a series of joints to drive a plane. This spine has advanced squash and stretch, making it flexible. A ribbon spine is versatile and can be used for limbs as well as back spines. An IK Spline Spine is a series of joints with a curve in the centre. The spine moves based upon this centre curve, which can lead to problems with a smaller number of joints.
For my Jetpack Jones model, it was appropriate to use an IK Ribbon Spine (centre of image). |
Building a Skeleton:
 |
Similarly to spine building, skeletons also have different build options. However, only one chain in the above image is correct. Chain 1 (far left) is incorrect, because the angle is centred. Therefore, Maya will choose which way the joint will bend, very random. Chain 2 is also incorrect, from different angles we'll see a bend in two directions. The joint should only bend from one perspective like a normal human joint. Chain three is also incorrect because, in the channel box, we'll see the joints containing rotational values. This will cause problems with controls and constraints further down the pipeline. These values must be removed. Chain 4 (far right) is correct because the skeleton has one directional bend and no rotational value within it's joints.
When working in a studio, it's important to know what their 'default axis' is within the joint tool settings. When working solo, the default axis can be left alone. |
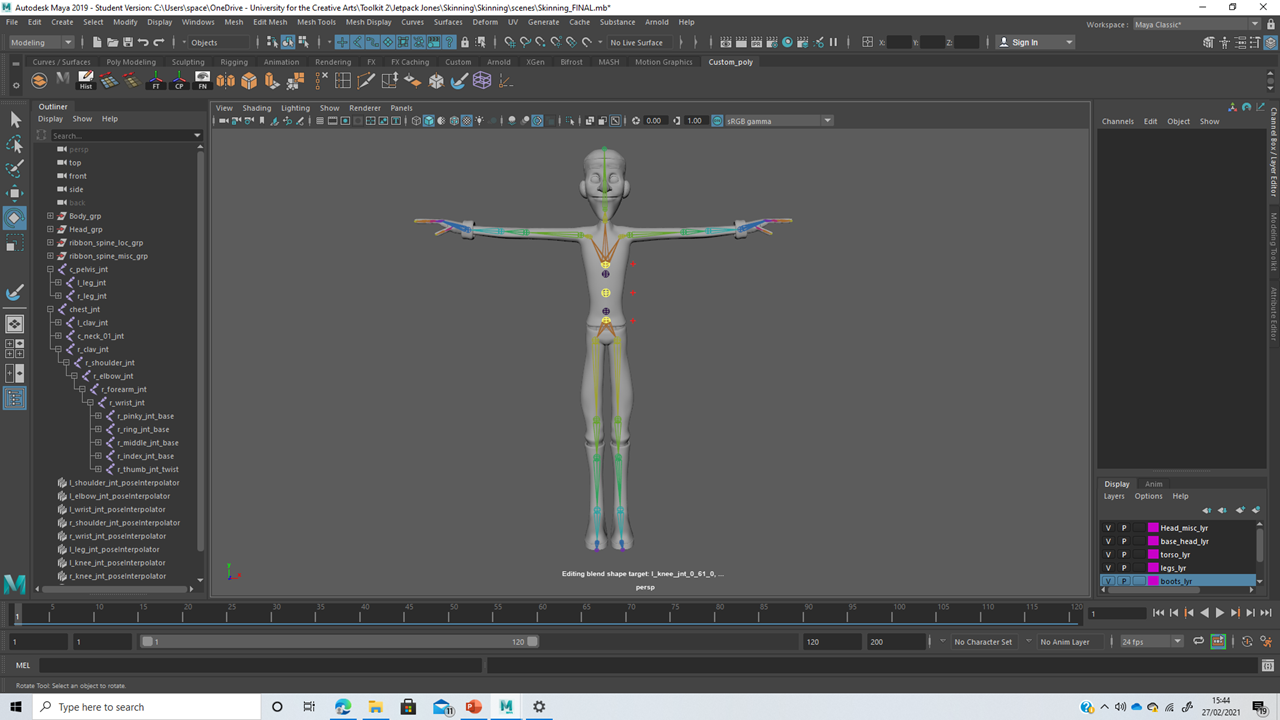
 |
| The image above reveals the finalised skeleton. We can see each limb connecting to the centre ribbon spine. |
Binding & Weight Grouping the Mesh:
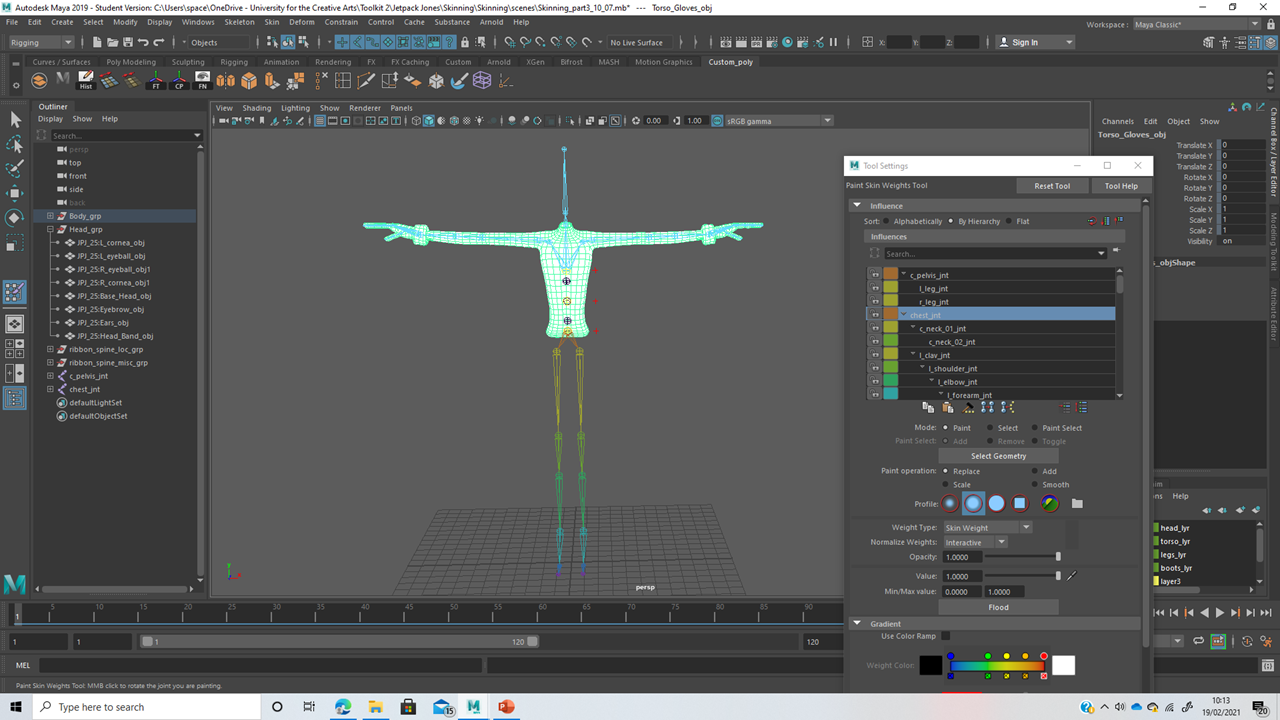 |
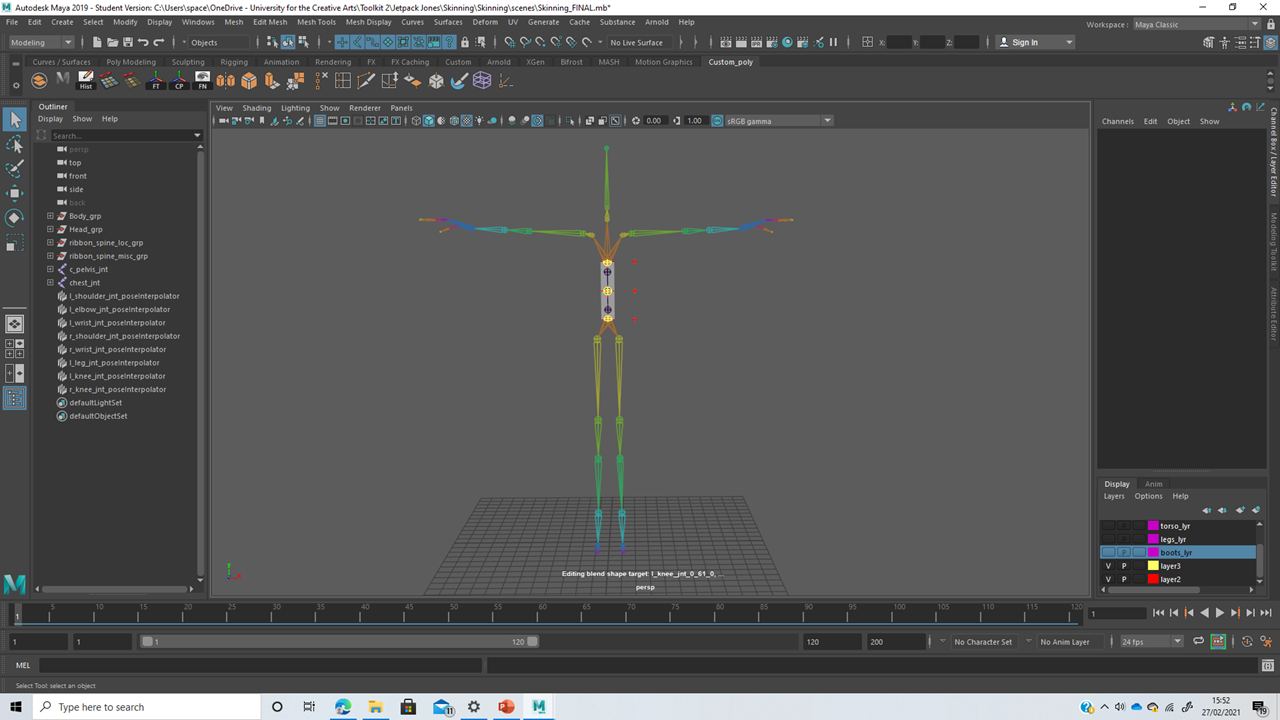
| Binding involves taking groups of vertices and assigning them to a joint within the skeleton. This creates an accurate response and reaction to the movement of joints. Binding can be achieved by selecting a desired piece of geometry and its correlating joints before going to the Bind Skin Options and clicking bind skin. |
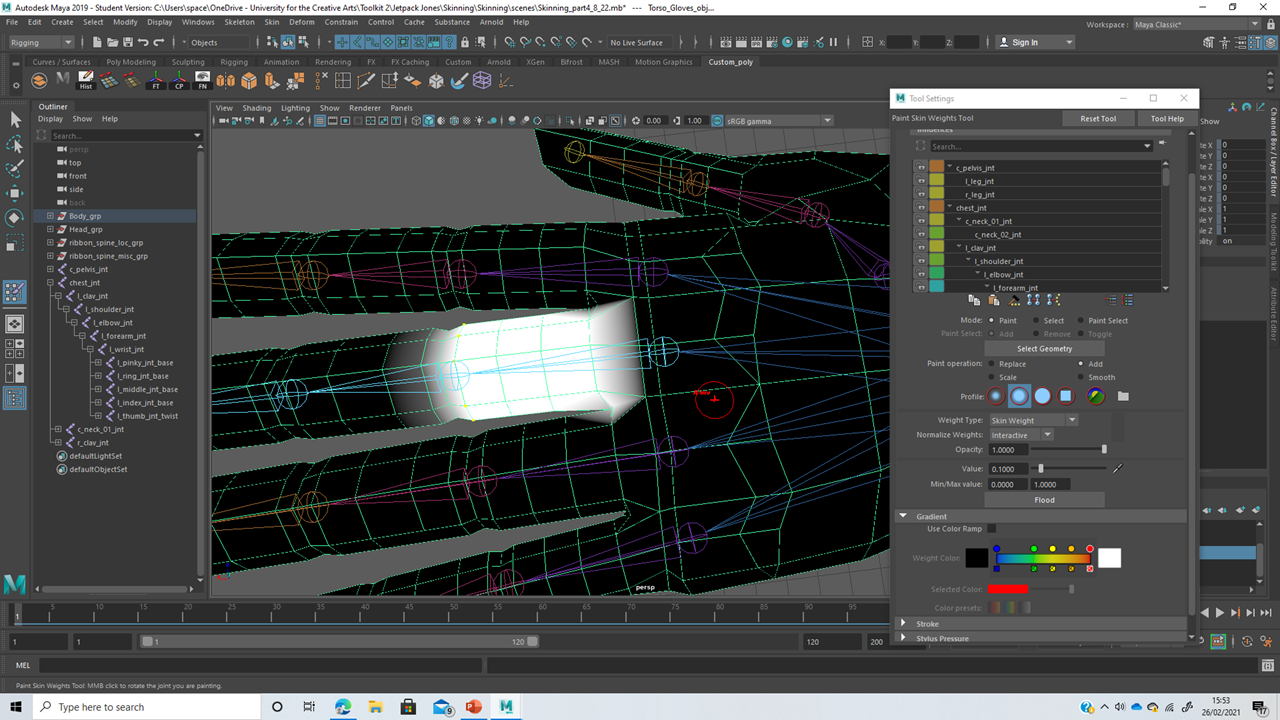 |
| Once a model's entire geometry is associated with the skeleton, weights can be distributed more accurately using the Paint Weights tool. By selecting a smaller area of vertices, we can use Paint Weights to toggle the joints it's responding to. |
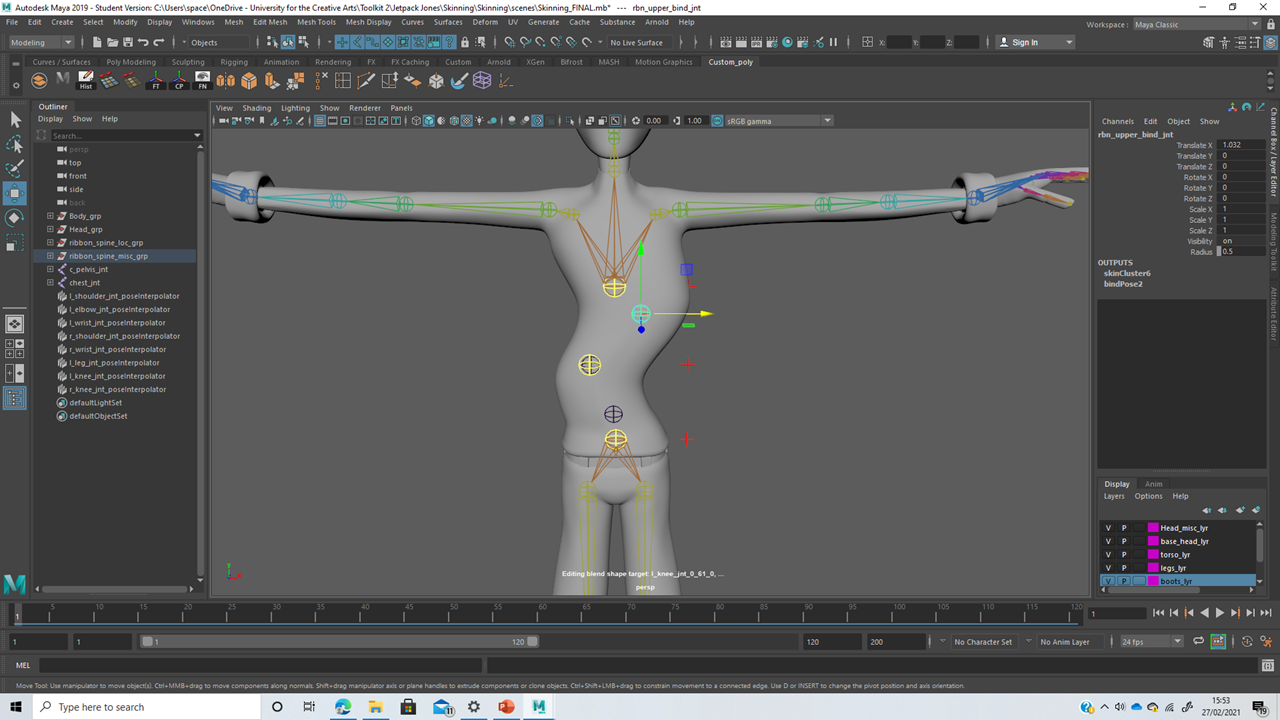 |
| Using the Paint Weights tool helps create more accurate geometry movement by creating an ease in-and-out around a joint in motion. This was especially important for the spine; vertices had three spinal joints to be assigned to accordingly for fluid bending. |
Blending:
 |
| Space deformers are used to adjust geometry binding as it reacts with different angle movement. Pose Interpolators (within the Pose Editor) are used to set different geometry responses to various joint movement possibilities. |
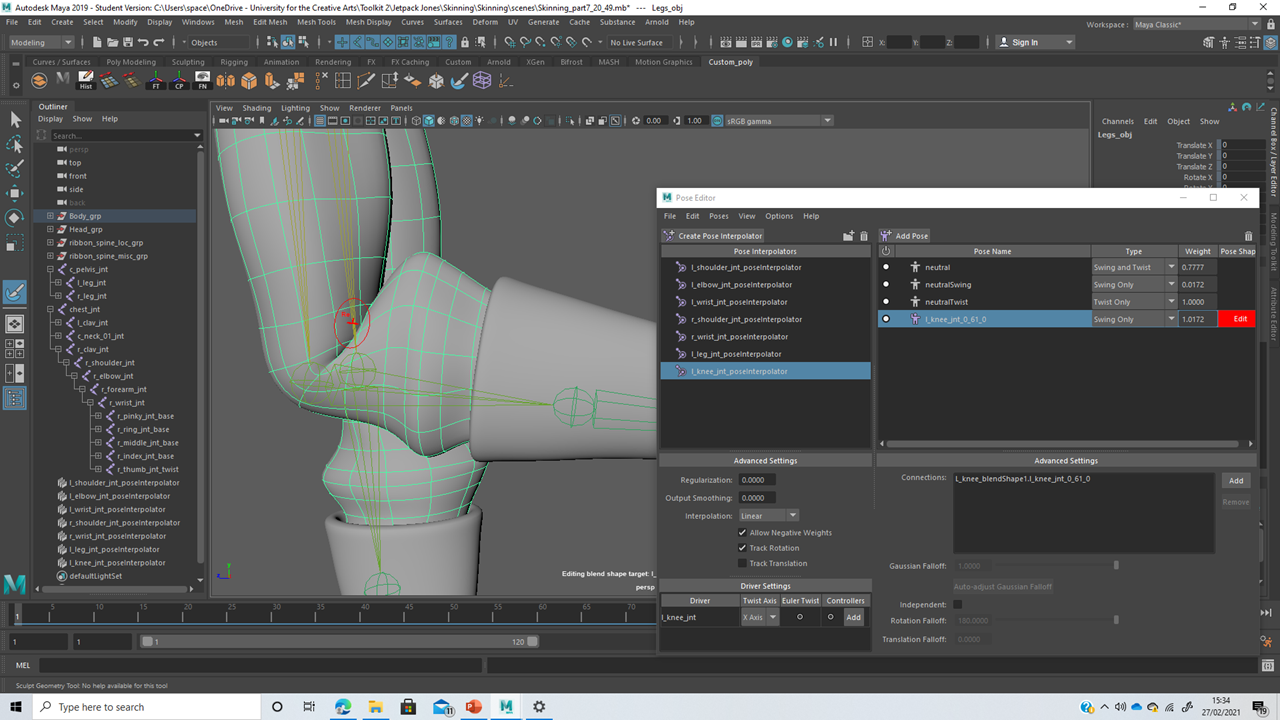 |
| Most joints needed four different interpolators for up, down, left and right movement. The characteristics of skin and material should be taken into account when deciding on geometry adjustments. |
 |
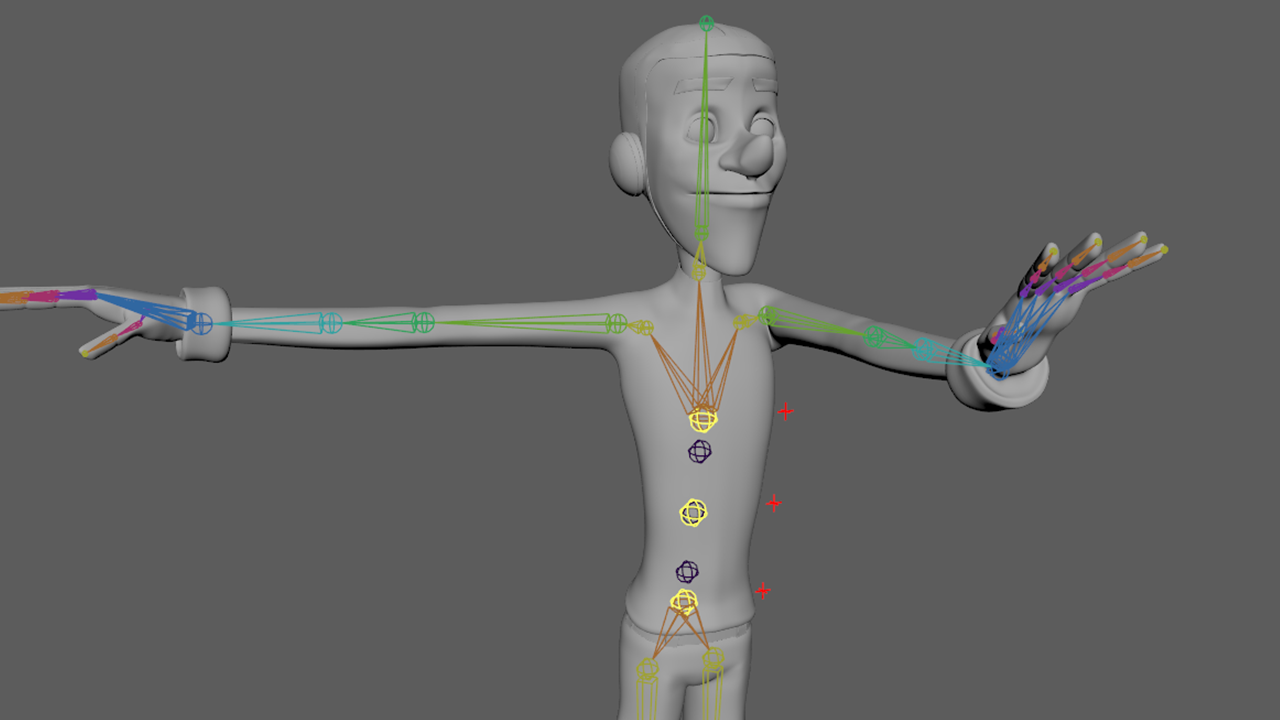
| Above, an image of a fully skinned model. The character is now equipped with a working spine using a ribbon spine, binding weights, blending and space deformers. |


Comments