 |
| Additional Renders at the bottom of this blog post. |
I started the Cabin modelling process similarly to my foliage assets, with mood boards and illustrations. I compiled some photo influences to ensure that my architectural design was grounded in real building logic, codes and conventions. I then moved on to isolating my own design through colour pelleting and orthographs.
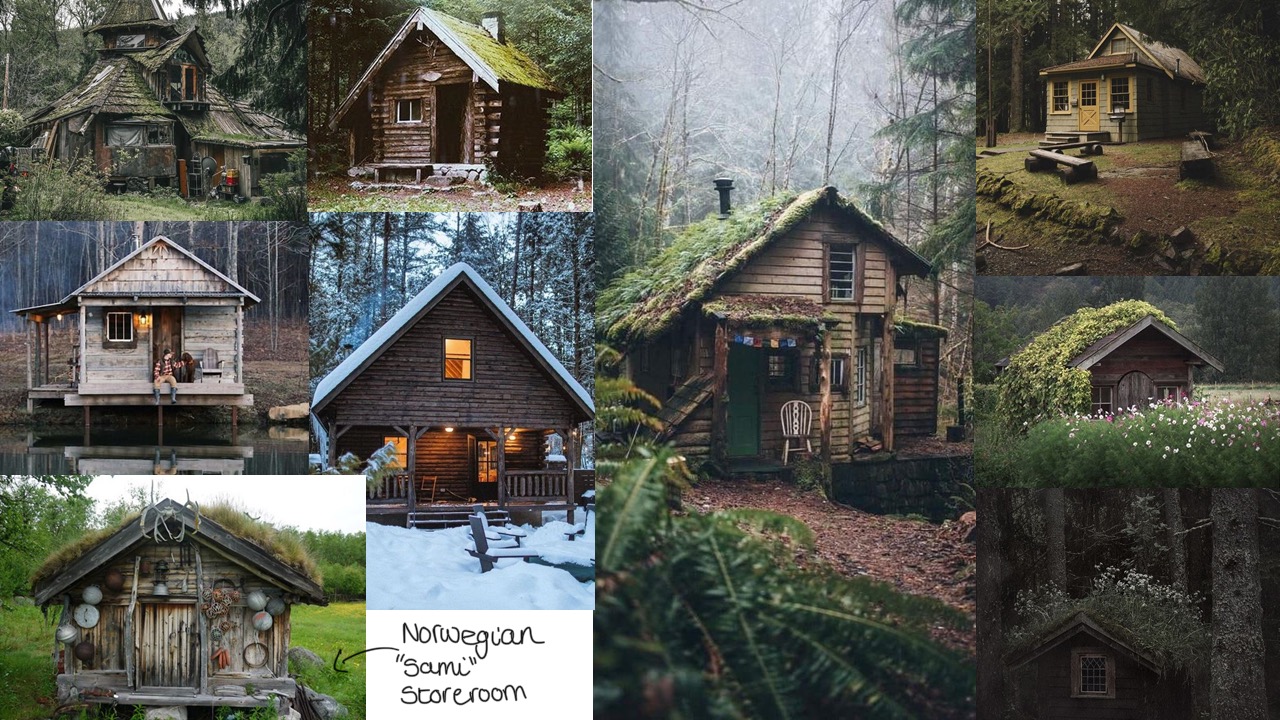 |
| Above, a Scandinavian-inspired cabin mood board. Some aspects of these buildings are common and standard, such as the use of wood and the one room simple silhouette, whereas other elements like windows differ between each building and I therefore had more artistic liberty on the windows of my own cabin design. |
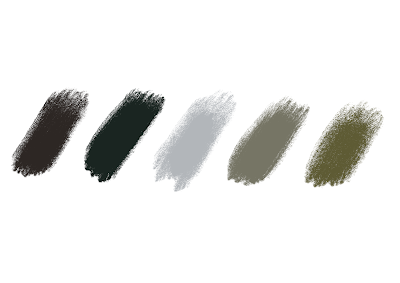 |
| Above, a selection of muted and low saturated colours taken from my mood board. This colour story is prevalent in my previous concept art compositions, which I wanted to honour. |
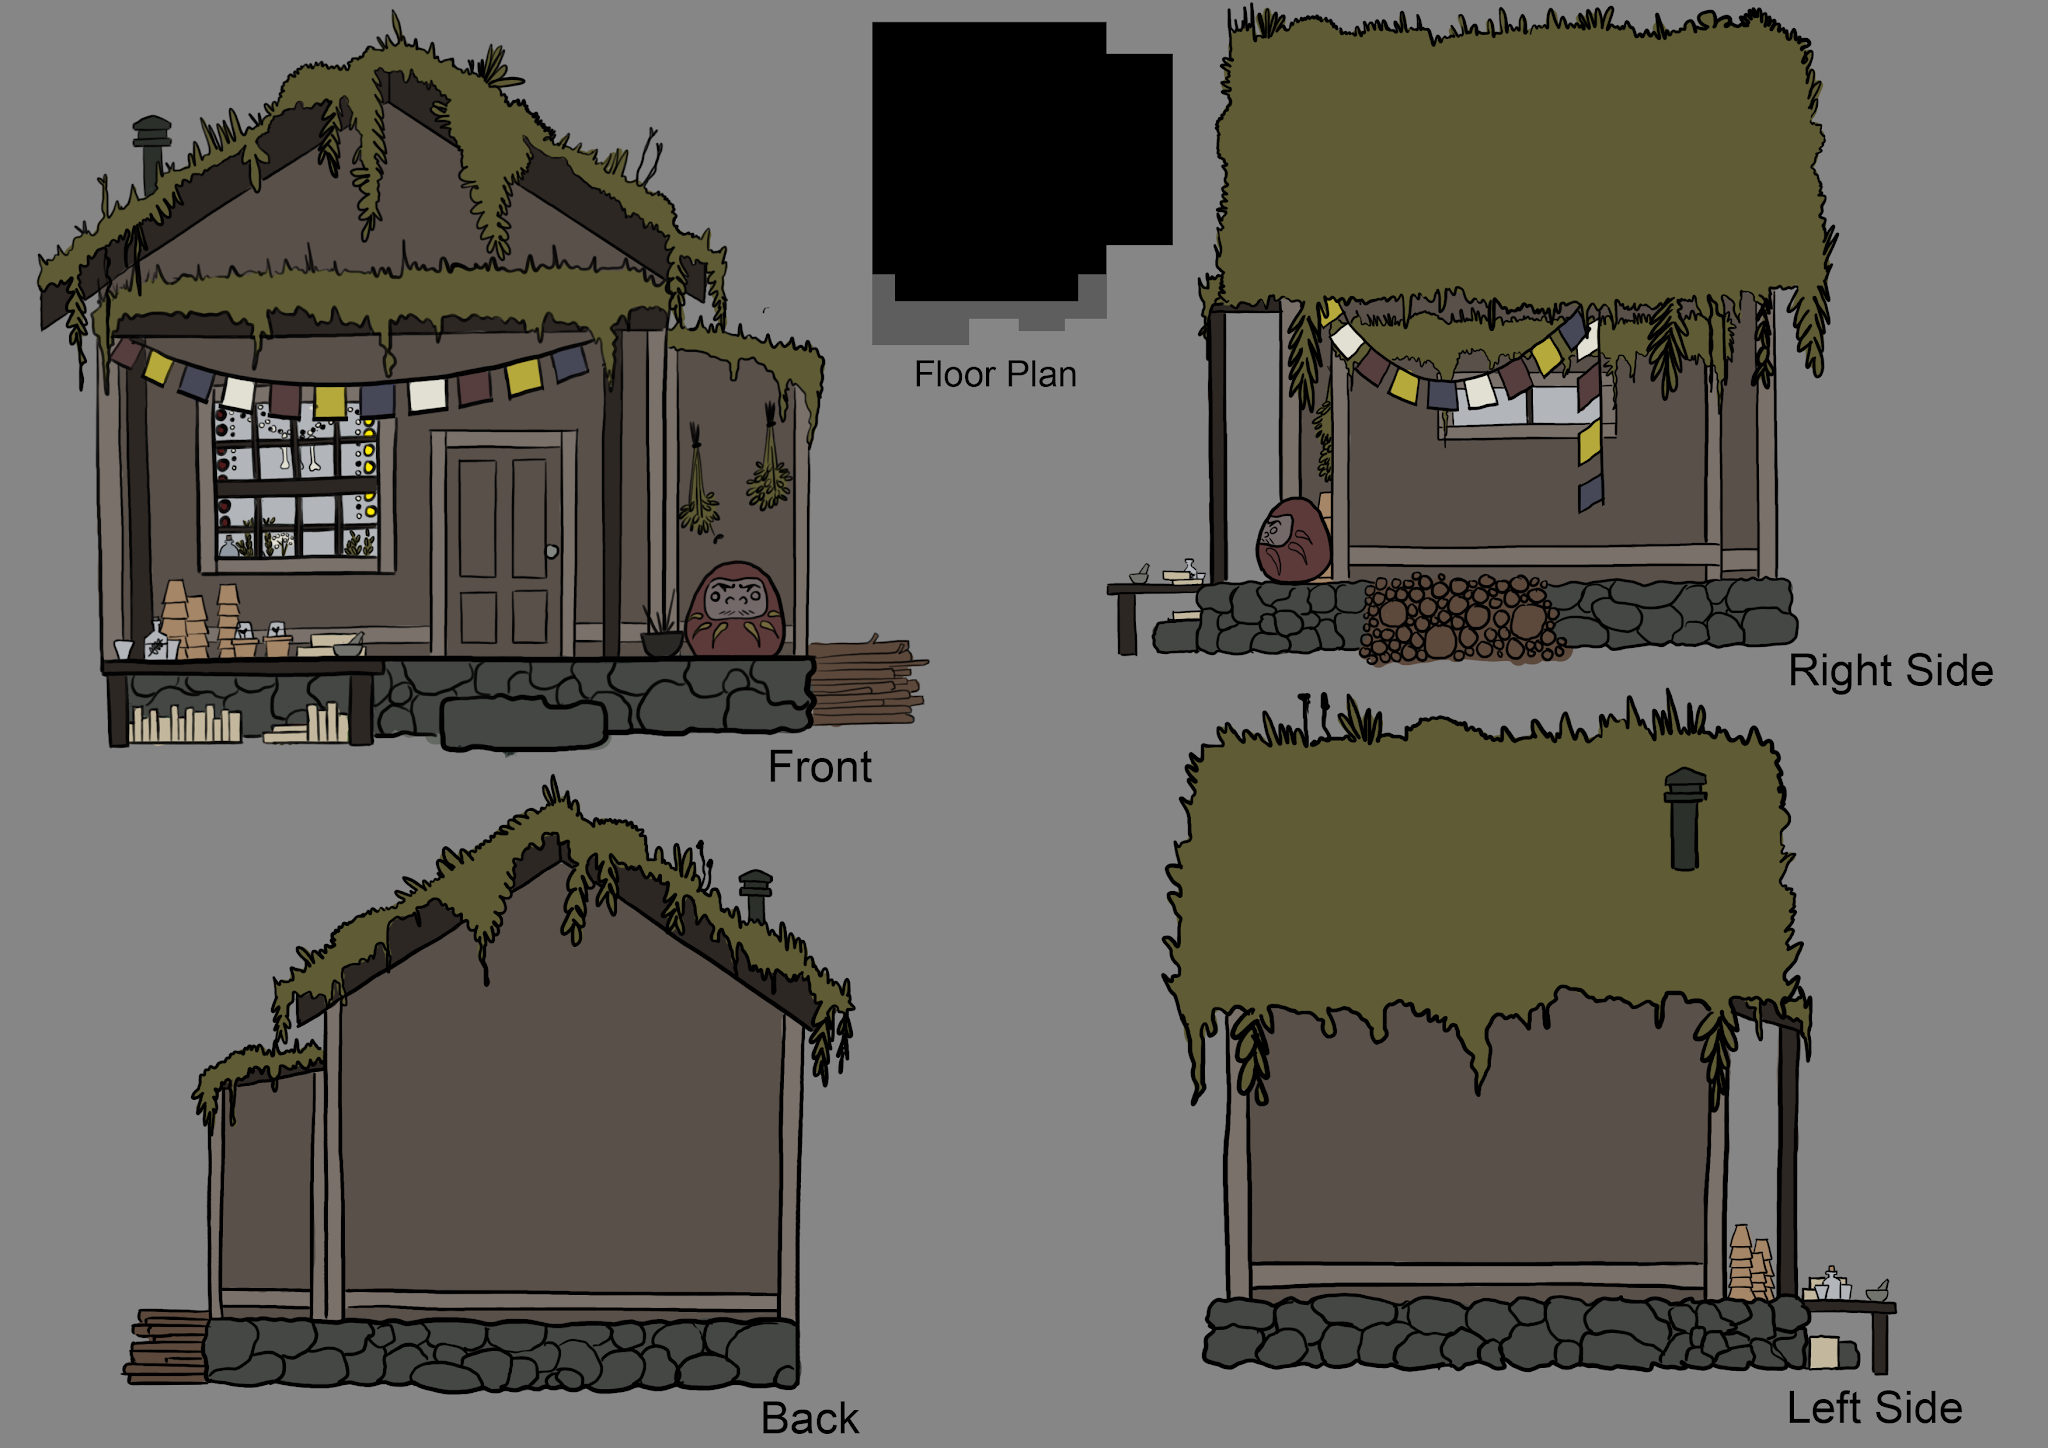 |
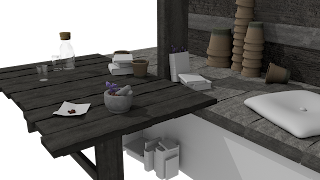
| Above, my cabin orthographs ready to import into Maya. I kept with the original designs conveyed in my Premise project. The left and back angles are kept bare since they aren't visible in any of my animatic iterations - I shouldn't waste time on things that won't be seen. Additions to my design include a rocky foundation and a low work bench/table (about knee height), which can be used by sitting on a cushion atop the porch and next to the step stone. Smaller assets seen on the low table can be re-purposed to furnish other shots within my animation. |
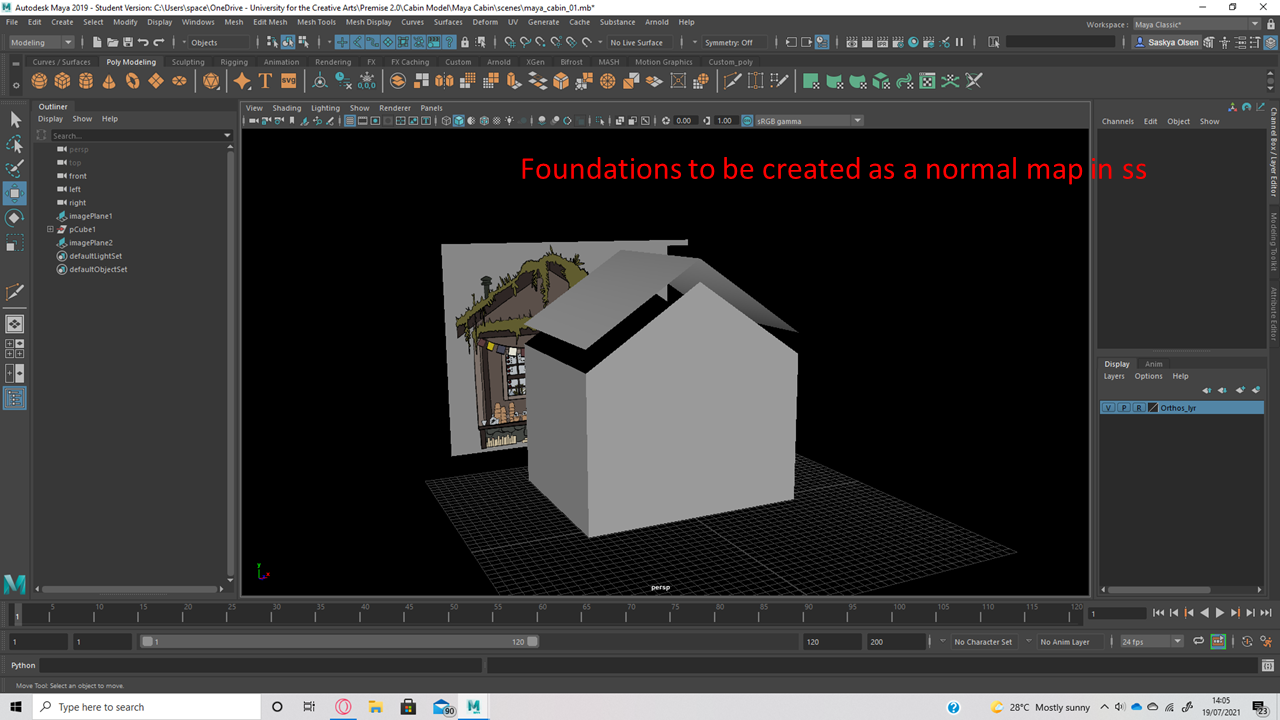 |
| Once my orthpgraphs were imported into Maya, I began construction with a simple cube. The roof was segregated from the main geometry for a roof. |
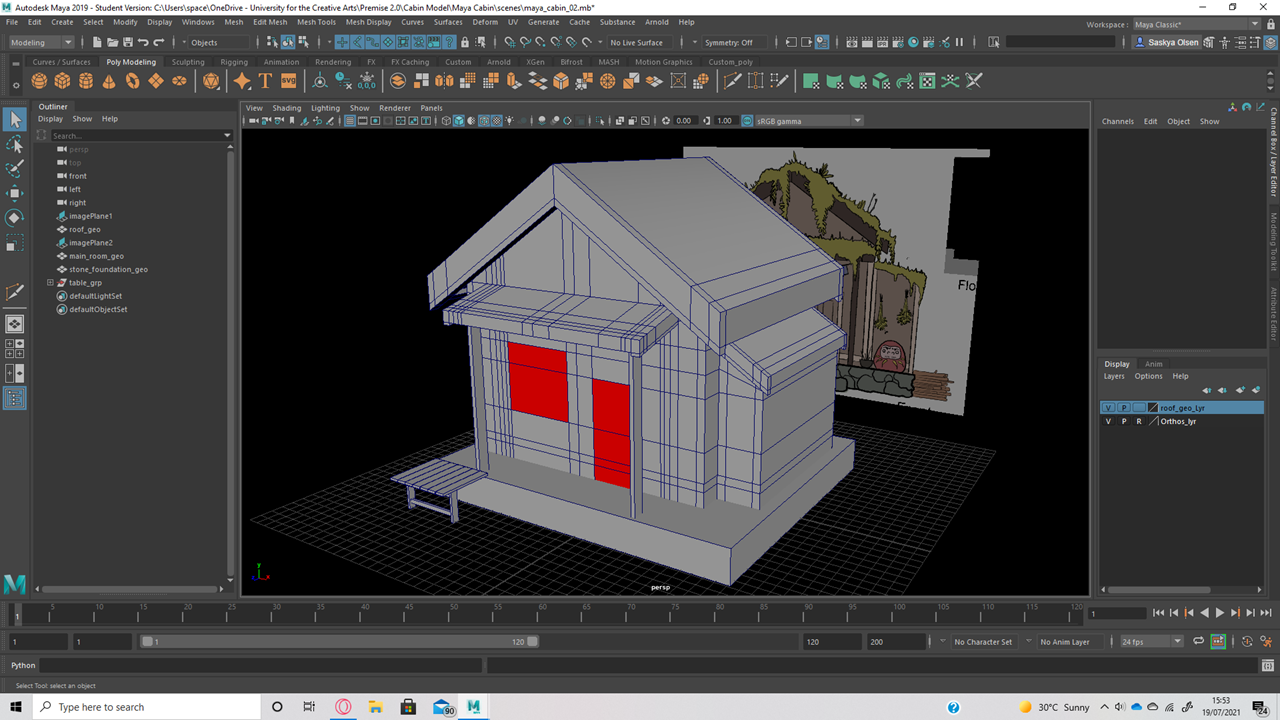 |
| I coloured the geometry to perceive scale and proportion easier, making it easier to add properly sized architrave, skirting and boarders around my model. The cabin won't be interacted with in my animation, so I didn't bother modelling alongside a character for scale. |
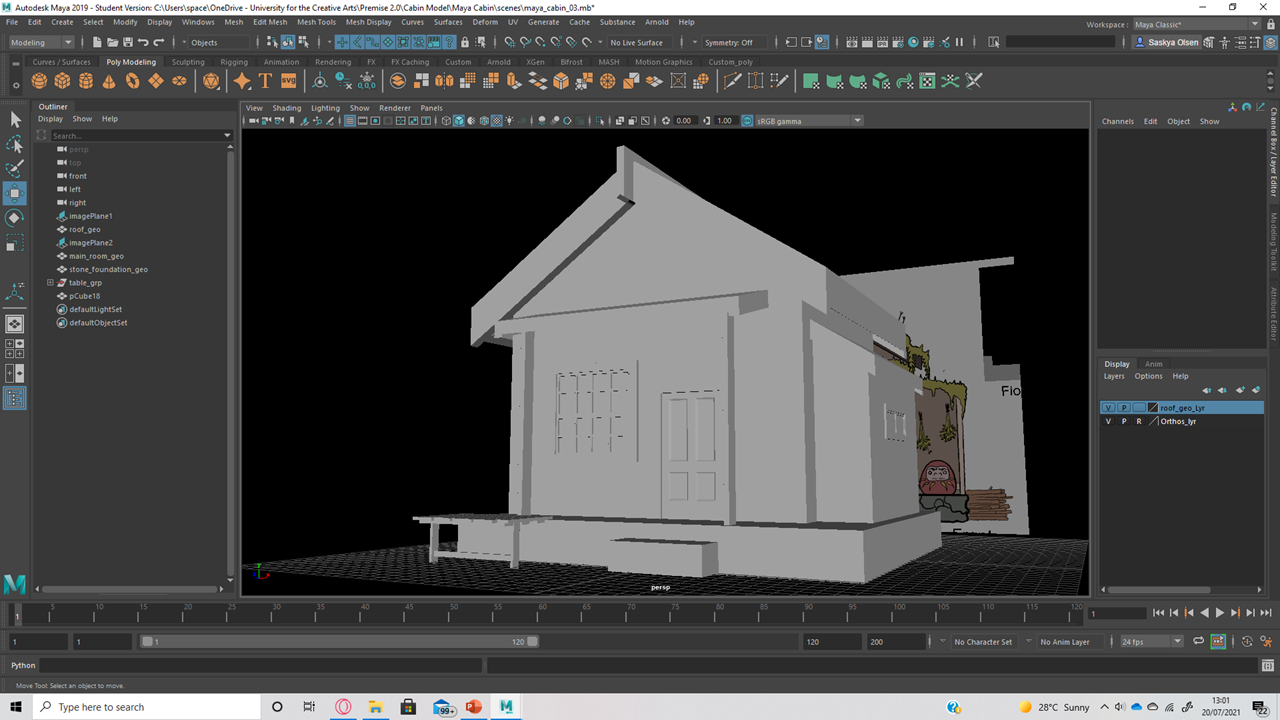 |
| Above, basic shapes are decorated with boarders and pillars to contour the building, all in keeping with my orthograph. |
 |
| I took some time researching into moss textures, many tutorials utilised Substance Designer, which I wasn't familiar with. Instead, I recycled a moss textured plane tutorial by duplicating a texture-deformed plane and bending the edges inwards to suggest a thick bumpy volume. I adjusted its scale and fitted my 'moss' to both sides of the cabin's roof. |
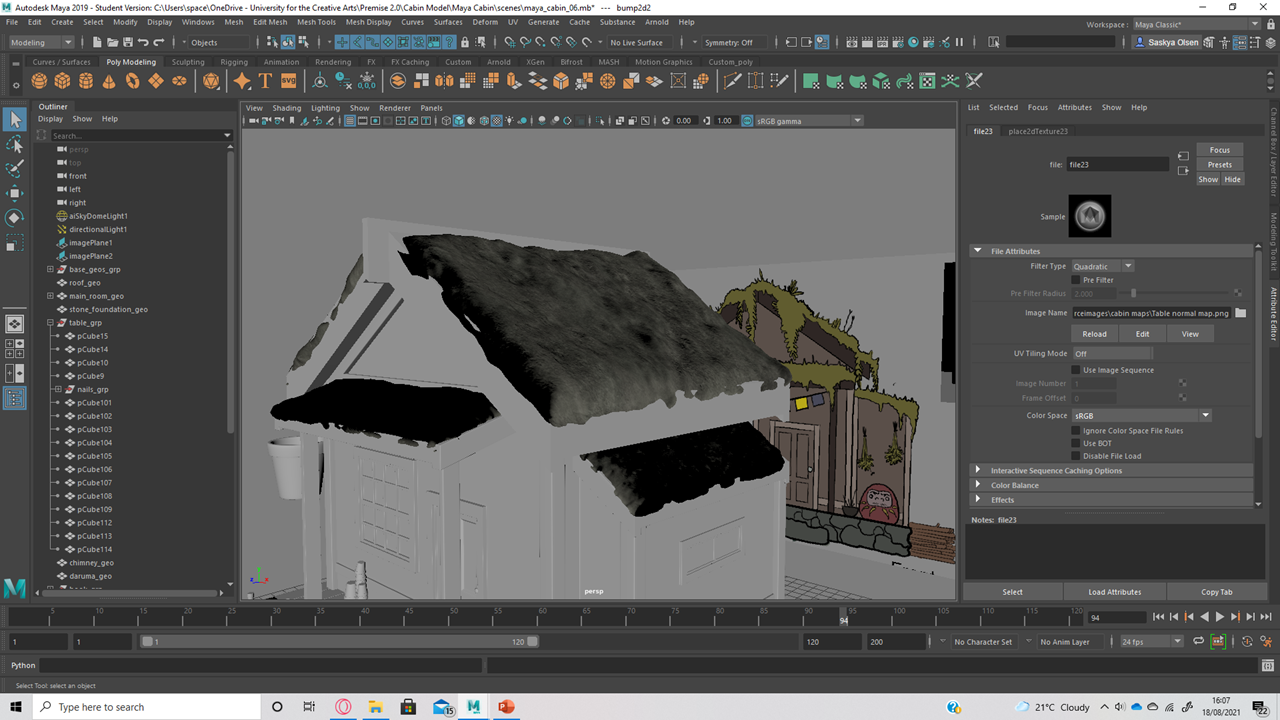 |
Above shows my textured moss deformed planes. I liked how the roof and moss geometry intersected around the edges, suggesting small clumps of moss separated from the main masses on top of the roof. I used colour, height and normal maps to generate this mossy texture. At this stage in the process, I discovered the importance of subdivisions in conjunction with deformer maps; height maps won't work on a low poly model.
|
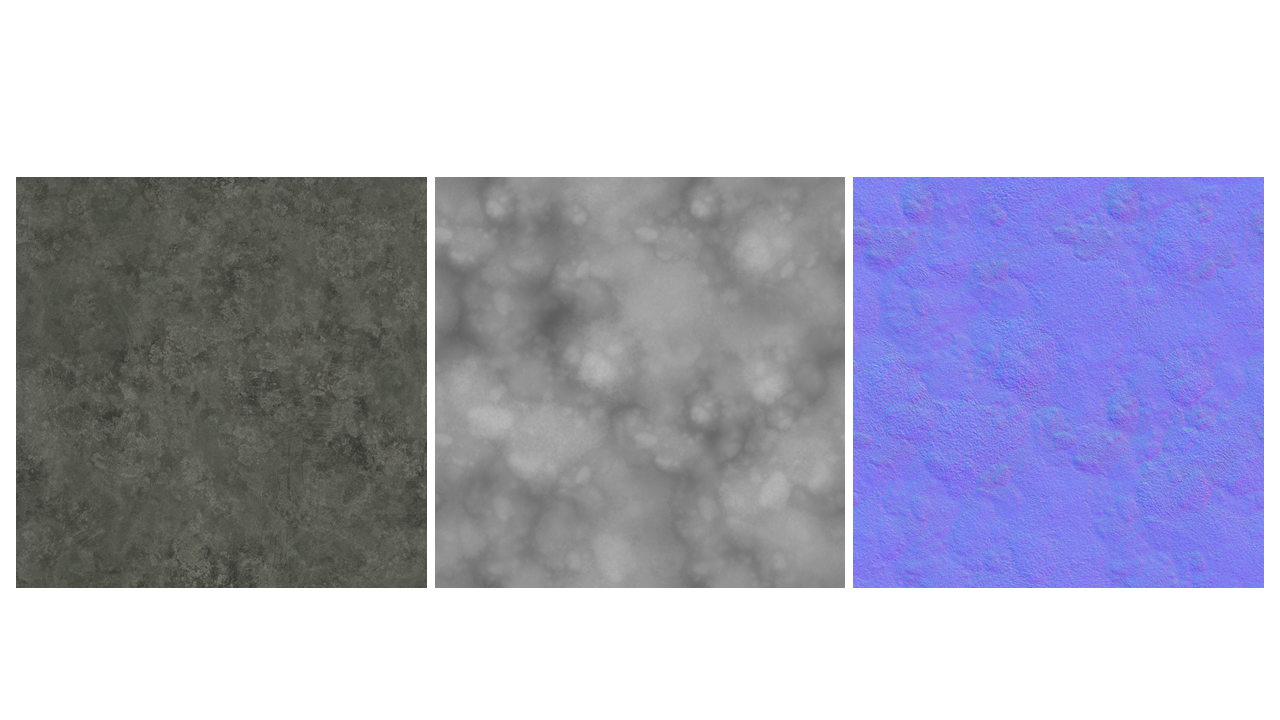 |
| Above are my moss colour, height and normal maps. I took a moss photo from google and adjusted its colours in photoshop to be less saturated, in keeping with my cabin design. I then created two black and white duplicates and used photoshops' 3D normal and 3D height tools to generate my height and normal maps. This took a few attempts, because contrast and brightness levels have to be specific for decent maps to be generated. |
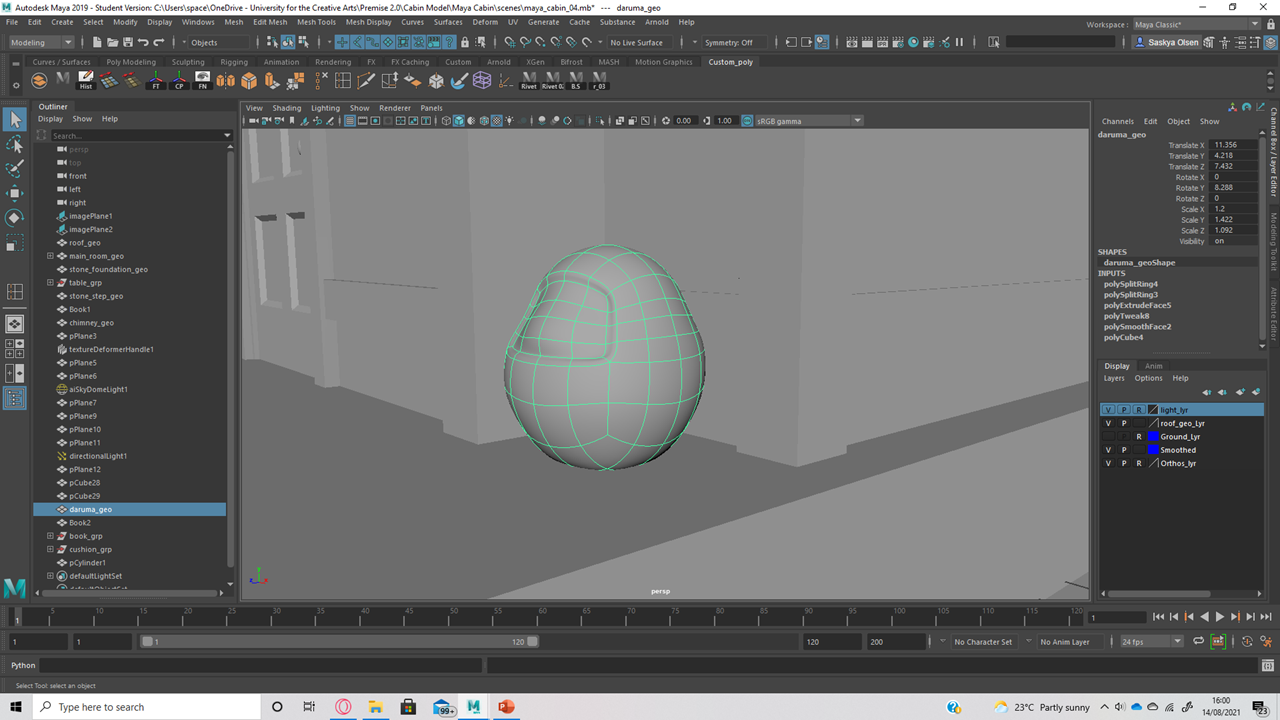 |
| I next began working on smaller assets, including my Japanese daruma doll, making sure that I always started with a cube to avoid unwanted tri geometry. |
 |
| Accessorising the cabin took as much time as constructing the main form. I was, however, able to recycle and modify a book model from old workshops to be used on top and under my modelled work bench. I was grateful for these laid-out UV's. |
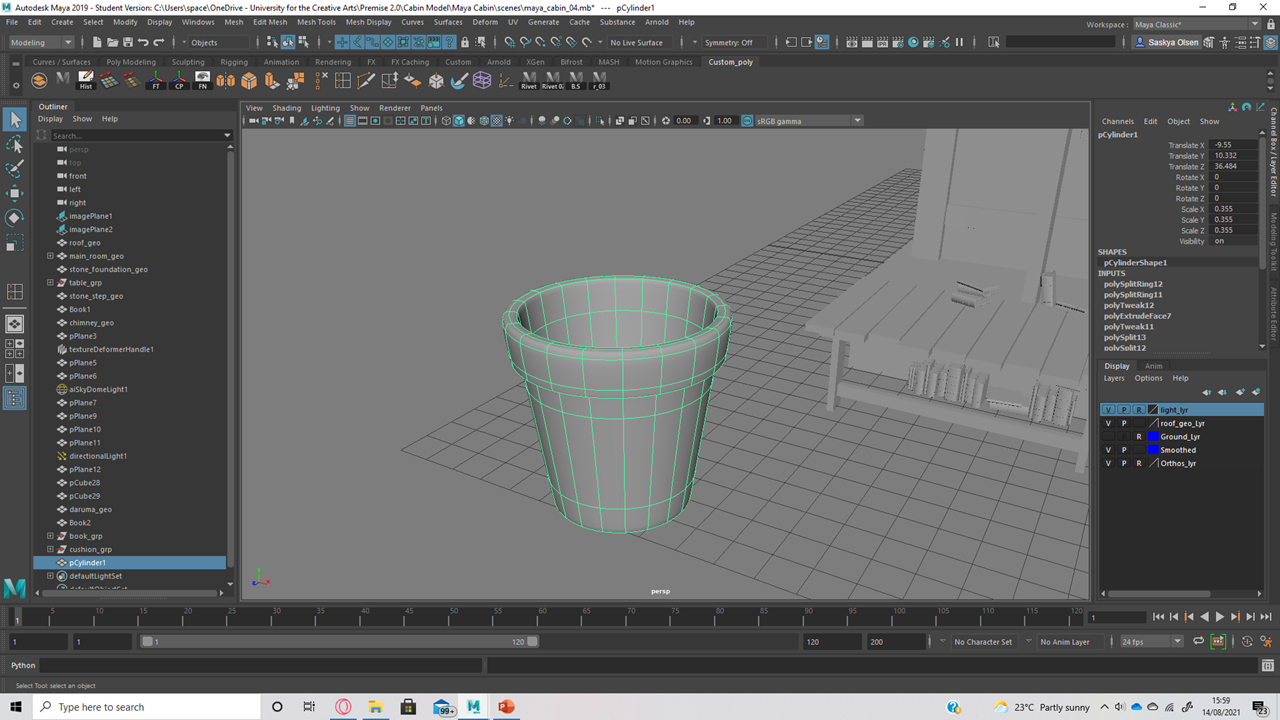 |
| Assets such as plant pots, drinking glasses and my mortar were similar shapes, allowing my to duplicate and re-purpose one asset into several others. I never relied on smooth preview, but instead made sure that my geometry was confident to hold the shapes I required. |
 |
| The prospect of texturing all these assets was bewildering, more so when experimenting with table planks took two days for satisfactory results. I slowly learnt to use displacement maps over normal maps for my wood textures, and Fractal introduced a good jagged randomness to my wood planks and created a bumpy wrinkly texture to each surface. |
 |
| Test 1 - created with only a colour and normal map. The results are too symmetrical and very underwhelming. |
 |
Test 2 - swapped the normal map for Fractal displacement at a scale of 0.1.
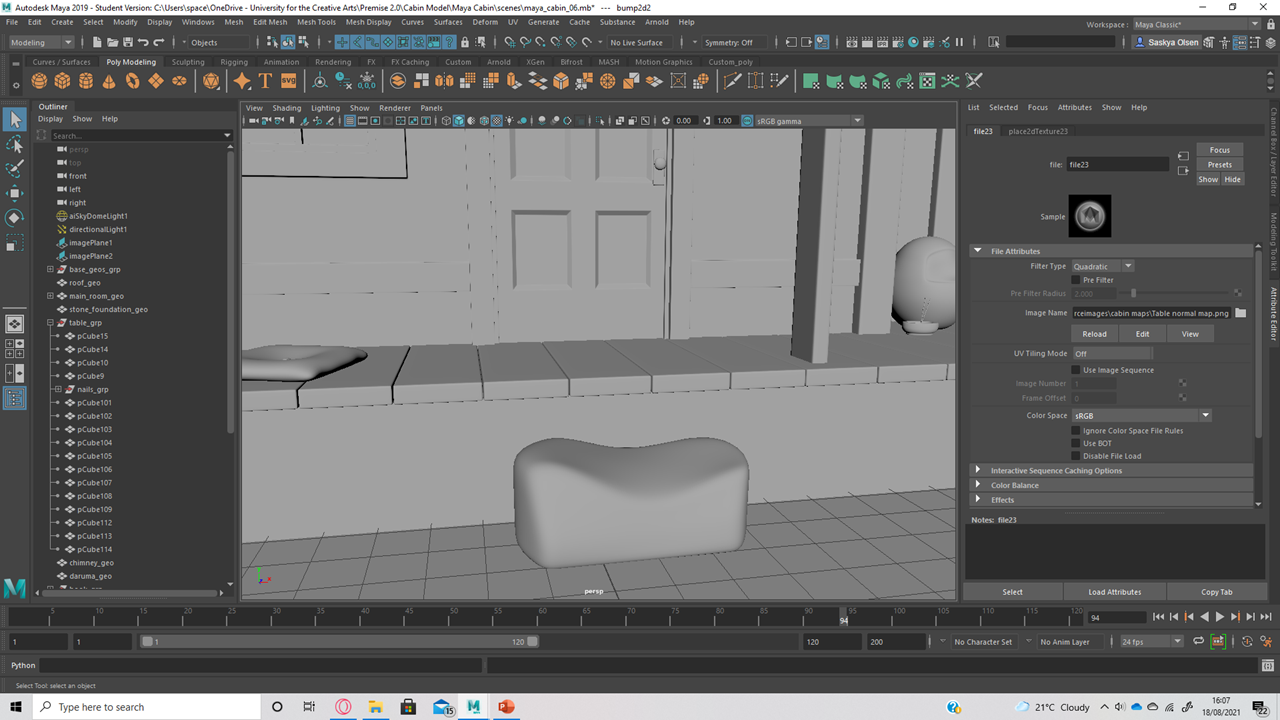
 | Test 3: I was tired of the monotonous task of map generating in photoshop, so I was relieved to discover the effectiveness of displacement maps. I ultimately removed the plank nails, as they would drown in the displacement map depending on the angle of the camera. I also had to re-model my planks many times to get the subdivisions correct for successful displacement; test 2 shows smudging around plank edges presumably caused by bevelling low-poly geometry.
Displacement maps were hard to use, because it wasn't a static change. The bumping altered depending on the camera angle and therefore, smaller assets would get swallowed up by the wood materials from certain angles yet be fine and visible in others... I had to balance the use of displacement maps and normal maps. |
|
 |
| For my step stone, I wanted to create the illusion of age and. The top indentation is supposed to symbolise this; many years of constant use. Within my animation narrative, natural decay is important and symbolic, I must therefore integrate this into my modelling and my texturing. |
 |
| Frustratingly, I had to re-place many of my duplicated assets, such as the fire logs, because I'd forgotten to lay-out their UV's. Texturing these models was an easier job however, as a single colour map could be applied to this large group of identical objects. |
 |
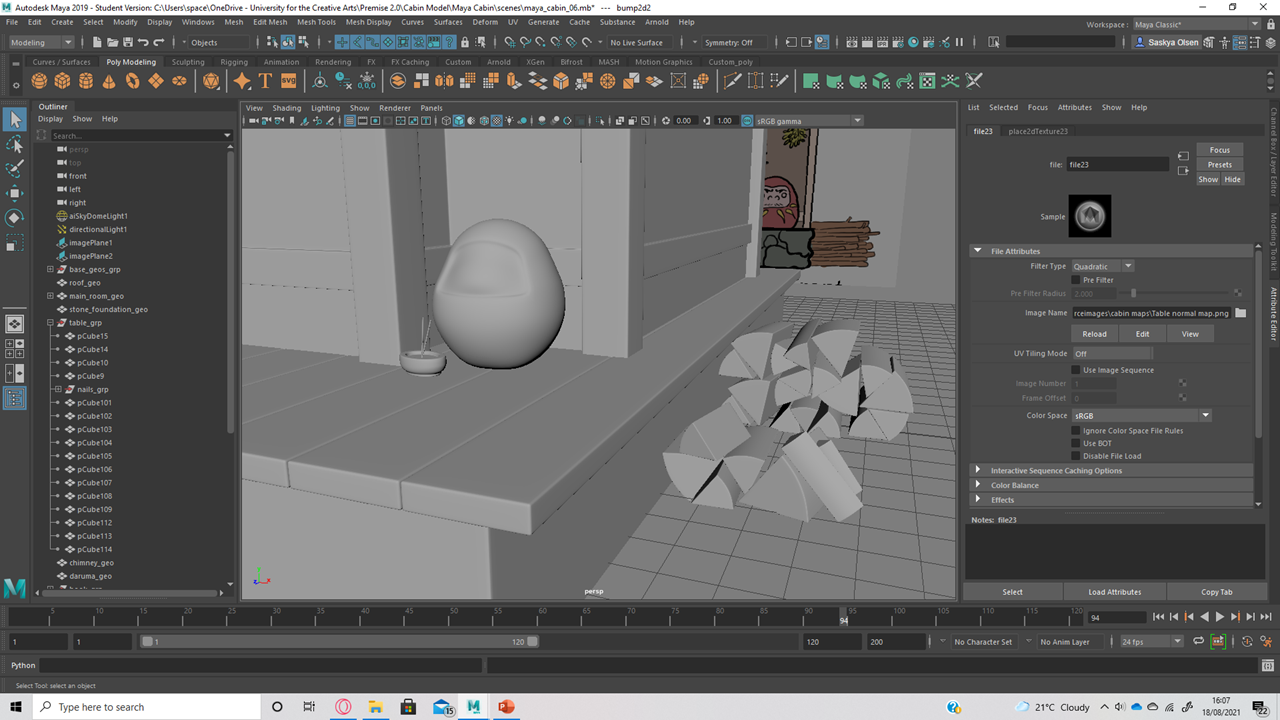
| I struggled with rendering my glass assets and I couldn't get a nice sheen on my Arnold render to show-off the material. However, when the cabin set is included, the glass material refracts light nicely. |
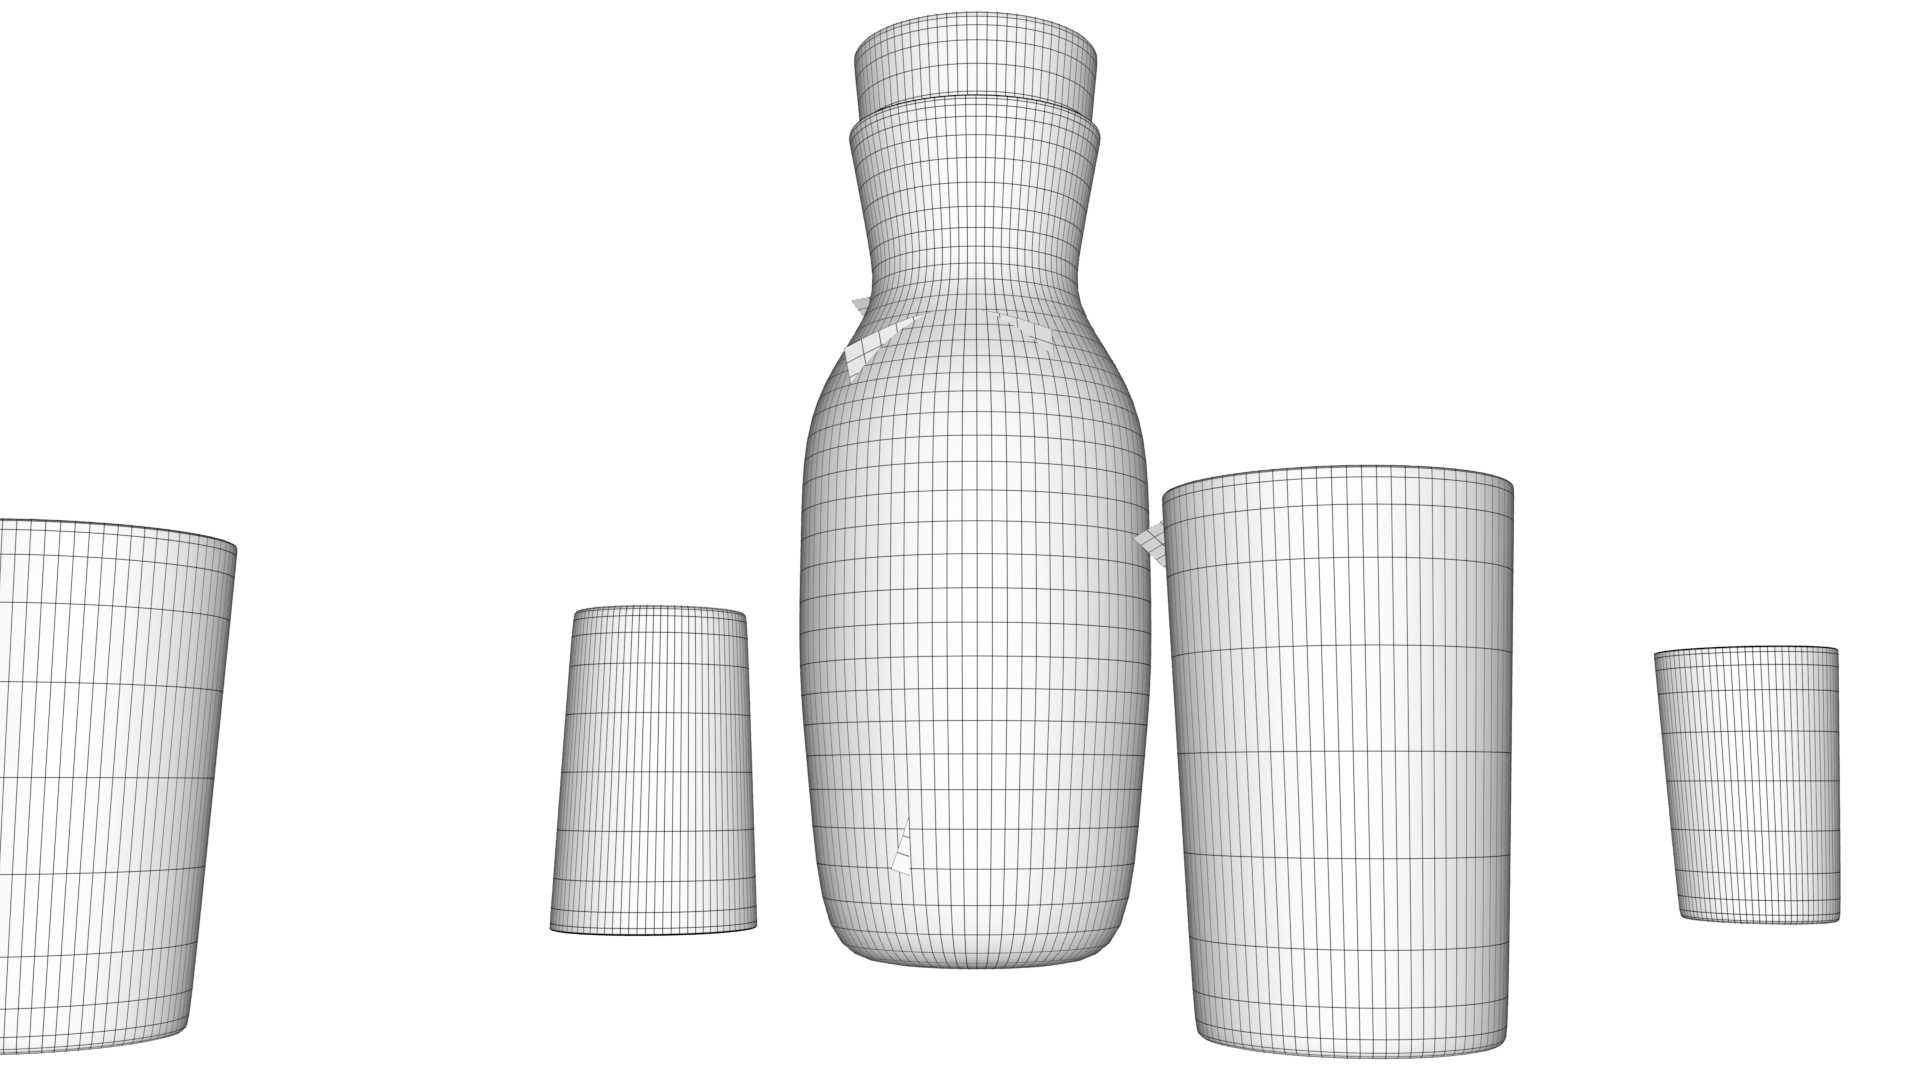 |
| Above, a wireframe render of my glass assets. |
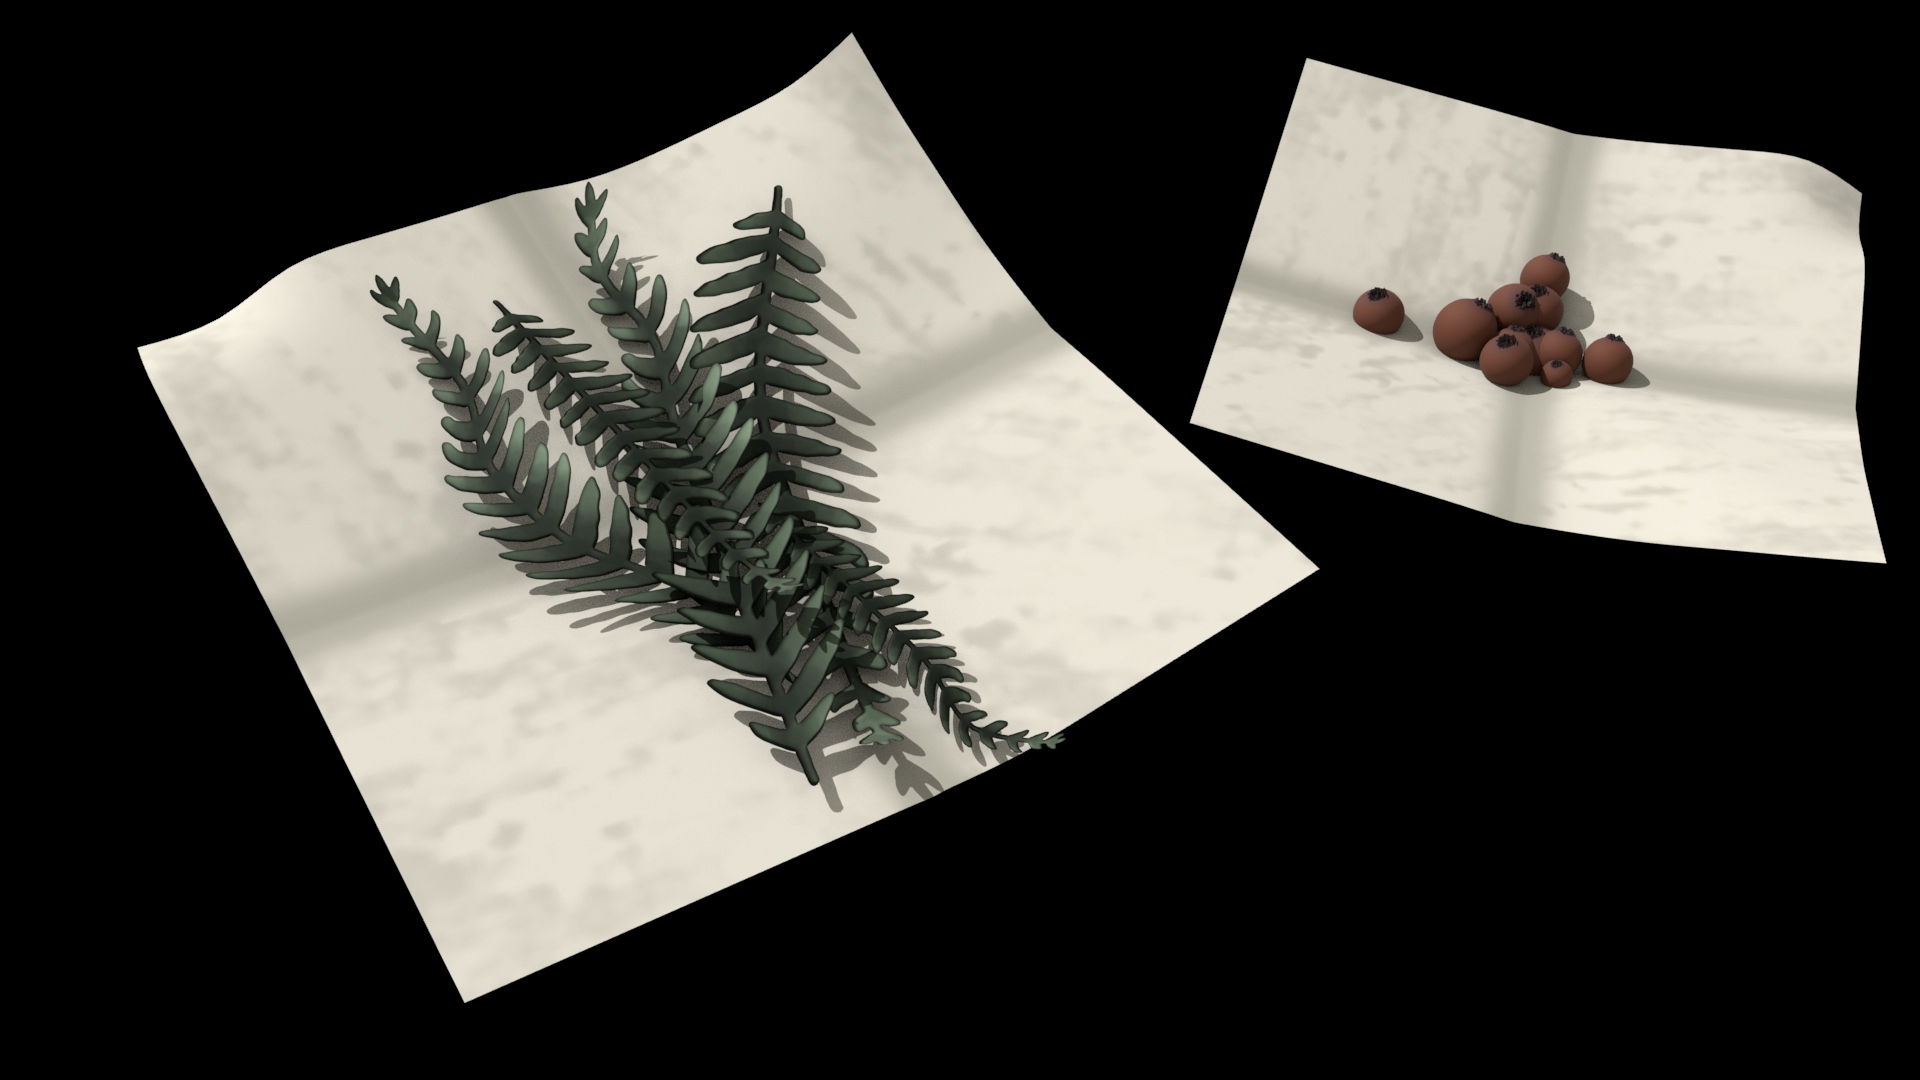 |
| Above, a render of my botanical ingredient assets. |
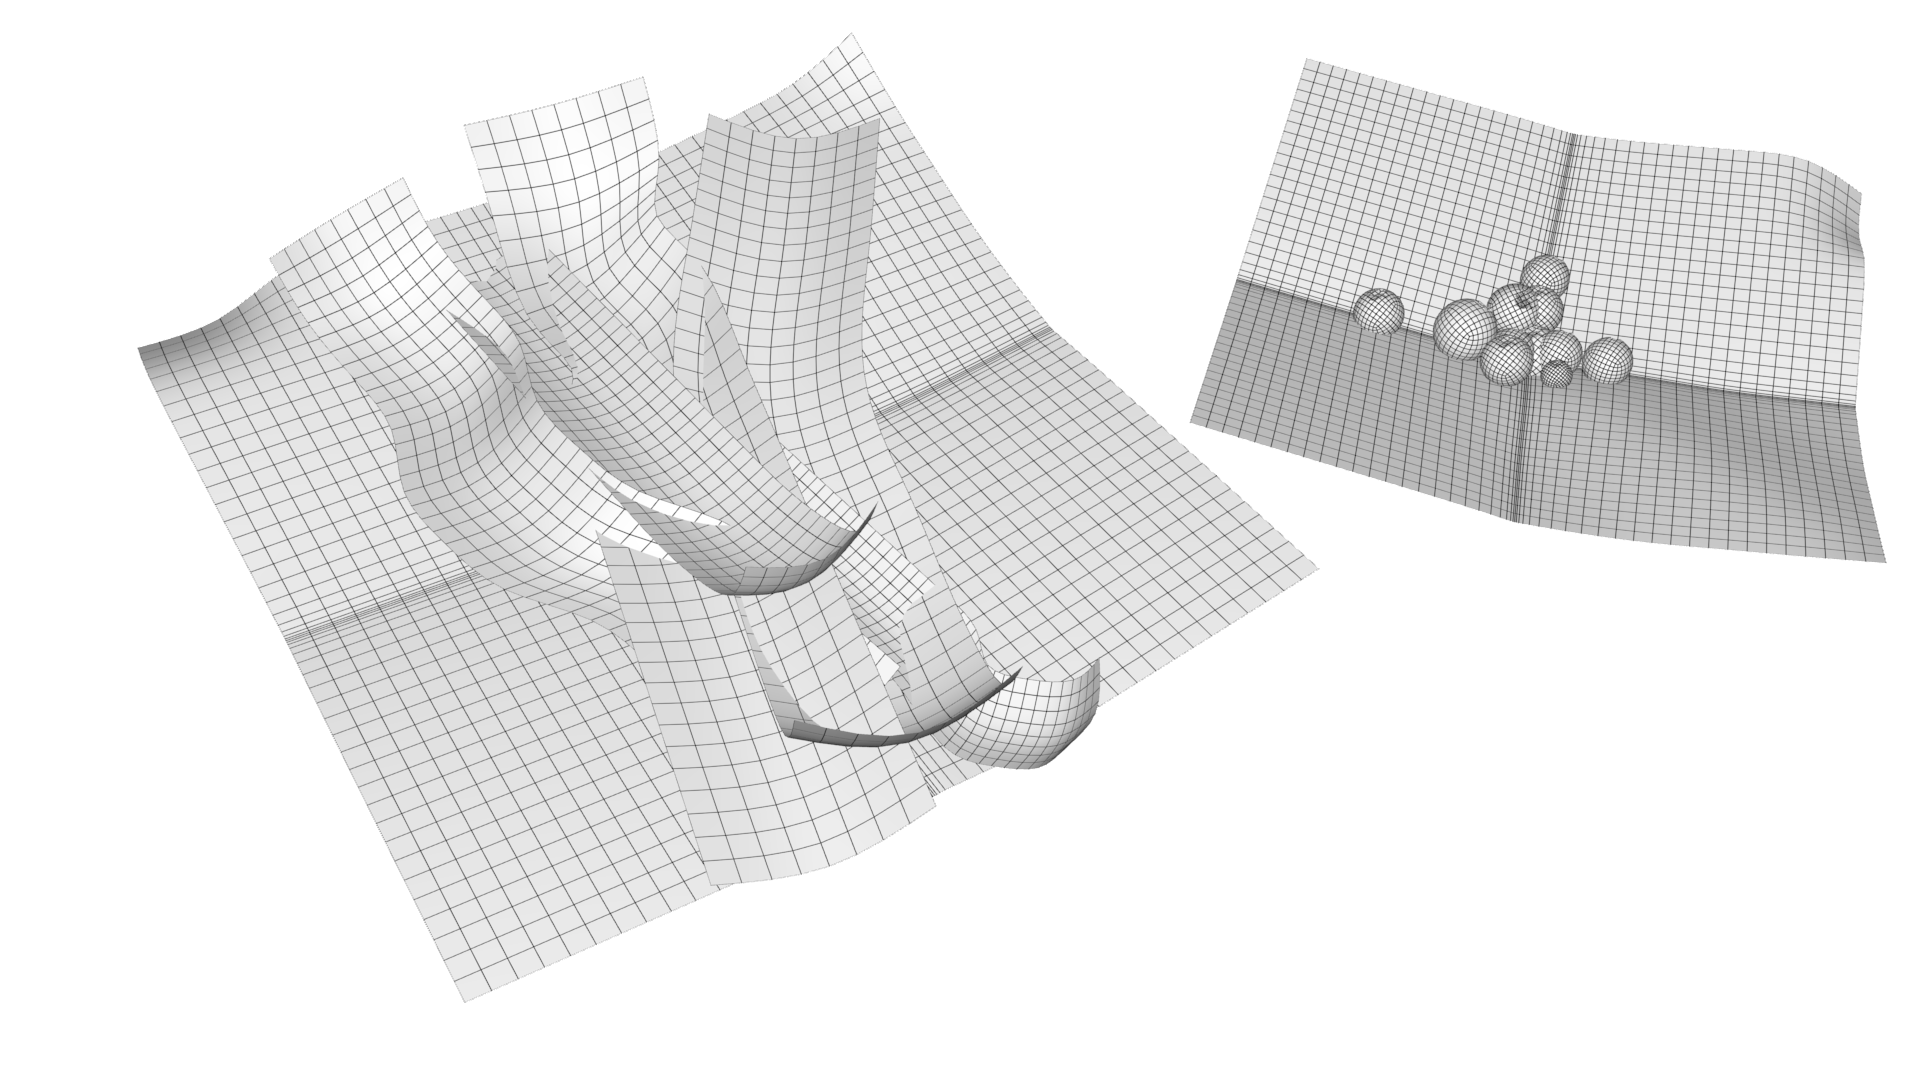 |
| Above, a wireframe iteration of the same assets. Similarly to my environment foliage, the plants are simply colour, alpha and bump maps applied to a flat plane. |
 |
| The model came to life as I continued texturing. Making wood maps became faster once I'd experimented with the table planks for so long. I used old methods, such as maps onto planes, to create assets like my herb bunches seen on the wall next to the door. |
 |
| I thoroughly enjoyed creating the prayer flags. The alpha maps were especially effective here, as the lower opacity colours along the frayed edges translated onto the opacity maps, meaning even the prayer flag shadows change opacity depending on the integrity of the fabric. |
 |
| After discovering the effectiveness of displacement maps within maya, I chose those method to create the cobbled cabin foundations. I baked the maps without the moss seen in the colour map, which created logical texture variation between the two materials; the moss dampens the cobbles' bumpy surface where they they both intersect, as it would in real life. |
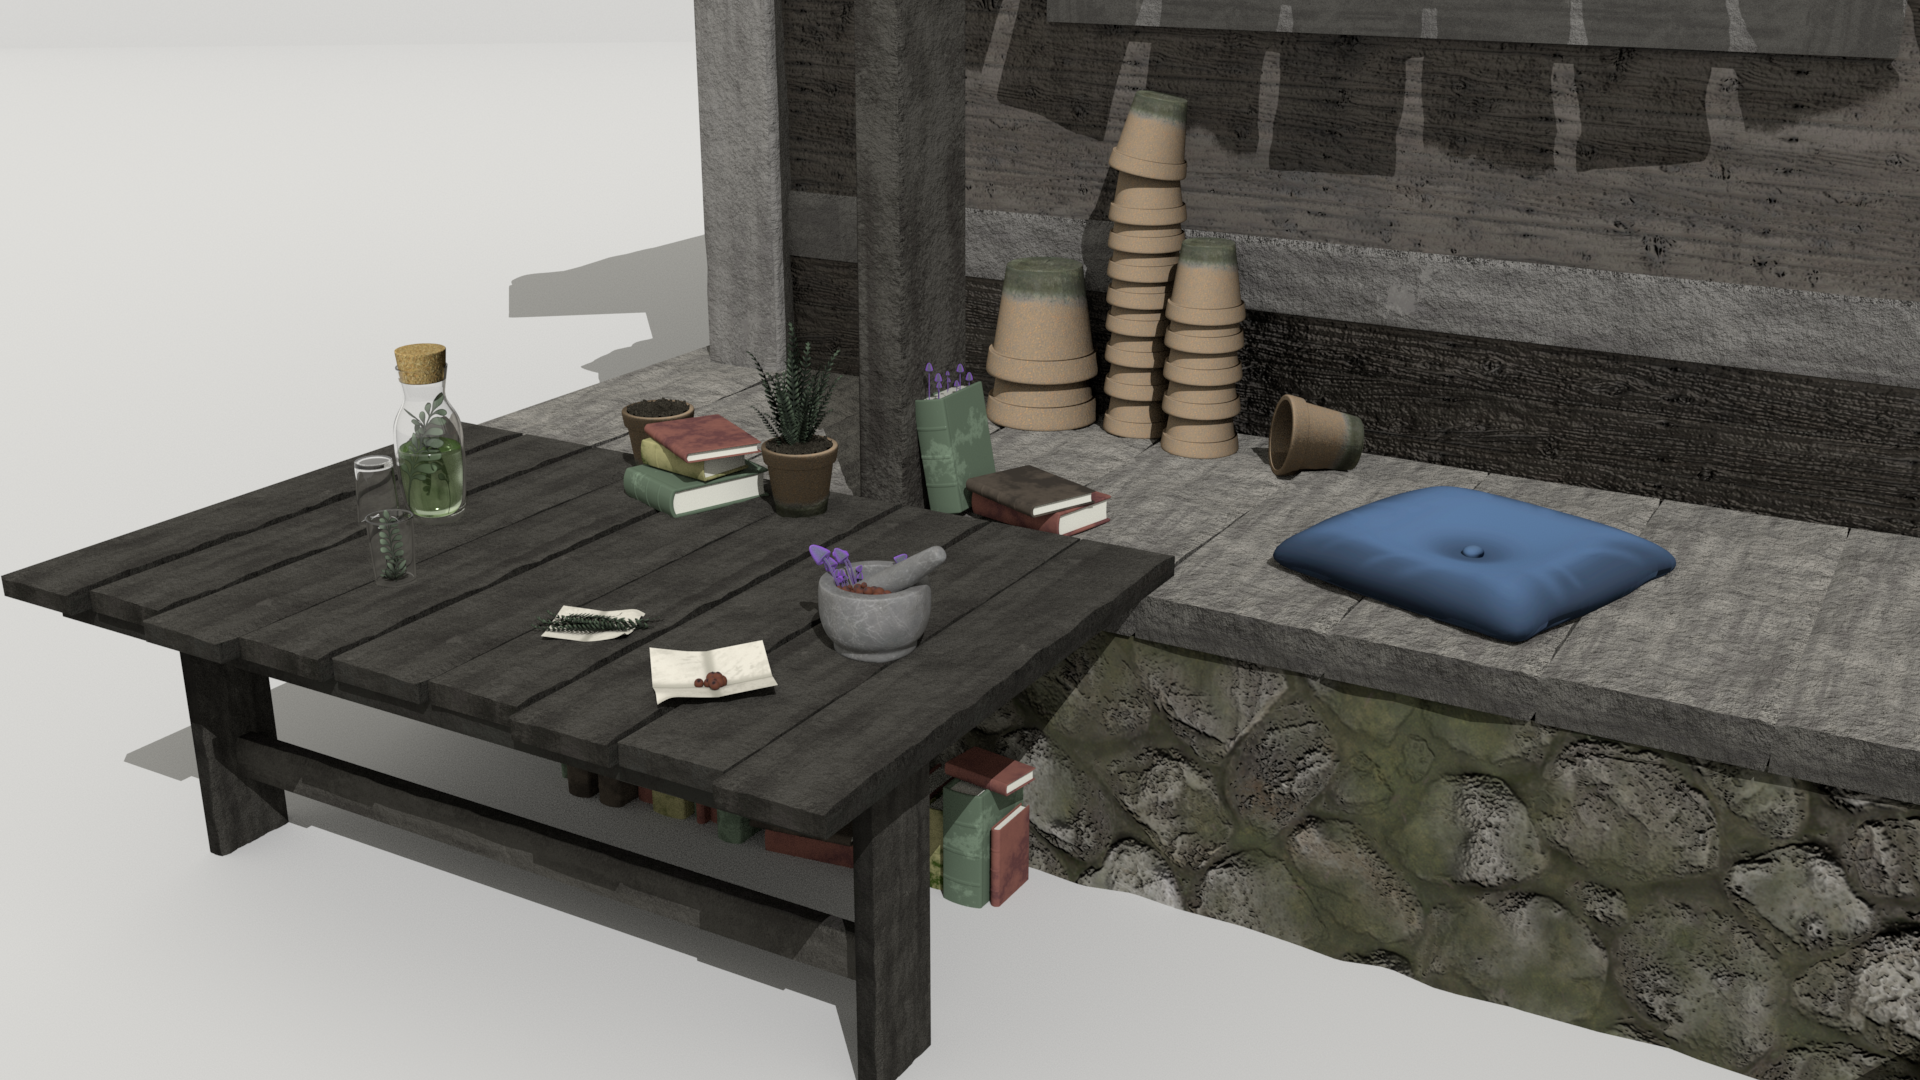 |
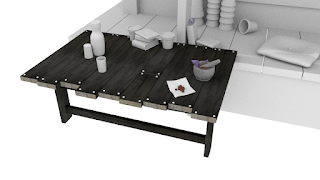
| Above, a render of my fully textured work bench and cushion. I recycled many assets, but used scale and position for variation to make this fact less apparent. |
 |
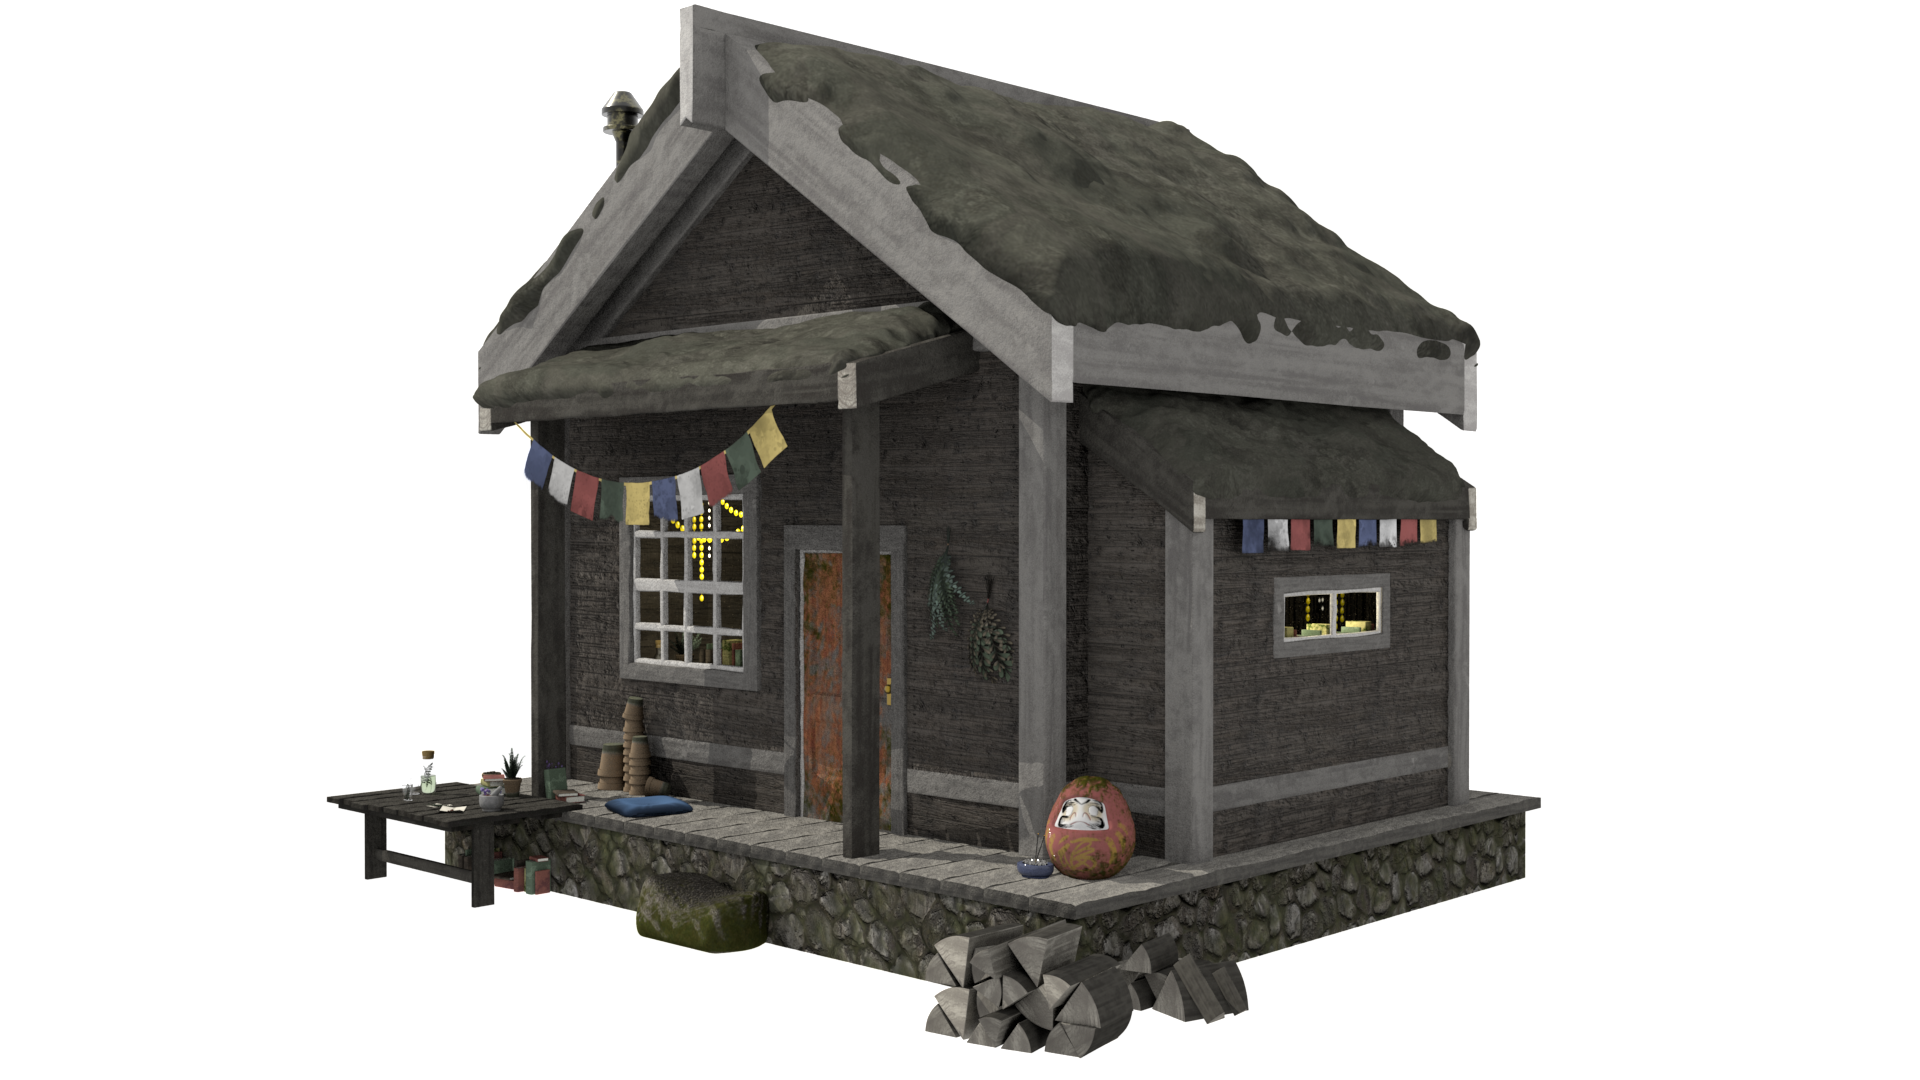
| I adjusted the colour of the roof to match the main darker brown of the cabins' main body. |
 |
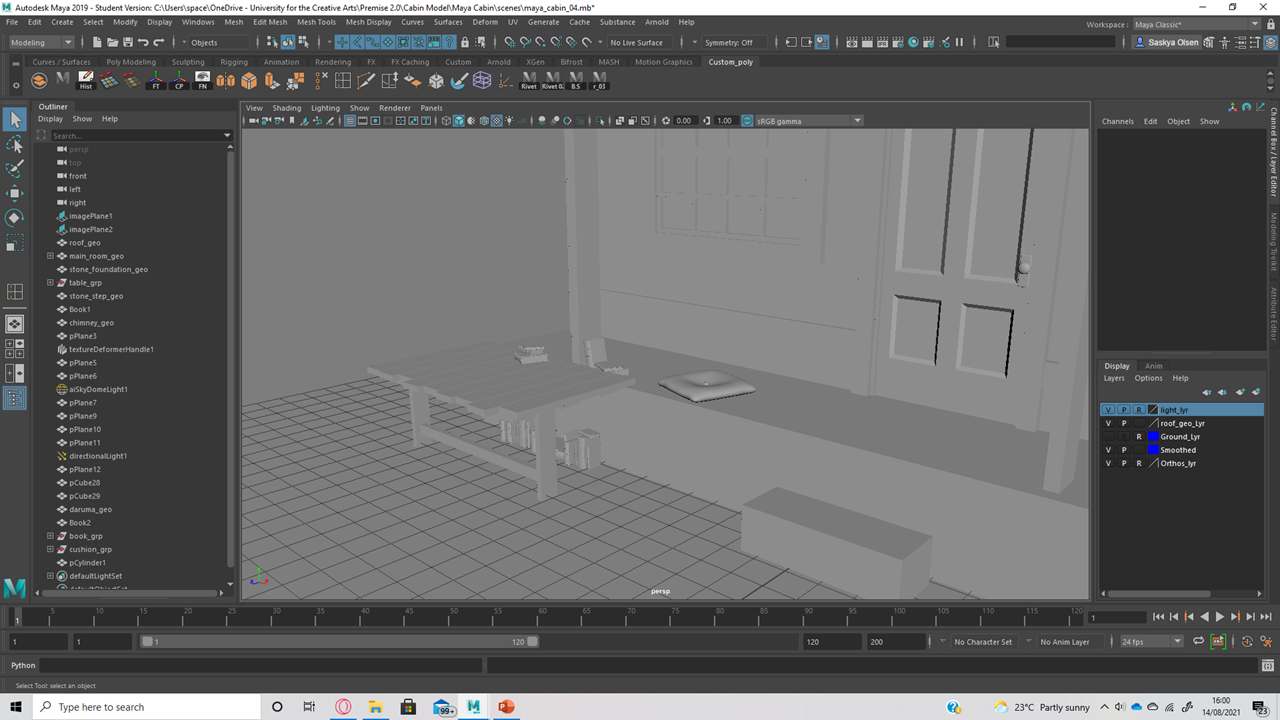
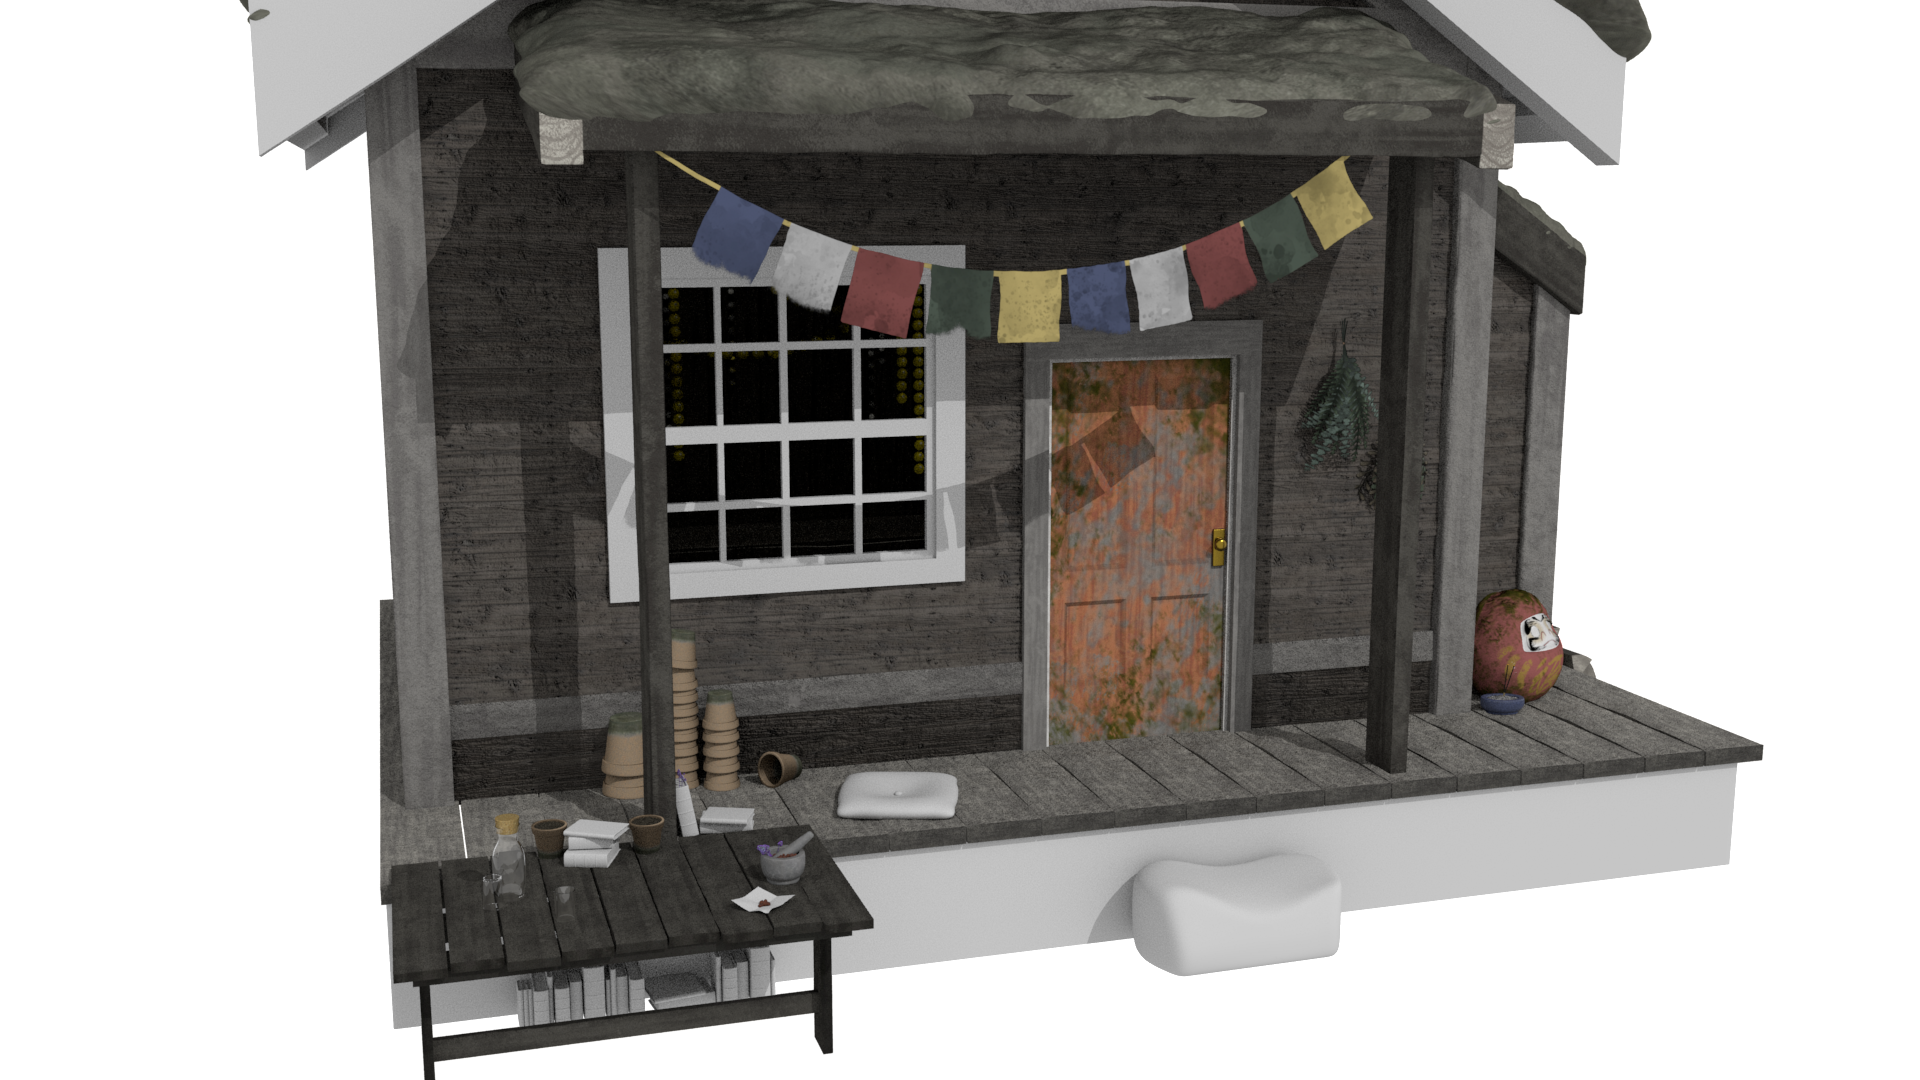
Above, a closer look at the window assets; strings of beads and recycled workbench props make the cabin look used and lived-in. I might modify the windows with a wooden plane and downlights behind the glass to create the illusion of a hallway instead of a dark abyss.
|
 |
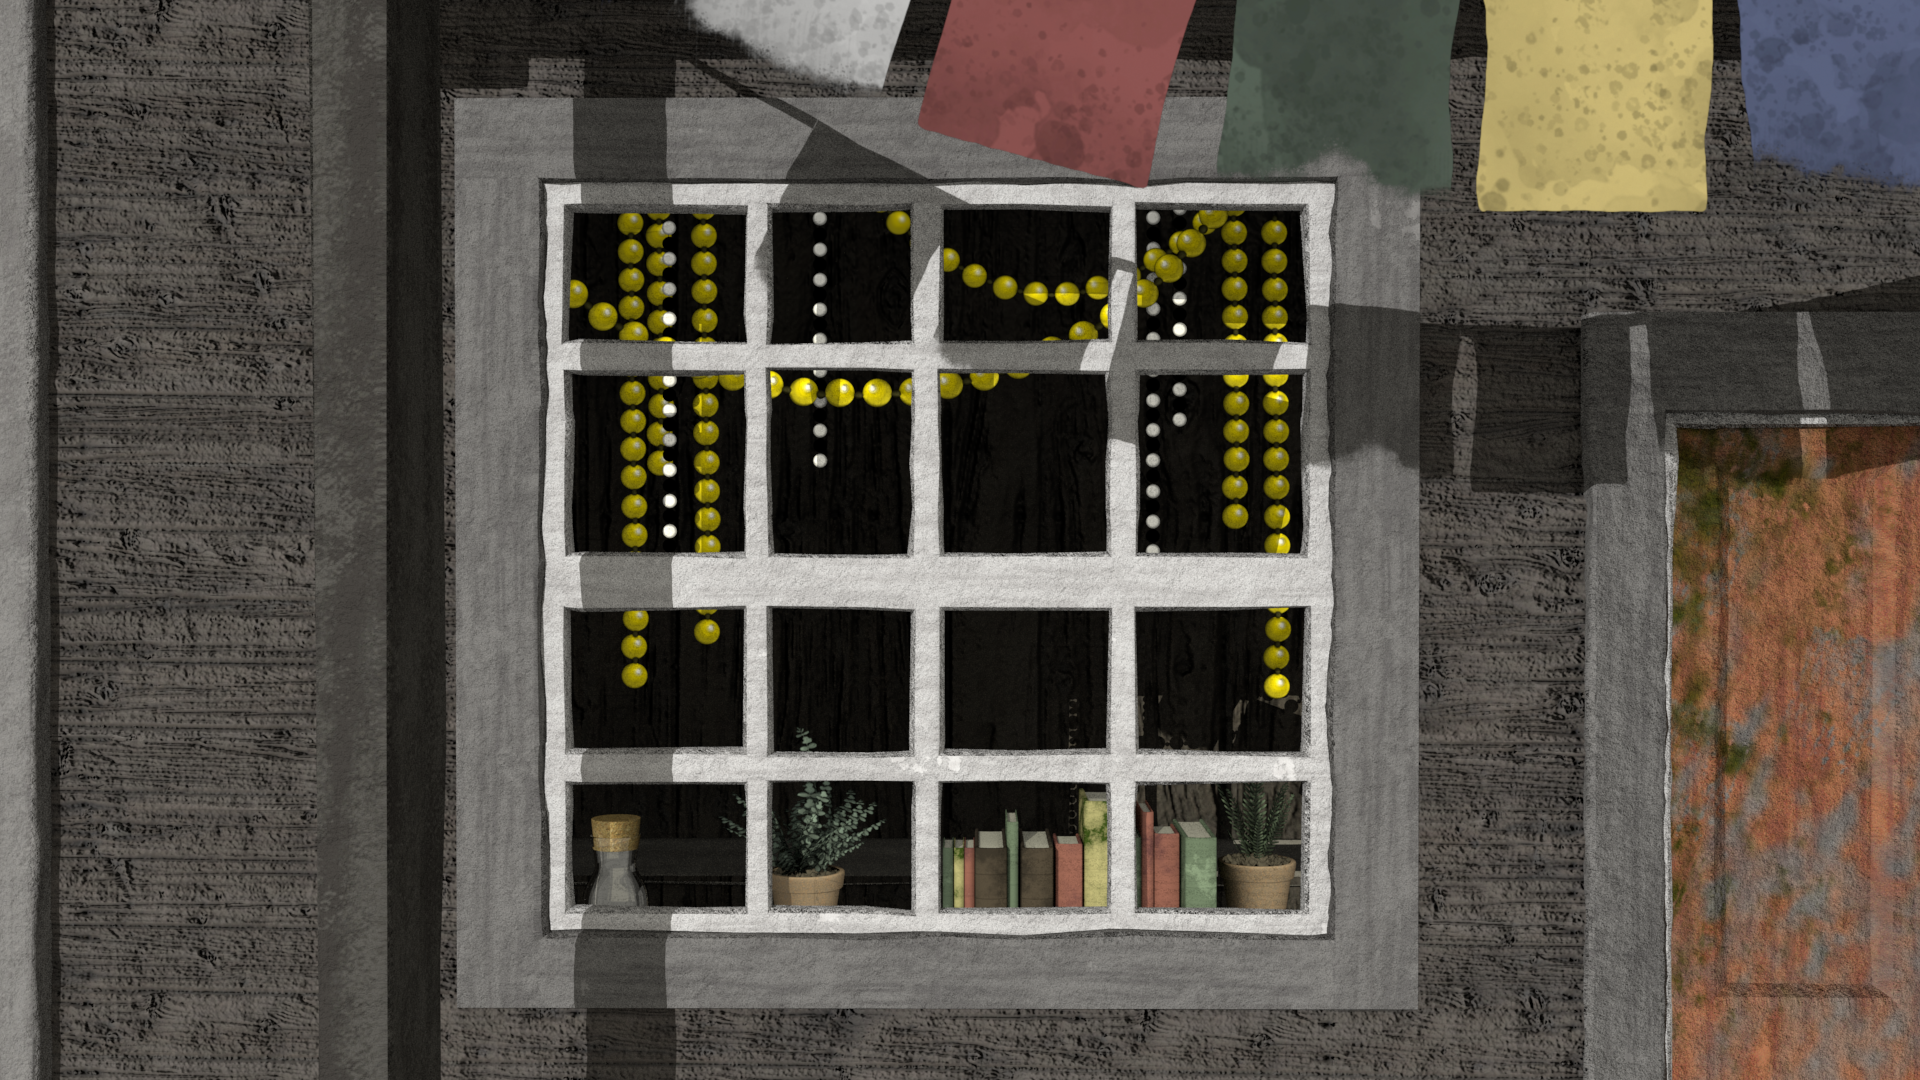
| In this new window render, I created an additional wall and book shelves. I increased the general amount of props seen within the window, and the interior now looks cozier and less empty. An extra area light behind the glass helps to illuminate these newly added assets. |
|
| I imported the grass and ivy assets previously created and accessorised the roof of my model. Small and many seemed to be the best course of action in regards to foliage placement. |
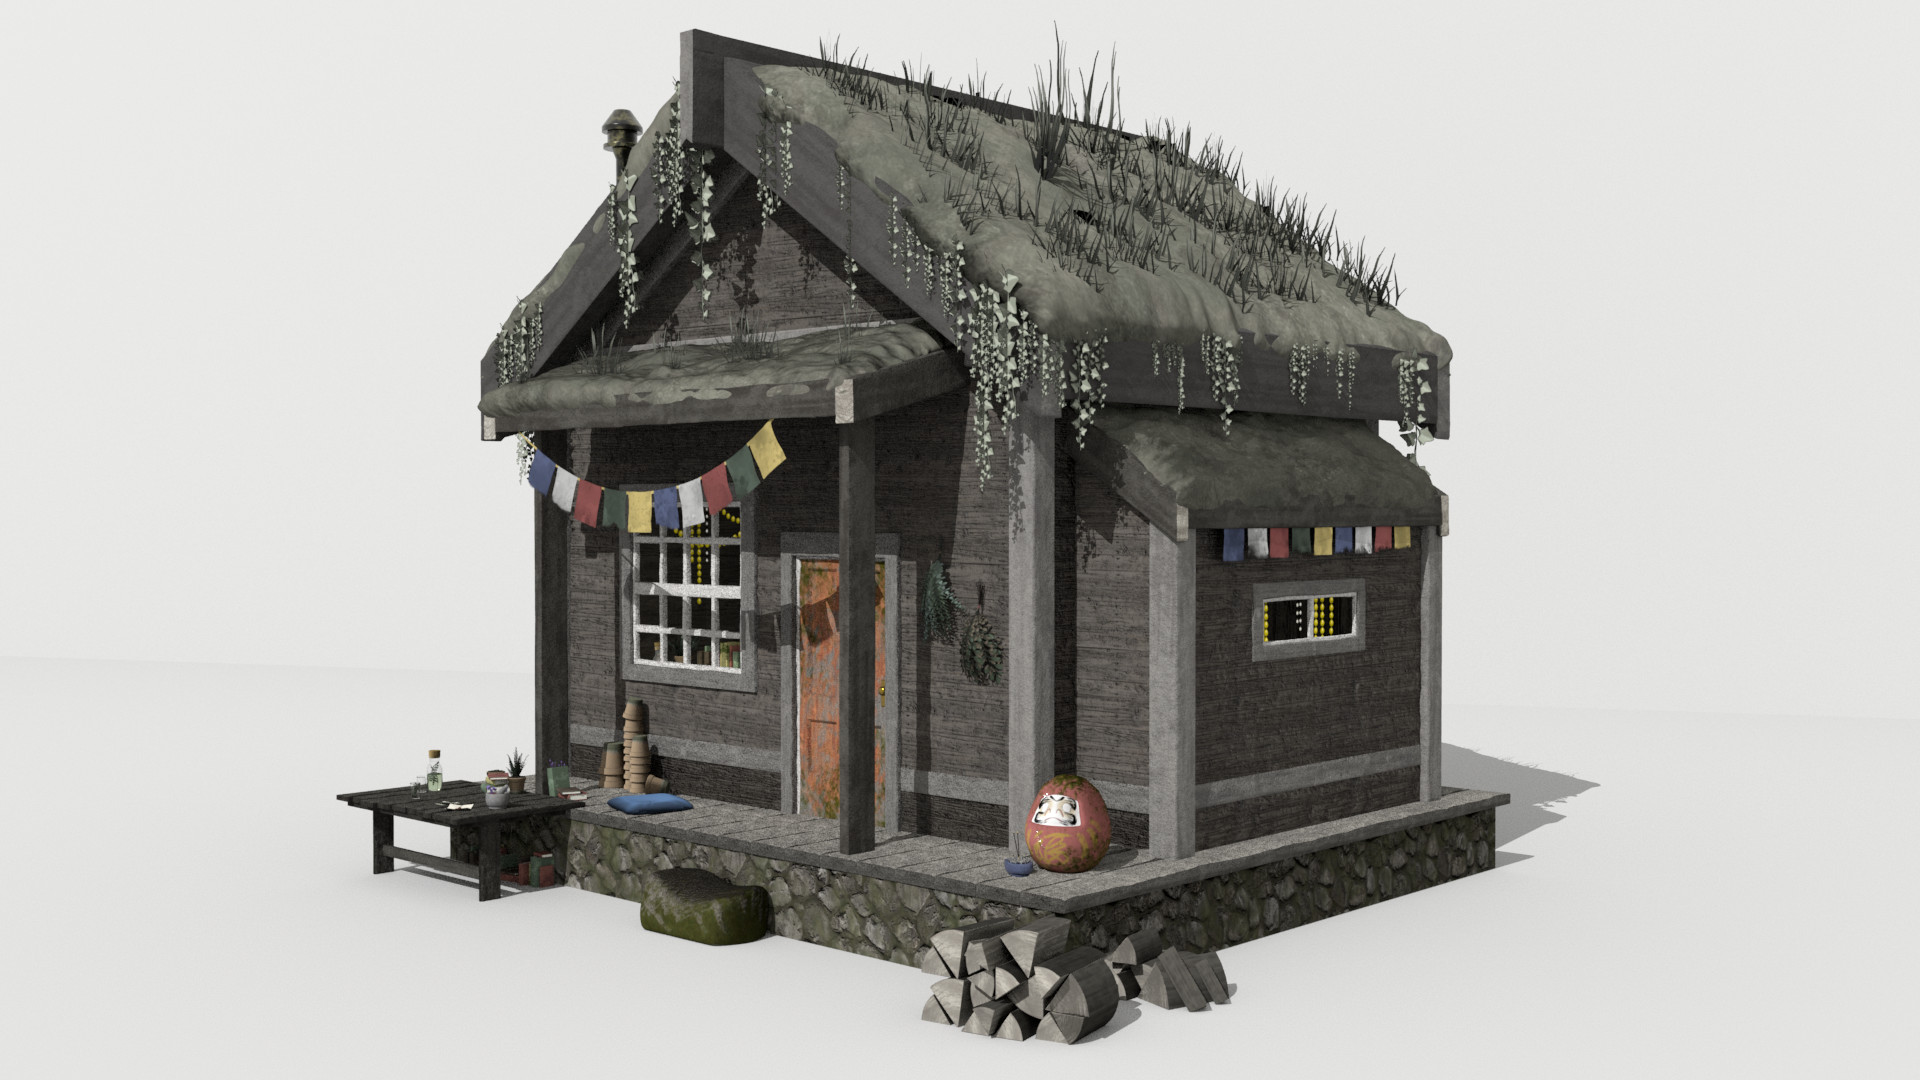 |
| When the roof grass was too dense, I discovered that Arnold would render the geometry as black squares. I had to experiment with the sparseness of each grass cluster to prevent this problem. |
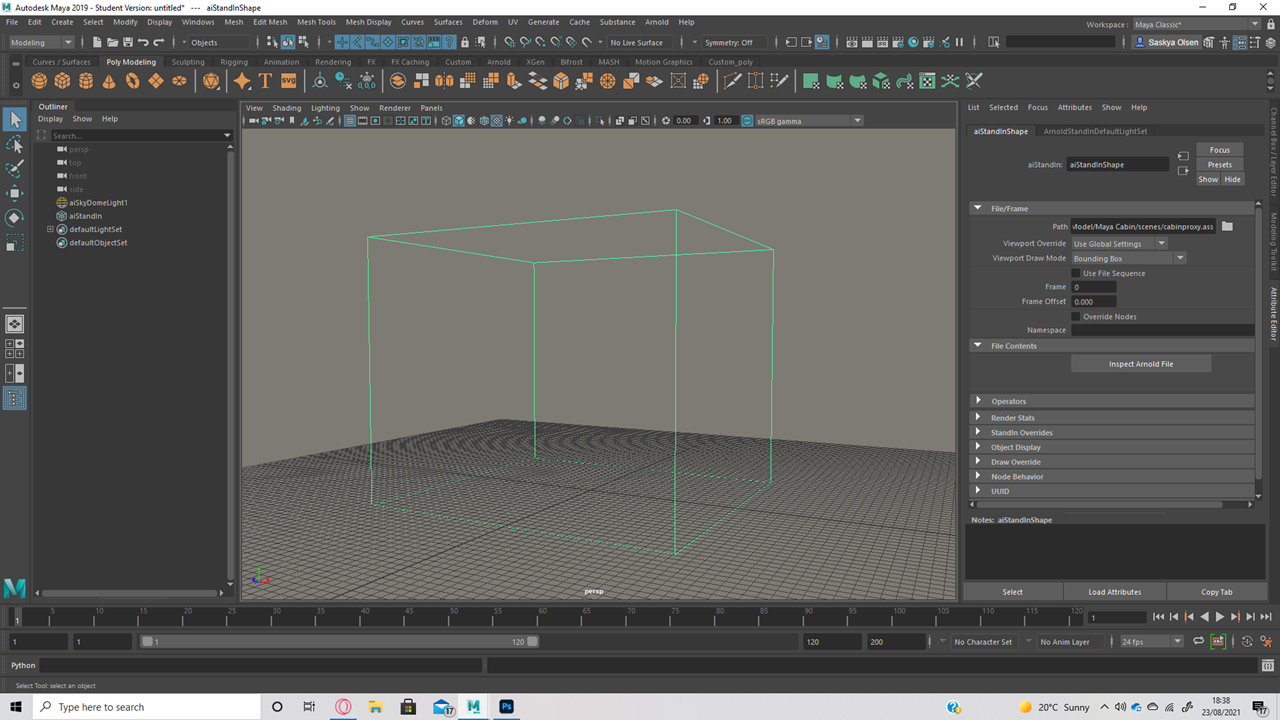 |
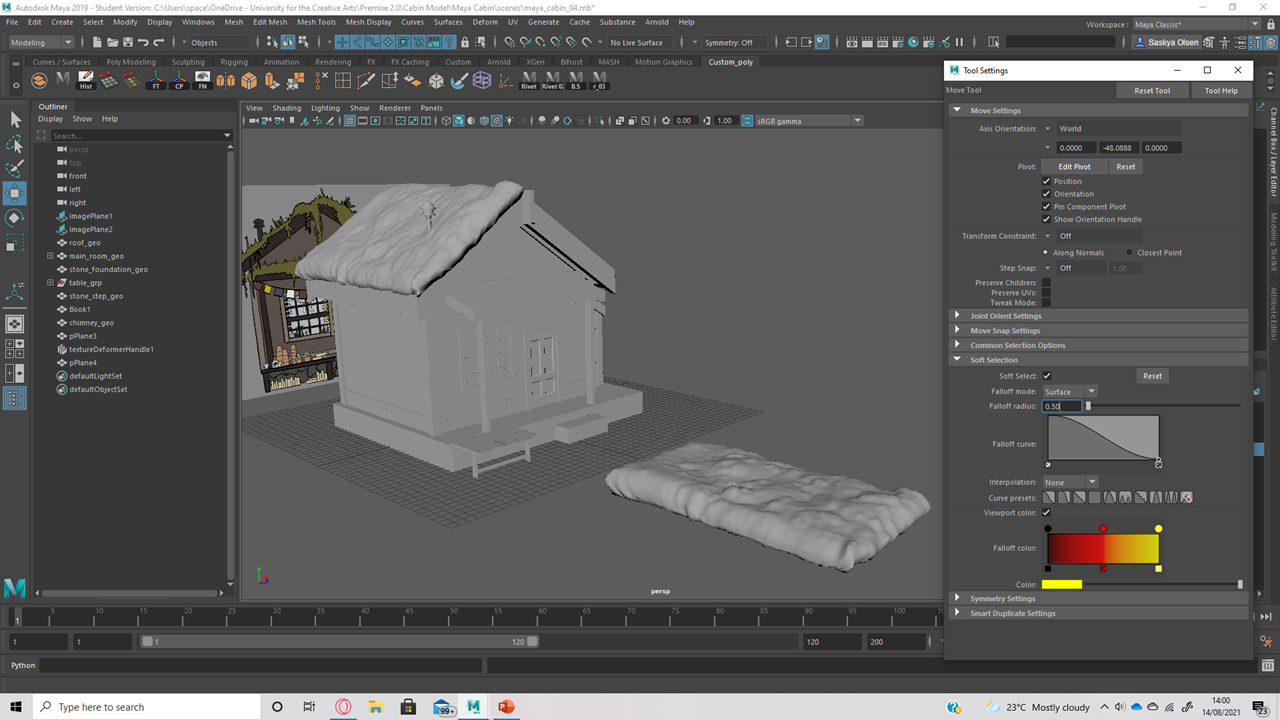
| Using my cabin model as a proxy stand-in within my final animation will help declutter my scene files. |
Before finalizing my cabin model as a Proxy, I made some adjustments. Most significantly: changing RGB to Raw within all material attributes, turning on Ignore color space rules and ticking alpha is luminance. This adjustment removed the grubbiness of my wood materials and lightened the model's materials overall.
Renders and Maps:
 |
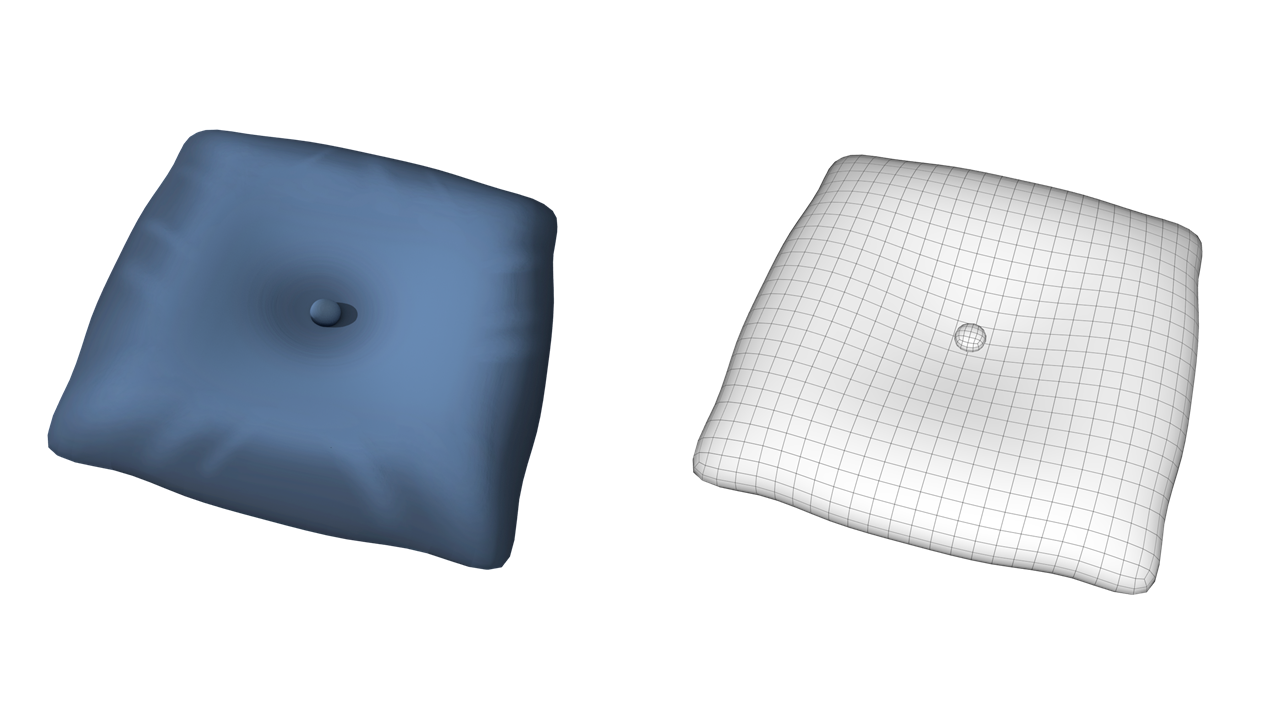
| Above, cushion model colour and wireframe renders alongside its colour and normal maps. |
 |
| Above, Daruma doll colour and wireframe renders alongside its colour, height and normal maps. |
 |
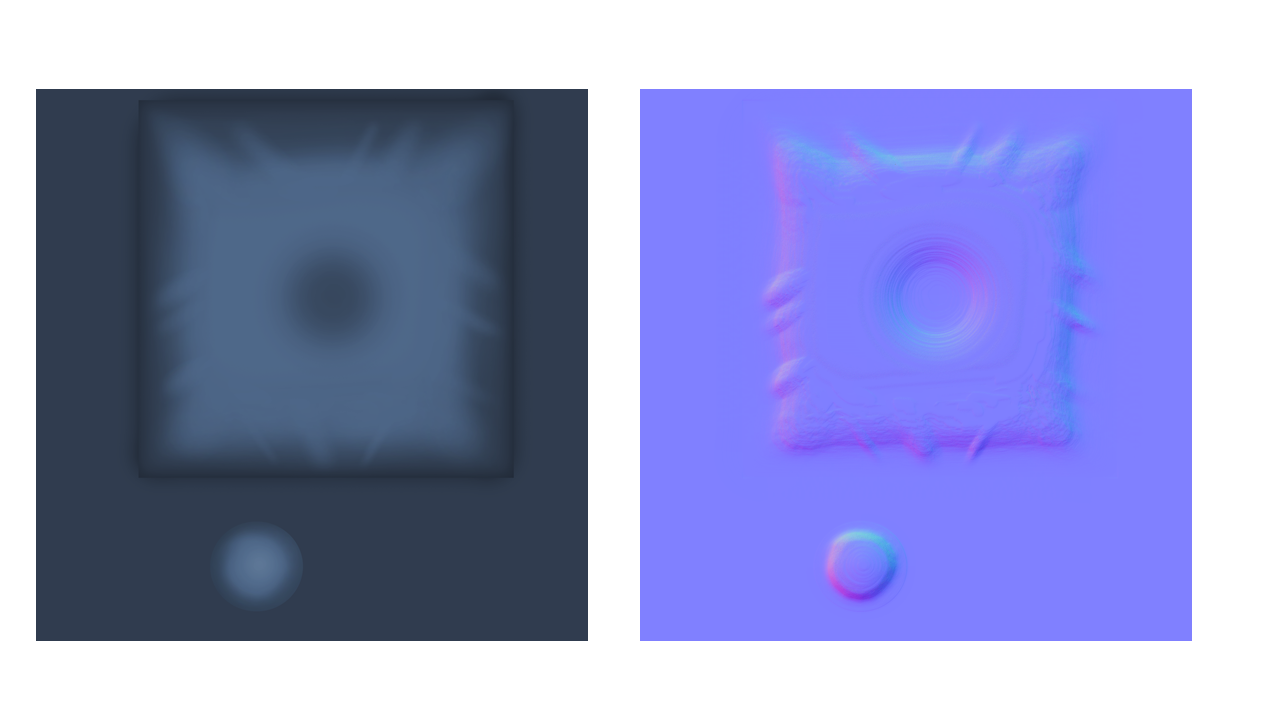
| Above, step stone renders alongside its colour and normal maps. |
 |
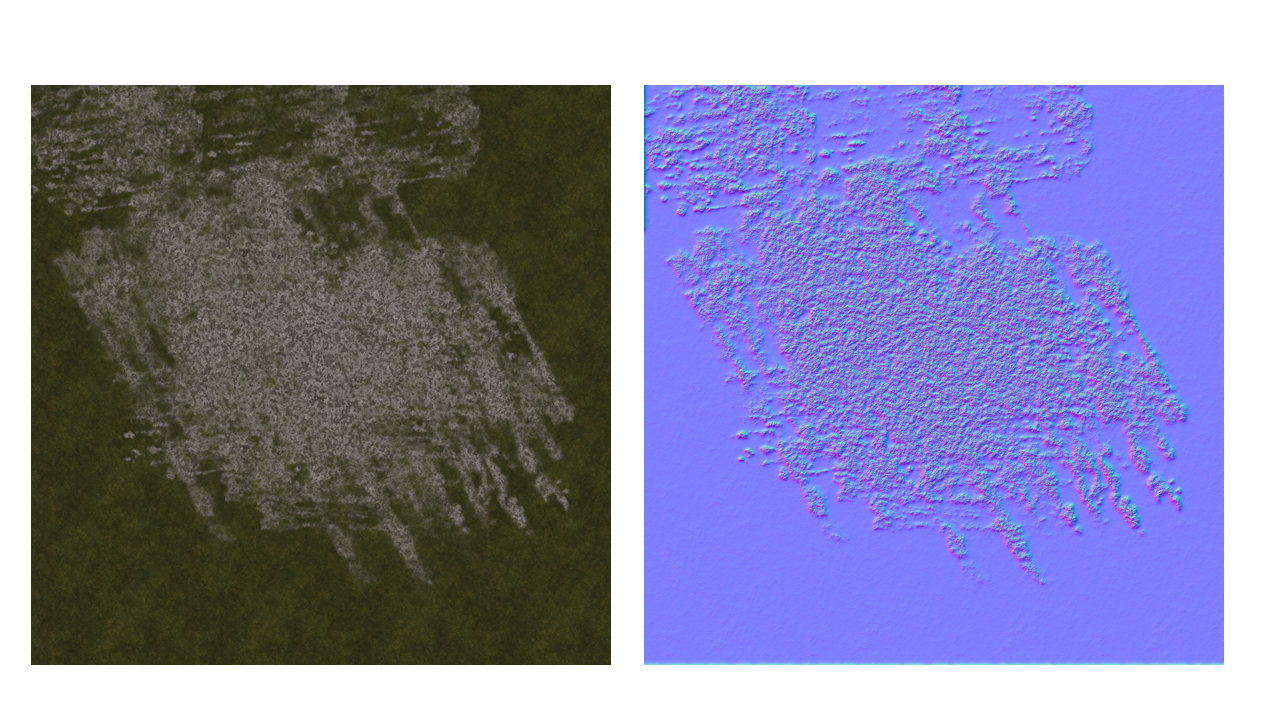
| Above shows the colour, height and normal maps used for the cabin's cobble foundation. |
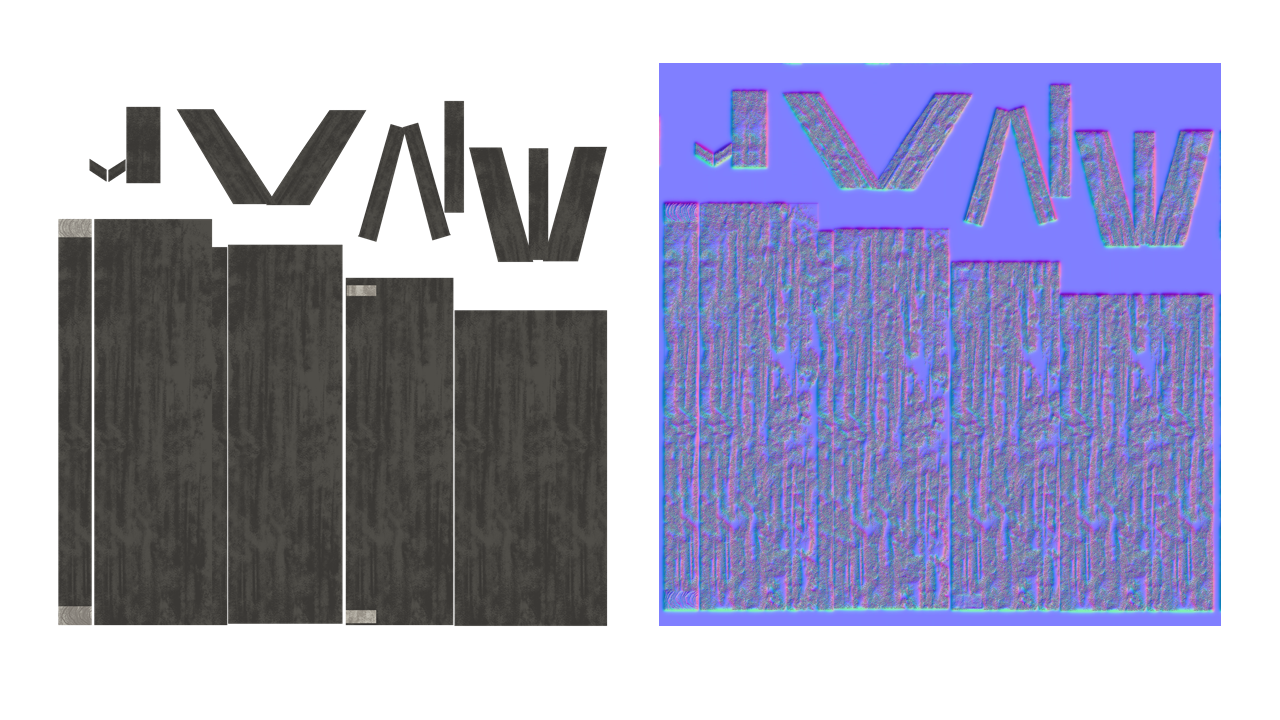 |
| Above shows the colour and (scrapped) normal map for the wooden porch roof. I later used displacement maps instead of the normal map to achieve an uneven wooden texture. All other wooden assets for the cabin use this same wooden illustration I produced from scratch in photoshop. |
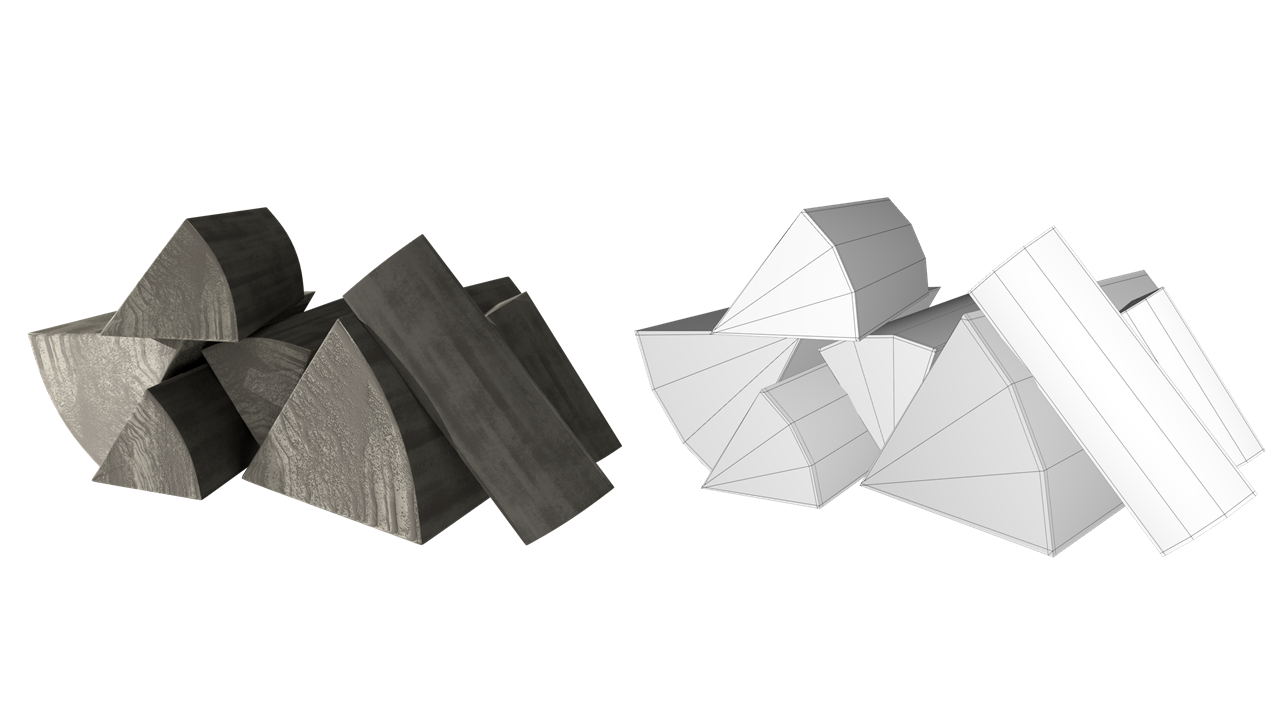 |
| Above, a coloured and wireframe render of my fire log stack. |
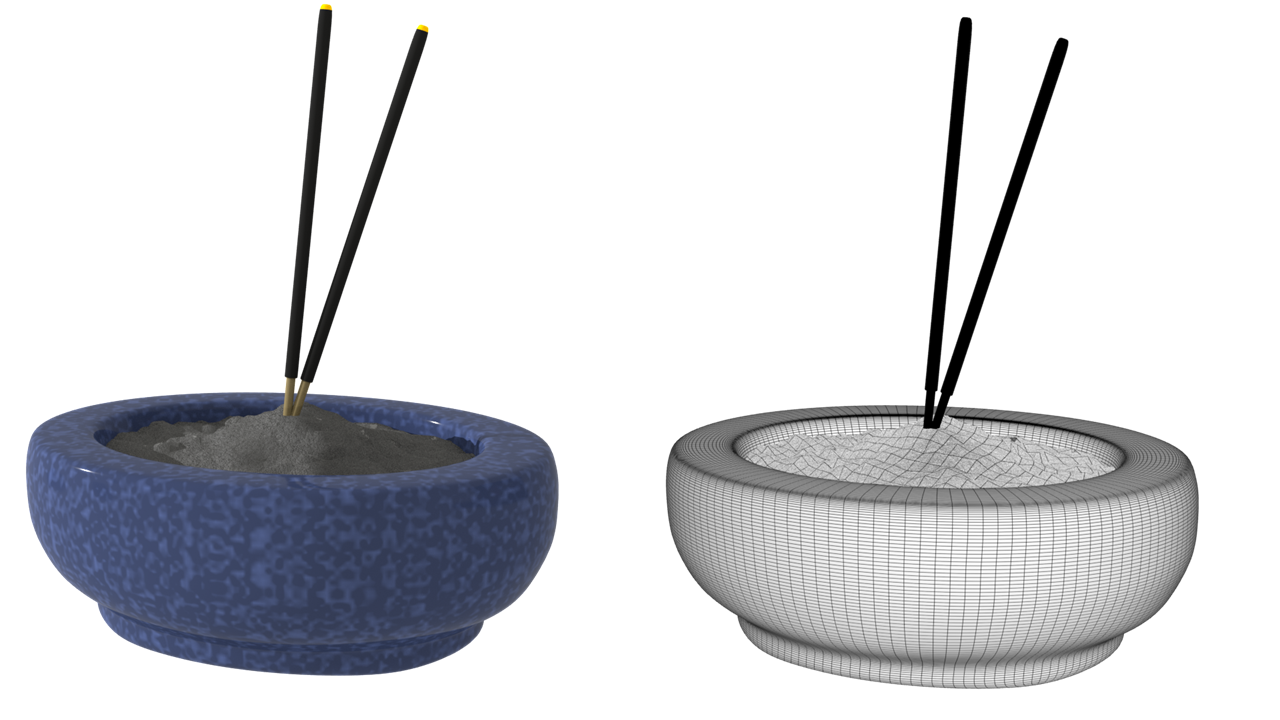 |
| Above, a coloured and wireframe render of my incense burner. In post-production, I'll utilize After Effects to replicate moving smoke and glowing embers. |
|
| Above, a coloured and wireframe render of my mossy teracotta plant pots. |
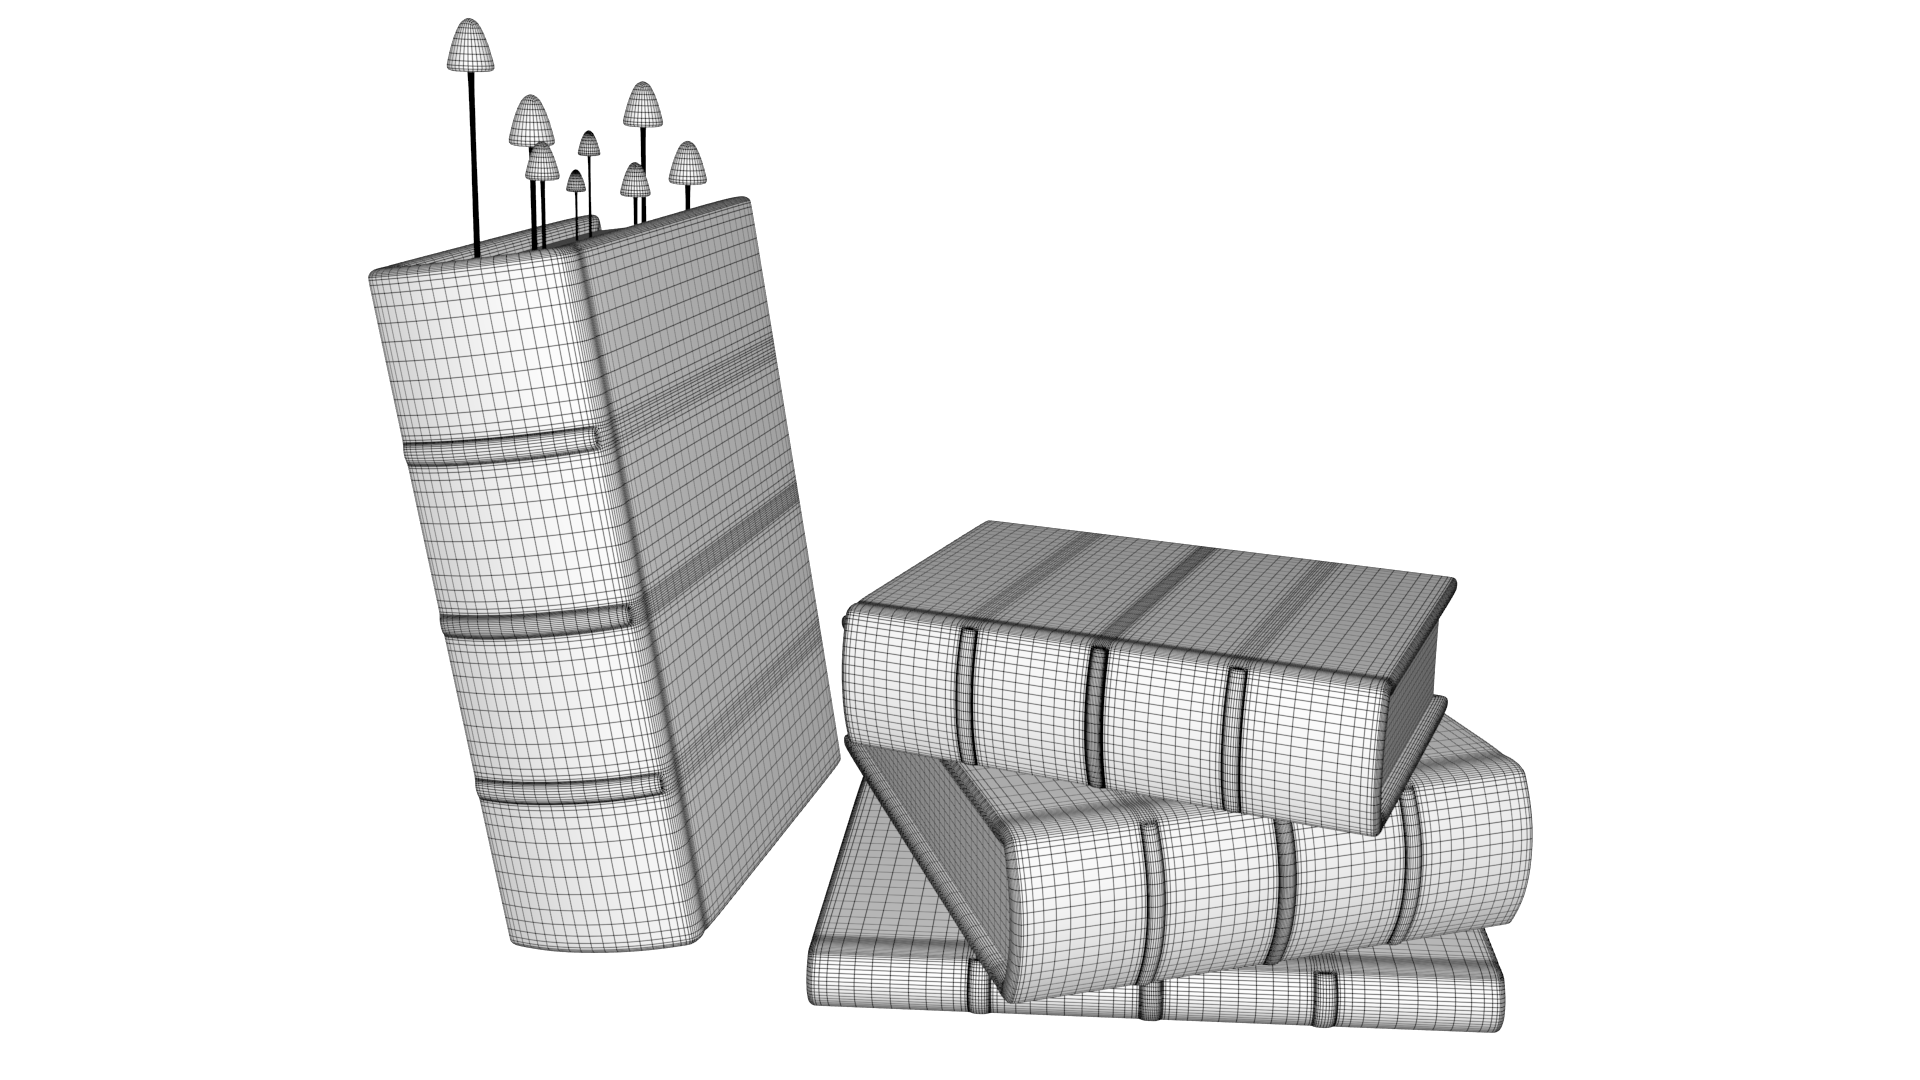 |
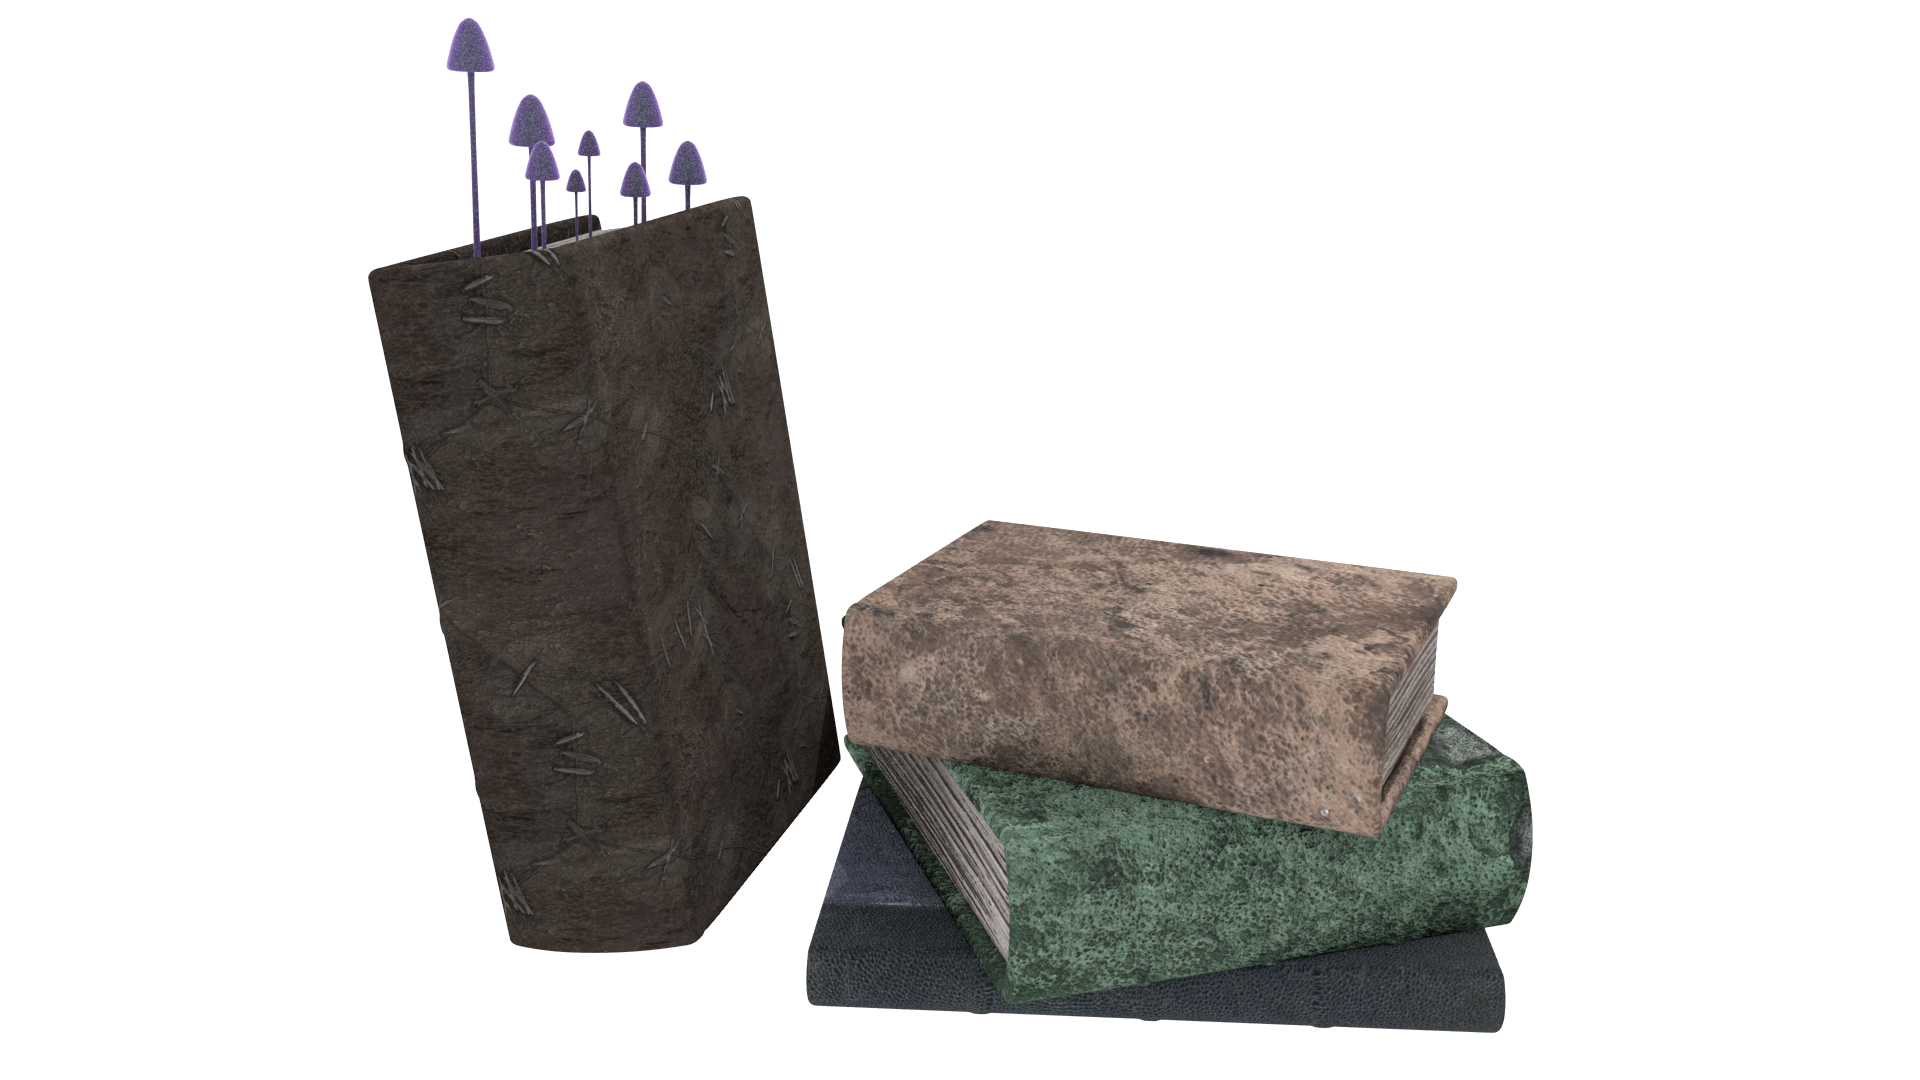
| Above, a coloured and wireframe render of old books. |


Comments