Fantastic Voyage - The PreVis and it's Process
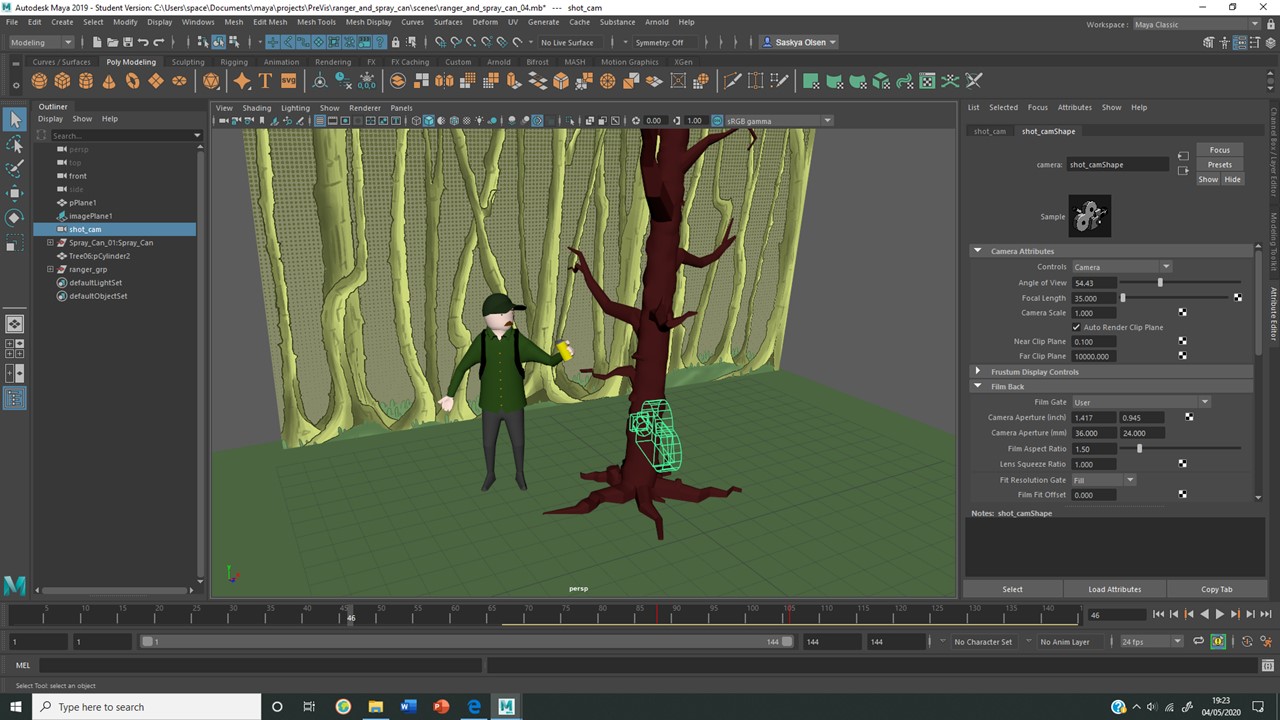
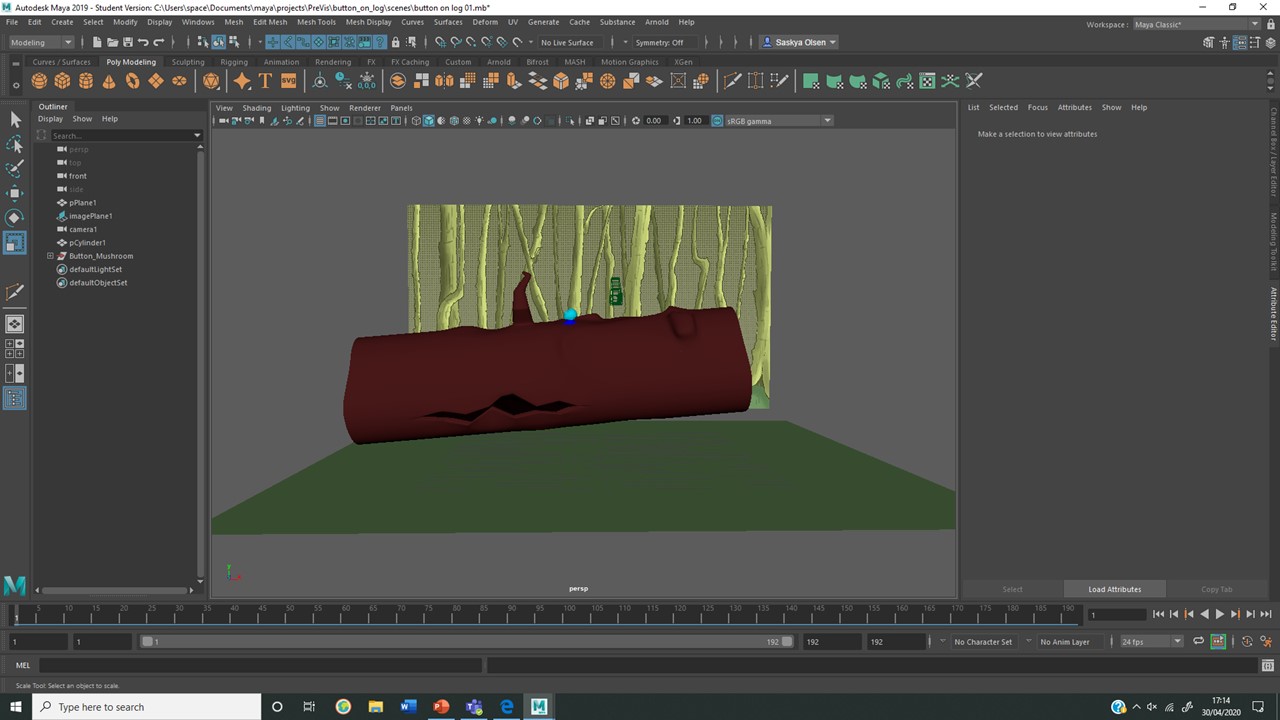
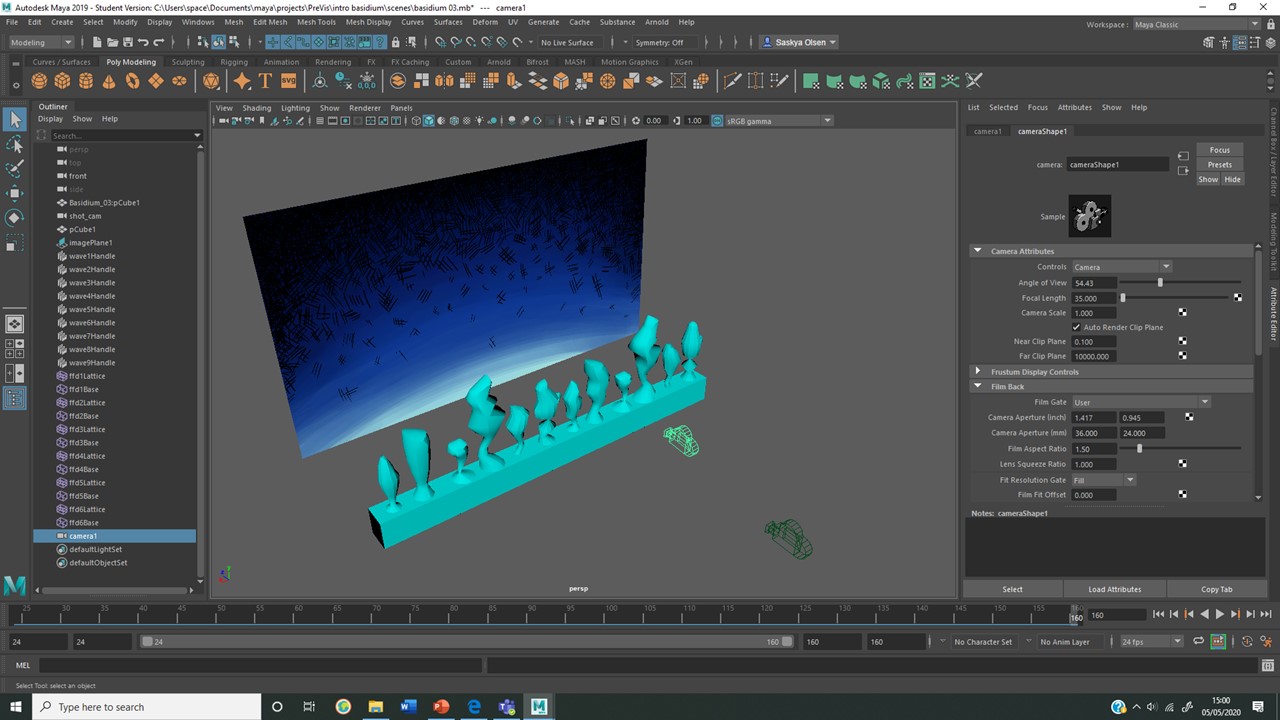
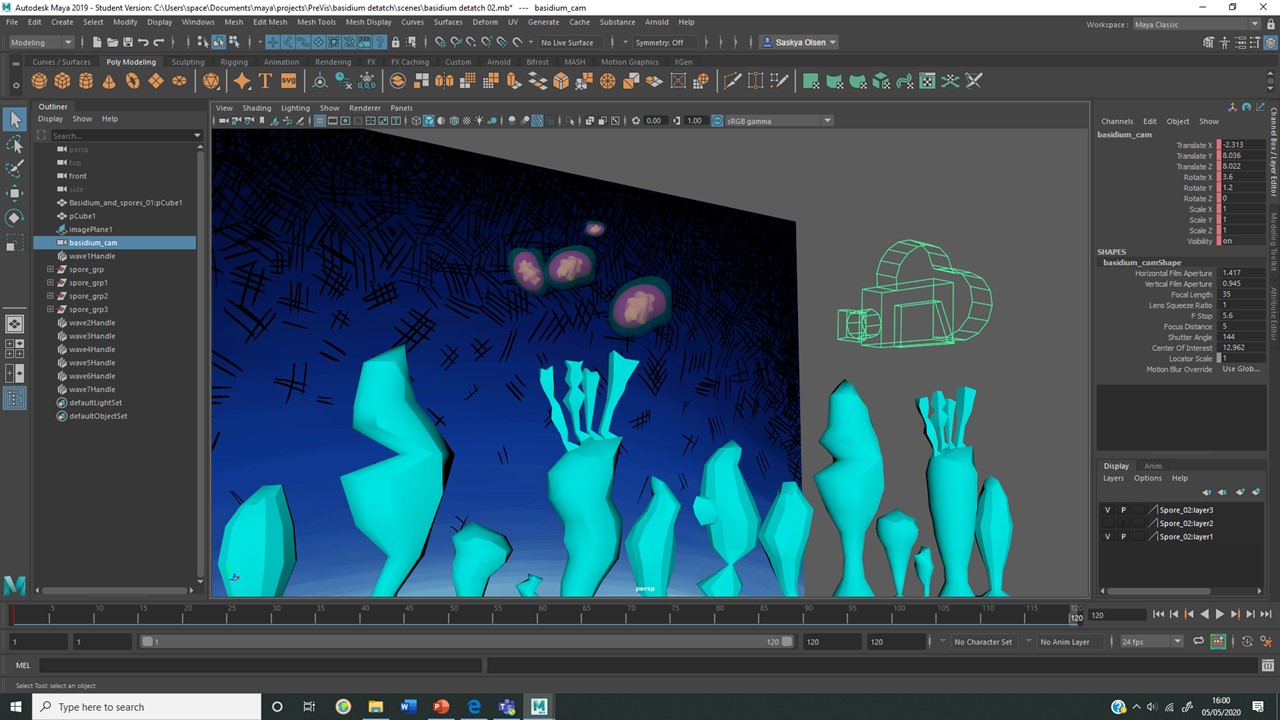
I decided to use my completed, untextured models for my PreVis instead of creating something temporary. However, my PreVis doesn't include finalised texturing. I also struggled to smooth my models before play blasting my shots; adding animation to smoothed models would crash Maya, and I had to settle for a rough quality display. Putting my PreVis together helped me uncover props that had more importance than I had expected. For example, I needed an additional log (other than my tree model) for my mushroom to sit on. Before creating my final animation, I'll need to create a fully visualised log, along with modelled rocks, which was another item I hadn't considered modelling. Once my models were set-up, the process was straightforward. I'm very glad to have put in the time rigging my ranger model, as this drastically benefitted animating efficiency as I had proper controls to work with. One of the biggest challenges of the PreVis process, surprisingly, was adapting my matte paintings into desired camera angles. This was most evident in the shot that reveals a birds eye track shot of trees, which started as a low-angle in my storyboard. I had to change this shot because my matte painting wasn't a suitable size; the dimensions meant it didn't cover the entire background for such a dynamic camera movement. Another challenge I faced was further programme crashing, which was the result of using 'play every frame' in my animation settings. Luckily, this was easily fixed by setting this option to '24 fps', and I will change this to 25fps for my final animation. I found the 'deformer' tutorial videos an immense help for creating decent movement in my PreVis, and the linear deformers (especially the wave deformer) were essential for my mycelium and hyphae, which move very organically. Additionally, the entire 'rigging' section of the tutorial website helped me to create a (sort of) fully working rig for an original character, which was something I didn't expect to pull off. I was even able to achieve the skinning process with extra help. The 'blinking' of my character (seen in the character close-up) was a happy accident, which I only noticed after exporting the clip. In my final animation, I'd like to expand on this idea as it reduces the stiffness of the ranger character and adds emotion.
Once my shots were play blasted, I cut them together in Premier Pro, software I was introduced to for a previous project. Linking the clips to music was effortless, but I found the programme's
interface troublesome to use, and I found the rest of the editing process very frustrating. Luckily, I managed to incorporate some decent typography with some basic movement. I also added some very basic 2D animated elements from Adobe Animate, which avoided the need for extra 3D animating (e.g. nuclei fusion). I would like to use 2D animation in my final animation and refine the ideas I have shown in this PreVis.
I'm extremely happy with the pacing of my PreVis, and I believe that my chosen themes, subject matter, and scientific direction are articulated. The aesthetics of my animation are suggested, but not fully realised. However, this is to be expected in my final animation, along with more ambitious lighting, textures, and more overall detail.
 |
|
Importing my Maya play blasts and sequencing them to music. |
 |
|
Creating some basic 2D animation in Adobe Animate. |




Comments