
Lighting Practice 2: Atmosphere
Desert Haze

| The above render was created using only a directional light and aifog. I was surprised at the atmosphere's effectiveness; an orange tint immediately transported the scene into a desert storm. |
Process:
- create a directional light, rotate to face the scene. Exposure:1 Angle:5 Samples:5
- change background colour in Arnold Render view to orange.
- render settings > Arnold > environment > aiatmosphere > aifog.
- aifog1 distance:0.001 Height:50 Ground normal:1 in Y axis.
- set fog colour to orange.
Volumetric Light Rays

| Above, a render of the same scene now using a spot light and atmosphere volume. Light rays are achieved with a noise Gobo, which works like acetate over a torch. Atmosphere anisotropy, attenuation and colour balance were important focus points for this outcome. |
Process:
- render settings > arnold > environment > aiatmosphere > aiatmospherevolume.
- density: 0.8 colour: navy blue attenuation:0.102 attenuation colour: red anisotropy:-0.651 samples:5
- create spot light > position at translate Y:25 > direct at the scene.
- code angle:70 penumbra:-16 dropoff:8 exposure:30 samples:5
- aiatmosphere volume colouring works in contrast; colour hue must be the opposite to attenuation colour hue. In this instance, red and blue.
- select spotlight > light filters > gobo > slide map > add noise
- noise amplitude:0.001 ratio:0.4 frequency ratio:10 frequency:60
Volumetric Deep Sea
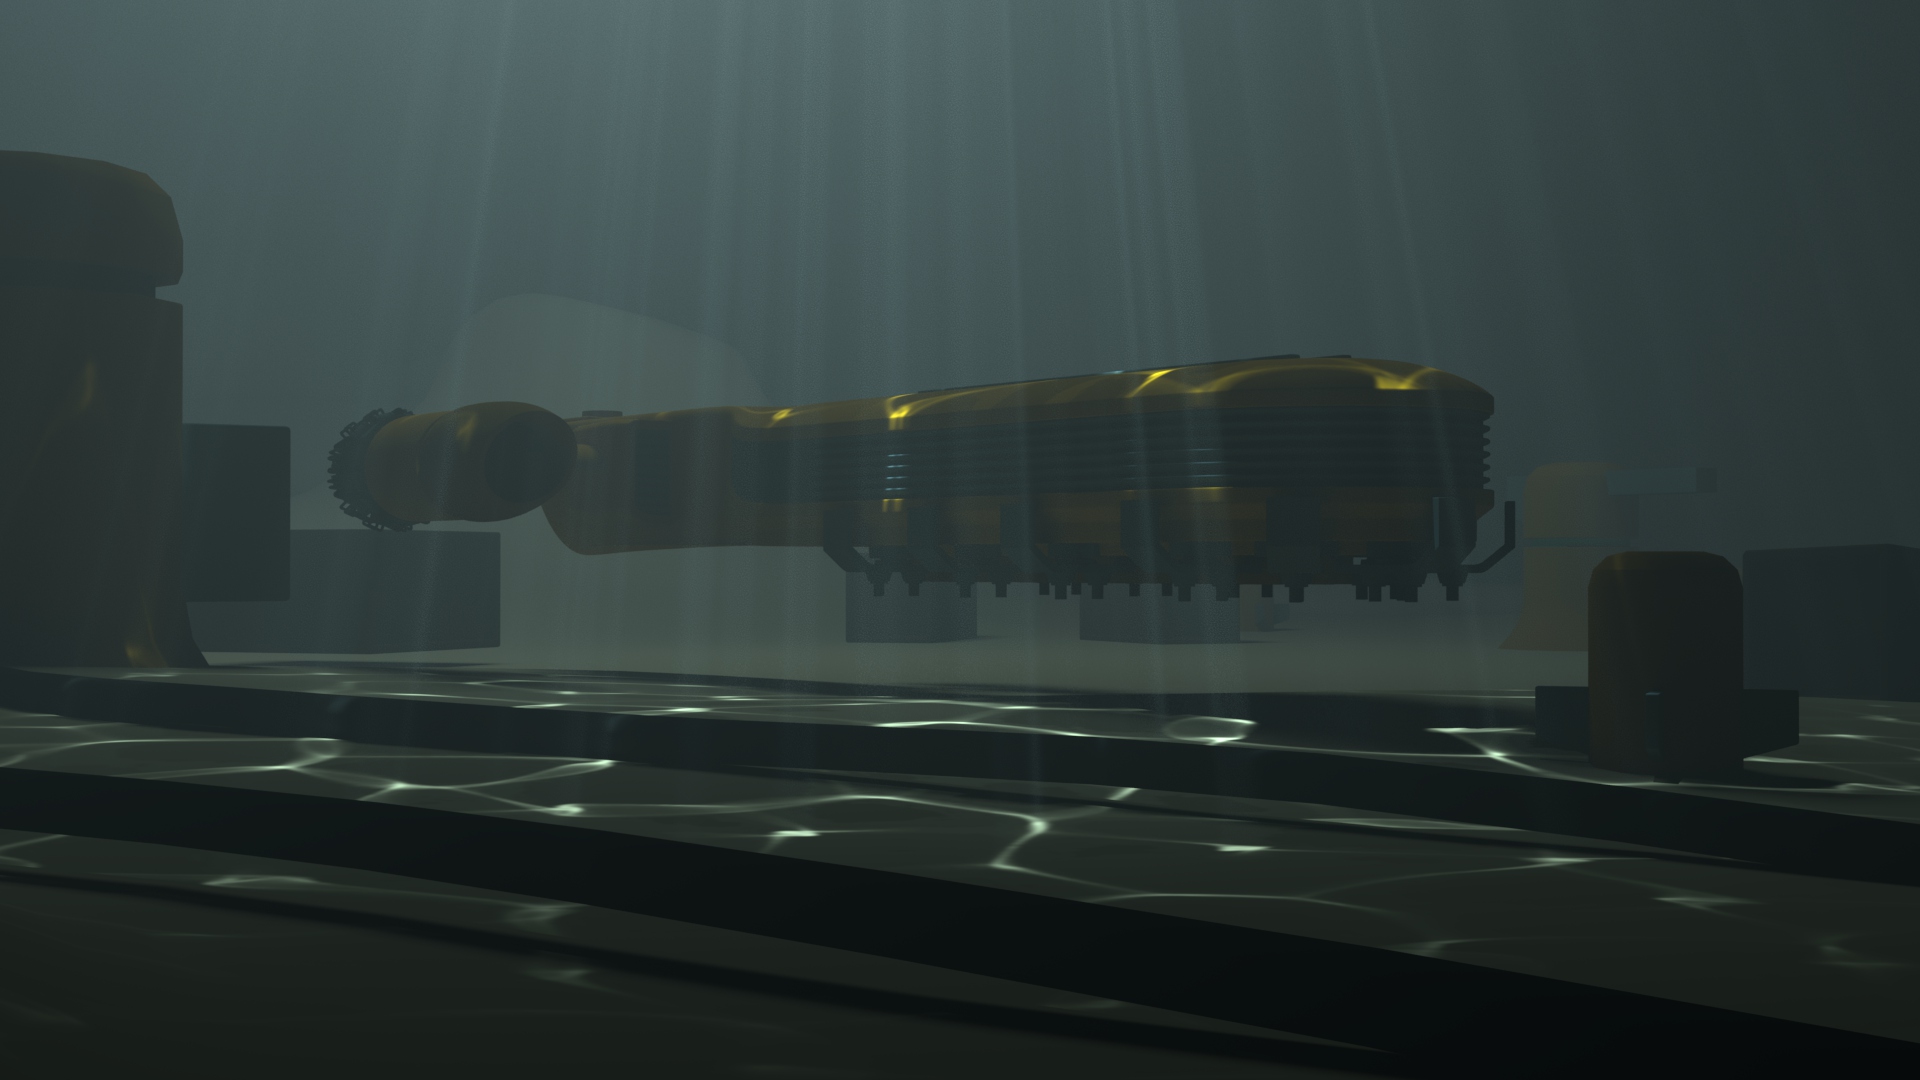
| This third render uses atmosphere volume and a spotlight once again. This time, a caustics gobo was applied. The atmosphere volume decays the caustics and, with a murky blue applied, gives the illusion of a deep sea scene. |
Process:
- create spot light facing the scene > penumbra:-16 code angle:74 dropoff:8 exposure:25
- freecausticsgenerator.com > download 1.4 and open > size:1024 super sampling:4x motion blur:5 background colour:0 no.of frames:50
- freecausticsgenerator.com > download 1.4 and open > size:1024 super sampling:4x motion blur:5 background colour:0 no.of frames:50
- save out sequence in directory > click render animation.
- open after effects > preferences > sequence footage import > 25fps
- drag sequence into timeline > brightness and contrast fx brightness fx:27 contrast:29
- add blur fx blur radius:3
- composition > add to render que > lossless > format: TIFF (turn off both boxes) > output > save to directory appropriately, replacing underscores with full stops.
- lossless > out module - video output > untick box > starting no:1
- re-open Maya > spot light filters ) gobo > colour checker box > file > tick image sequence > choose first file of sequence.
- colour balance > increase exposure > place 2D texture > repeat UV:2
- pre and post infinity: cycle
- input and output type table: linear
- create an area light > move above scene, facing downwards > change colour to murky green
- exposure:22 samples:3
- Add a blue tint to caustics
When multiple frames are rendered from this sequence, the caustics will move.
Notes
- Clamping AA samples in the render settings removes fireflies in renders.
- When increasing samples, the order is: atmosphere first, then lights, then shadows, and camera last.
Comments