
Toolkit 2: Jetpack Jones Facial Rigging Part 1
 |
| Part 1 of the facial rigging tutorials covered the mouth. Starting with the construction of head joints, creating lip ribbons, and using target objects to create a functioning mouth that can be manipulated with master controls and/ or intricate isolated areas. |
 |
| Above, the construction of the head joints. These were parented to the neck, so the head can move with the rest of the body rig. |
 |
| The jaw rotation joint was weighted to the bottom half of the head geometry, allowing the mouth to be opened and closed. |
 |
| I continued using the 'paint weights' tool to smooth-out the influence around the mouth as it opened. However, I struggled to use the smooth brush tool on the mouth corners, so I worked with individual vertices and the 'replace' option to achieve reasonable results, shown above. |
 |
| Once the jaw and head joints were bound to the head geometry, I began creating controls for the head joints. These included a jaw control alongside upper and lower neck controls. |
 |
| I created additional controls for the eyes and more specific head controls for the upper and lower head (squash and stretch). Each were parented to the chest control, reconnecting the head back to the body rig. I also created an attribute that allows the eyes to either follow head movement, or stay locked in place. Another control was made to change the visibility of all the head controls. |
 |
| Next, I duplicated the head geometry and deleted everything other than an upper and lower string of lip faces (ribbons). I colour coordinated them for easy identification. |
 |
| I attached hair follicles to the ribbon faces. I then also added joints to each ribbon face, assigning them to the follicles using the outliner to navigate. |
 |
| I colour coordinated my joints, then bound and weighted the yellow joints to the ribbon geometry. |
 |
| I bound the ribbon to the target head, and then used 'paint weights' to configure the bind, moving individual mouth joints to see how the geometry responded. |
 |
| I distributed weight across each joint accordingly, creating soft fluid mouth movement using the smooth and add functions within 'paint weights'. |
 |
| Above shows the target head and the original model. The joints can be seen on the target head, and mouth controls can be seen on the original head. |
 |
| I created a series of circle controls and connected them to each mouth joint controls (yellow). I then moved this set of controls down to the original character rig, and used the connection editor to join all the controls together using different group selections within the outliner. |
 |
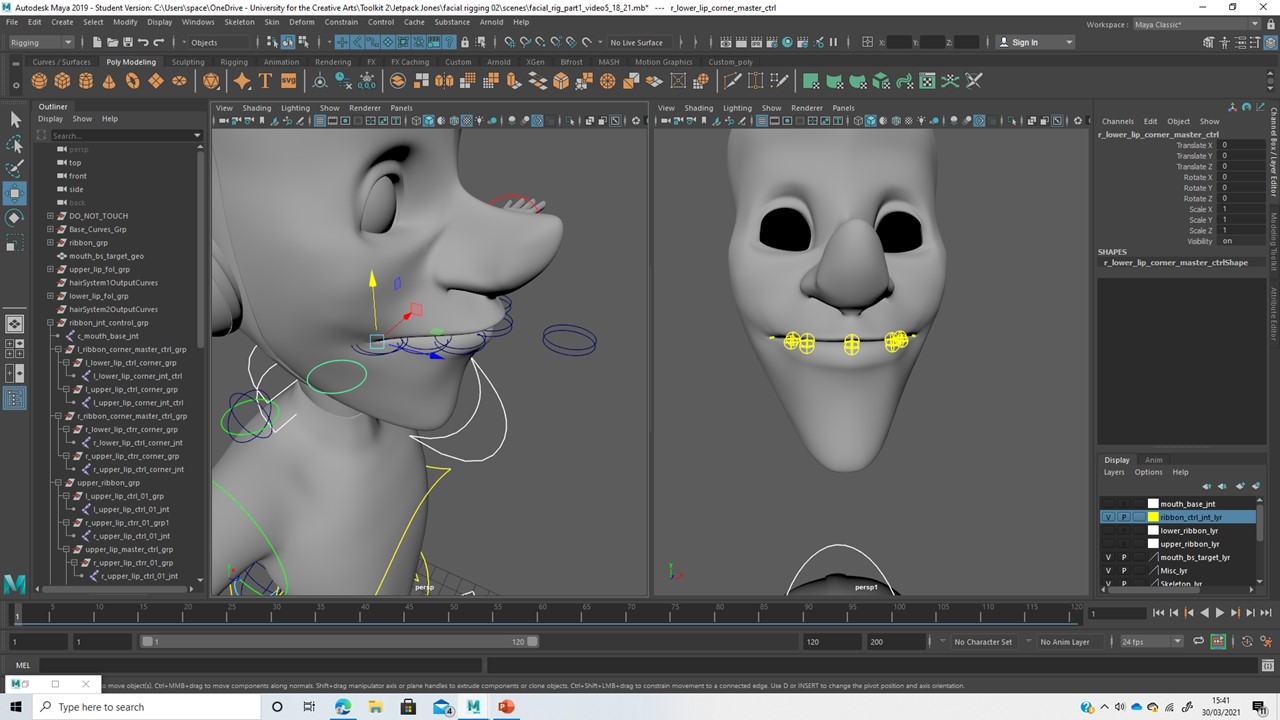
| I repositioned the controls away from the geometry, changing their shapes in relation to their position in the face hagiarchy. |
 |
| The above image shows the final positions of the mouth controls, and their function. Improvements could be made to the mouth corners' movement, this can be adjusted using the 'paint weights' window without affecting the rig. Overall, the mouth functions properly, now I can focus on another area of the facial rig. |
Comments