Skinning Method 1: Interactive Weighting, Component Editor, & Paint Weights
Methodology Notes
The larger the radius, the more influence
wright has over other areas. In this case, moving the fingers influences the
weight on the adjacent fingers, creating a liquid drag effect. The weights are
distributed poorly.
Selecting a vertex in the ‘paint weights’
viewport will reveal the distribution of weight around the selection, indicated
by white. Unselected vertexes will remain black.
‘flooding’ the shoulder joint with all
the weight results in this result. The shoulder moves fine, but all other
joints move without the weight. The weight now needs to be re-distributed
amongst the other joints.
After re-distributing the weight across
the hand, I discovered deforming vertexes when moving the limb. This means some
of the vertexes weren’t selected when I was flooding weight.
The arm’s joints and the weight
surrounding it now move properly. Weight now needs to be painted-on in order to
combat the sharpness of the model.
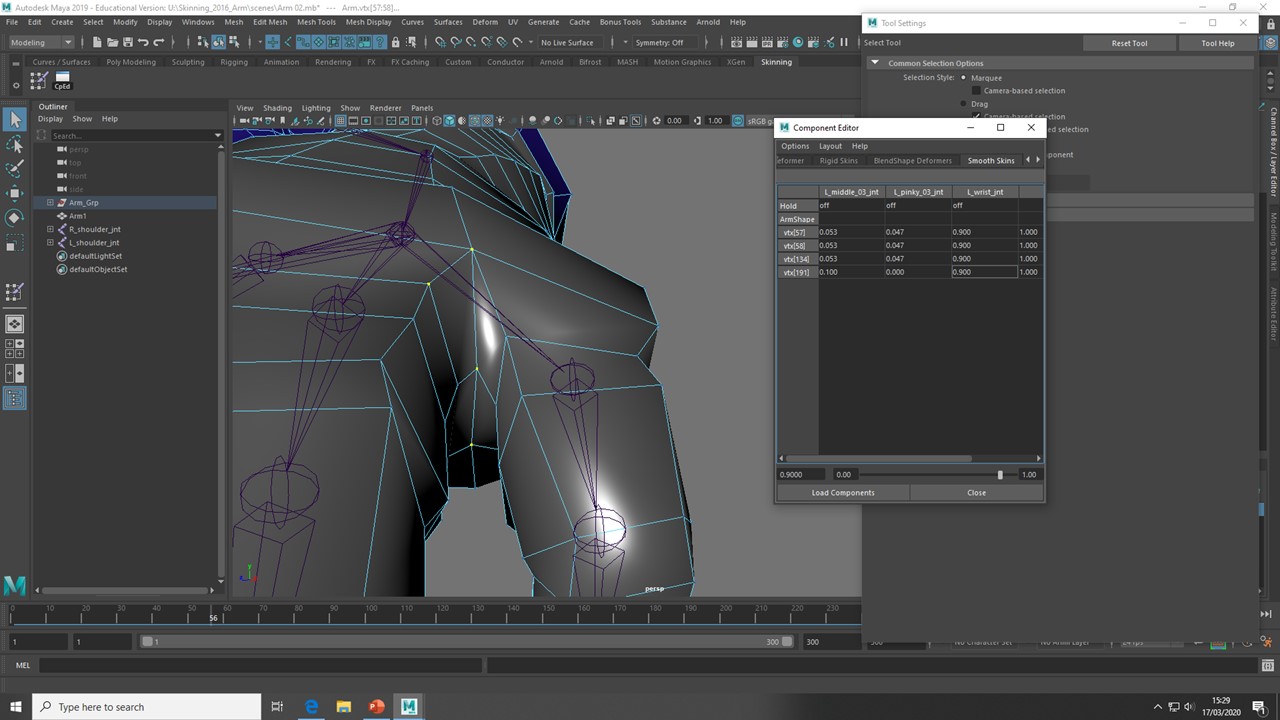
Joint movement can be softened by editing
within the ‘component editor’.
Softening can also be achieved using
‘paint weights’. The value of the weight can be lowered and painted onto
individual vertexes. A gradient of influence is formed.
Gradually adjusting the numbers within
the grid. As long as we are adding and not subtracting. This may result in
‘borrowing’ from other areas of the table in order to avoid any subtraction.
Creating too much fall-off will result in
a rubberised model. Some sharpness and rigidity will suggest that there’s bone
under the weight.


Comments